26
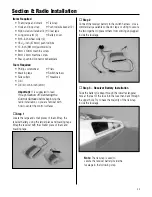
Items Required
• Spinner w/backplate
• Cowling (painted)
• Propeller
• Cowling (clear)
• Spinner adapter w/screw
• #2 x 3/8-inch sheet metal screw (4)
Tools Required
• Adjustable wrench
• Felt-tipped pen
• Hex wrench (included in kit)
• Drill
• Hobby scissors
• Rotary tool w/sanding drum
• Masking tape
• Phillips screwdriver
• Drill bit: 1/16-inch (1.5mm), 1/8-inch (3mm)
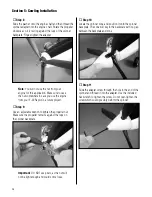
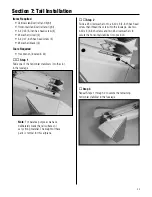
Step 1
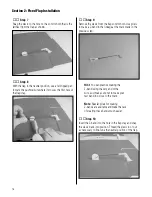
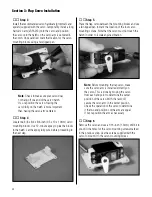
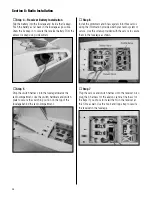
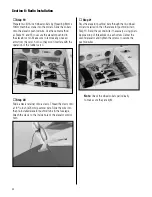
Fit the clear plastic cowling to the front of your aircraft.
Trim the cowling to clear the needle valve, carburetor and
to provide clearance for the muffler. Take your time when
trimming the cowling.
Note
: You will need to cut a slot behind
the engine head so the cowling can be
opened and slid over the engine.
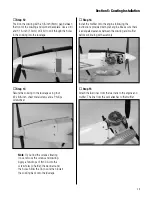
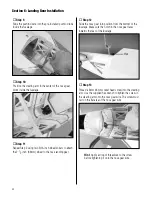
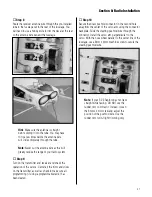
Step 2
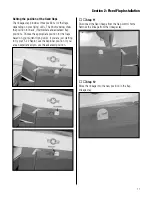
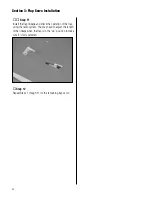
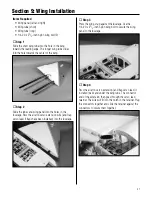
Slide the spinner backplate on the crankshaft of the
engine. Position the cowling so there is roughly 1/8-inch
(3mm) gap between the spinner backplate and cowling.
Mark four locations (two on each side) for the cowling
mounting screws using a felt-tipped pen.
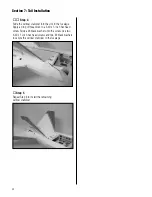
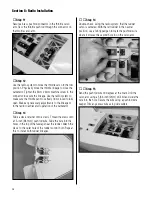
Step 3
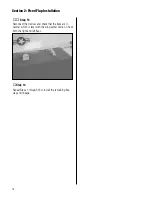
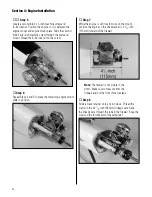
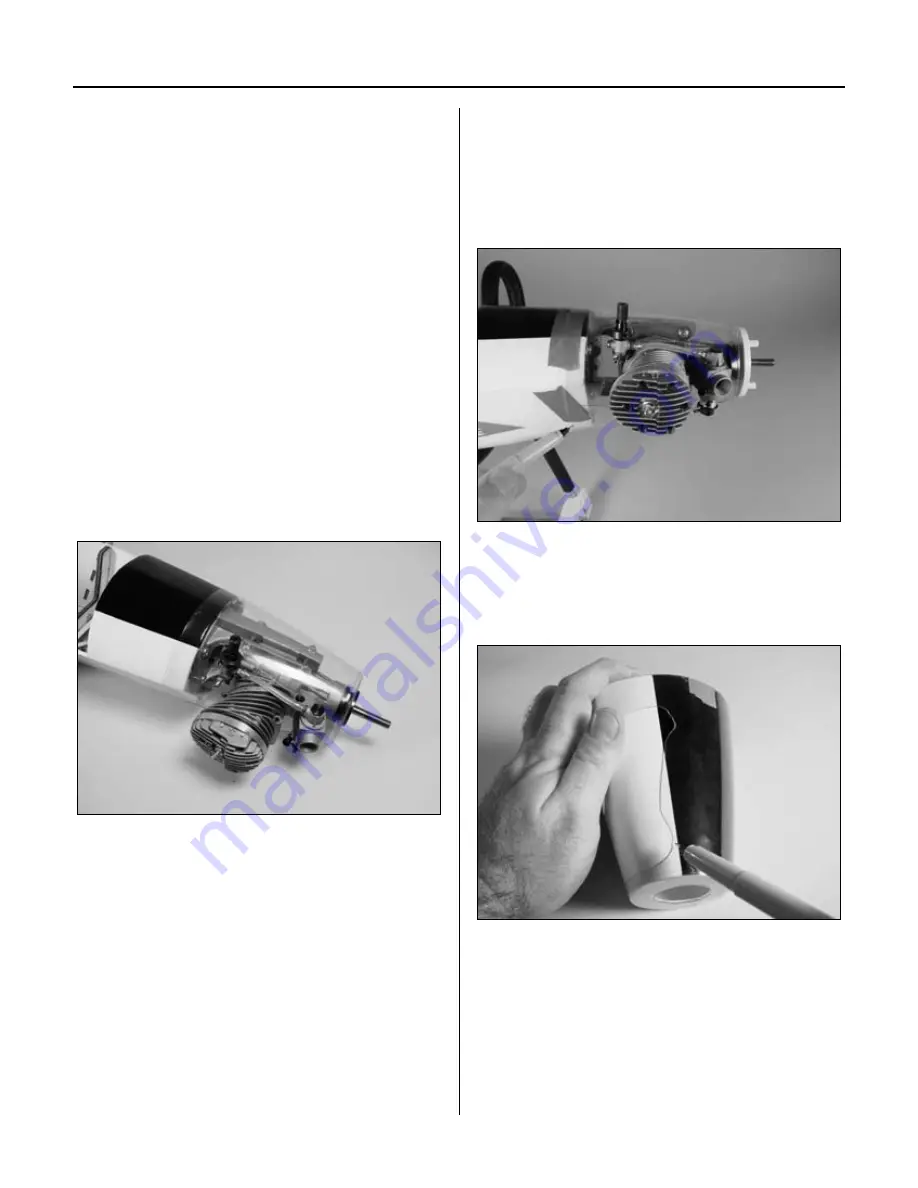
Remove the clear cowling from the fuselage. Slide it over
the painted cowling and transfer the locations for the cut-
outs on the painted cowling.
Section 5: Cowling Installation

