35
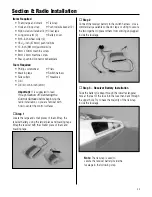
Items Required
• Foam (large and small) • Tie wrap
• Hook and loop strap
• Pushrod wire keeper (2)
• Nylon clevis w/retainer (4) • Clear tape
• Long servo arm (2)
• Battery cover
• 3/16-inch wheel collar (2)
• 18
3
/
4
-inch (476mm) pushrod wire
• 15-inch (381mm) pushrod wire
• 3mm x 10mm machine screw
• 3mm x 4mm machine screw
• Brass pushrod connector w/backplate
Tools Required
• Phillips screwdriver
• Pliers
• Masking tape
• Switch harness
• Side cutters
• Threadlock
• Drill
• Drill bit: 5/64-inch (2mm)
Important
: It is suggested to read
through
Section 10: Centering the
Control Surfaces
before beginning the
radio installation so you are familiar with
how to center the control surfaces.
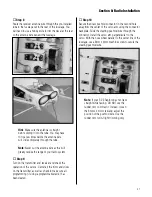
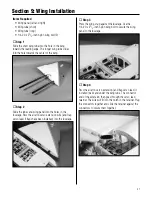
Step 1
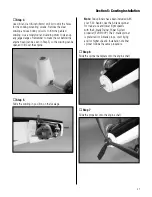
Locate the large and small pieces of foam. Wrap the
receiver battery using the larger piece and masking tape.
Wrap the receiver with the smaller piece of foam and
masking tape.
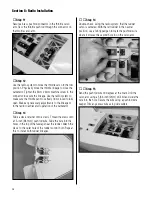
Step 2
Connect the receiver battery to the switch harness. Use a
commercially available connector, tape or string to secure
the two together to prevent them from coming unplugged
inside the fuselage.
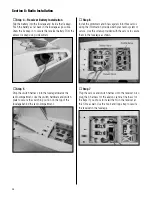
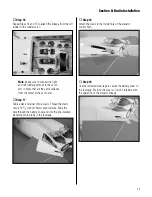
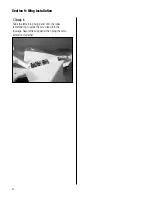
Step 3 – Receiver Battery Installation
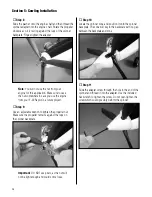
Slide the battery tie wrap through the lower rectangular
hole at the rear of the fuse into the fuse then back through
the upper hole. Try to have the majority of the tie wrap
inside the fuselage.
Note
: The tie wrap is used to
secure the receiver battery inside the
fuselage in the following step.
Section 8: Radio Installation


