17
Hangar 9 Funtana 125 ARF Assembly Manual
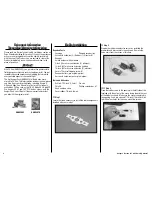
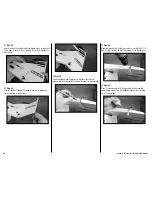
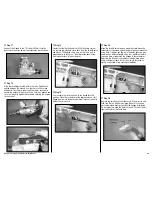
Step 6
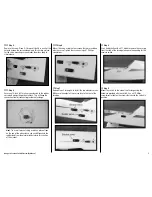
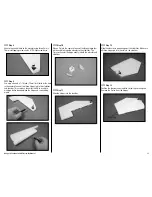
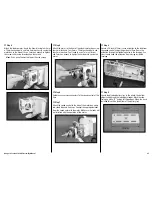
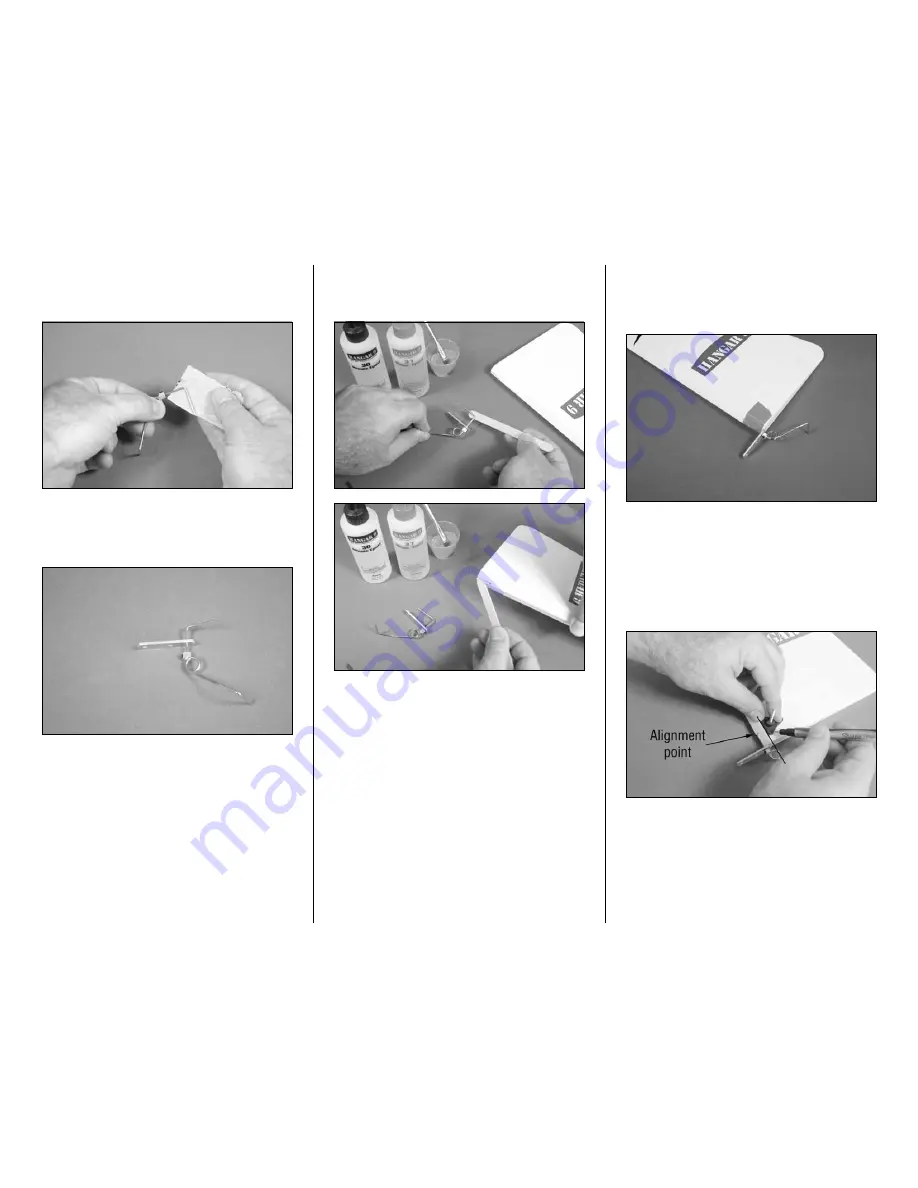
Once fit, remove the tail wheel wire and use medium grit
sandpaper to roughen the wire where it contacts the rudder.
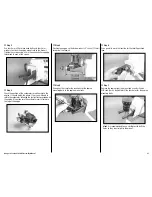
Step 7
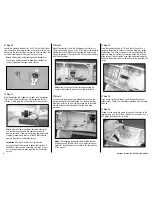
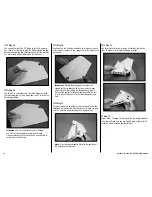
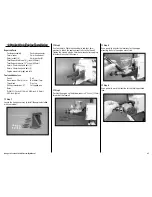
Slide the tail wheel bracket onto the tail wheel wire. The wire
fits in the smallest of the three holes in the bracket.
Note
: Prior to installing the wire confirm that the wires
are at 90 degrees to each other. If not it is much easier
to adjust now prior to installation.
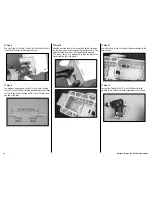
Step 8
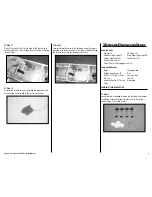
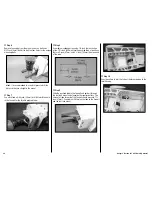
Mix a small amount of 30-minute epoxy. Apply the epoxy to
the wire as well as the hole and notch in the rudder.
Hint
: Use a toothpick to get the epoxy into the hole in
the rudder.
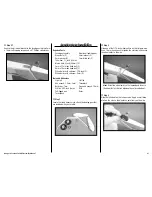
Step 9
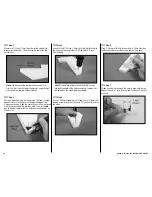
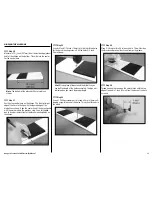
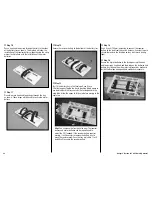
Slide the tail wheel wire into the hole. Use a paper towel and
rubbing alcohol to remove any excess epoxy. Use low-tack
tape to hold the wire in position until the epoxy fully cures.
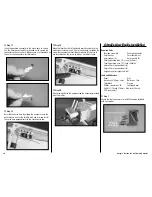
Step 10
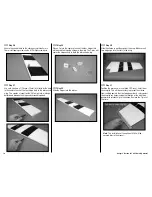
Position the control horn on the rudder. The front (straight
edge of the horn) will align with the tapered edge of the
hinge line as shown. Align the center line of the horn aligned
with the mark made for the tail wheel wire. Use a felt-tipped
pen to transfer the location for the three mounting holes on
the aileron.

