39
Hangar 9 Funtana 125 ARF Assembly Manual
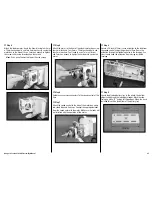
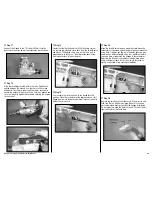
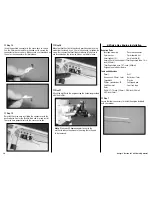
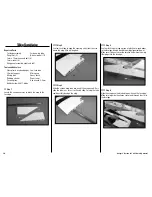
Step 25
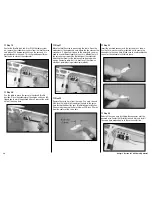
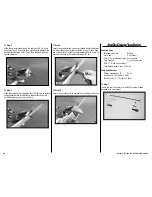
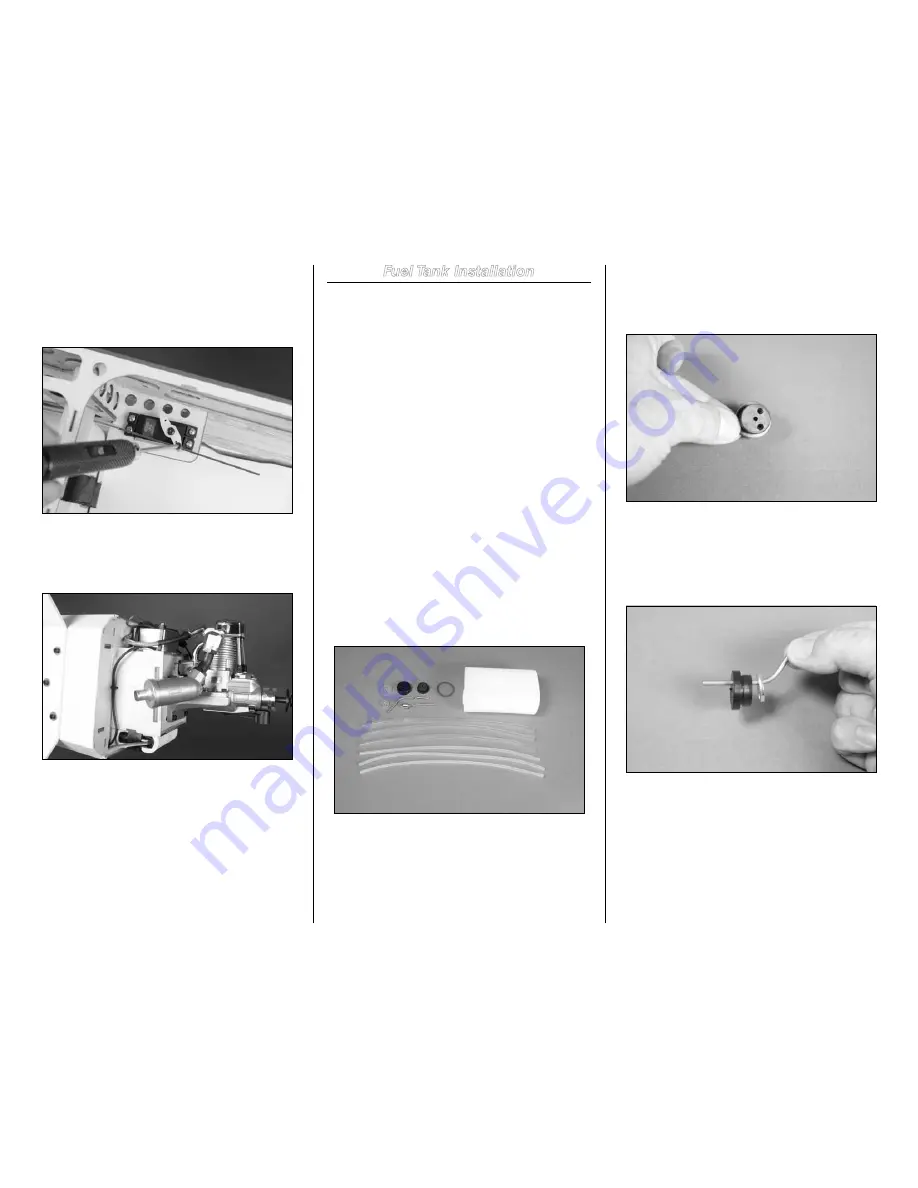
Move the throttle stick to the closed position and move the
carburetor to closed. Use a 2.5mm hex wrench to tighten the
screw that secures the throttle pushrod wire. Make sure to
use threadlock on the screw so it does not vibrate loose.
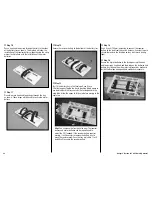
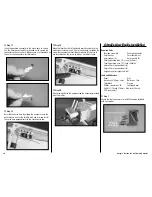
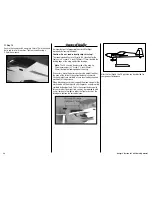
Step 26
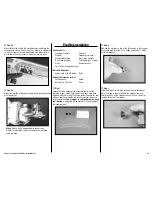
Attach the muffler to the engine using the hardware provided
with the muffler.
Note
: We use d a 90 degree adapter to center the
muffler to reduce the amount of cowling that will need
to be removed.
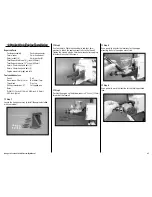
Fuel Tank Installation
Required Parts
Fuselage assembly
Fuel tank
Stopper
Stopper plate, small
Stopper plate, large
Brass tube, straight
Brass tube, pre-bent
Fuel tubing (gas or glow)
Clunk
Rubber band (2)
3mm x 20mm machine screw
Tools and Adhesives
Hobby knife with #11 blade Ruler
Optional Accessories for Gas
Soldering iron
Solder
Music wire: 1/32-inch
Pliers
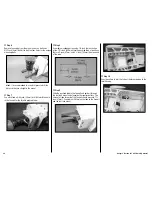
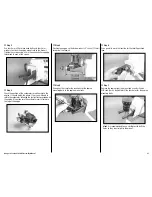
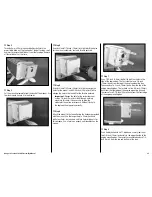
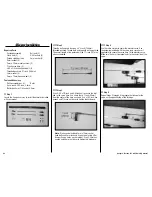
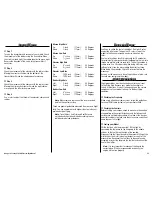
Step 1
Locate the items necessary to assemble and install the
fuel tank in your model. Two sets of fuels lines have been
included with your model. The three yellow lines are for use
with gas engines, while the red, green and clear tubes are
for glow engines.
The stopper is compatible with both
fuel options.
Select the tubing that best fits your engine’s
fuel requirements.
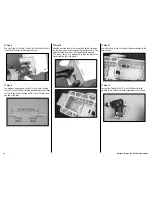
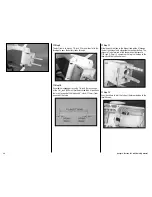
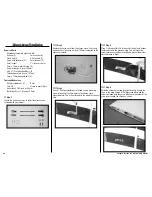
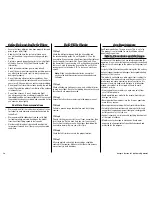
Step 2
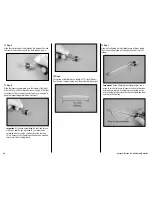
Remove the material so two of the three holes in the stopper
pass completely through. Use a hobby knife and #11 blade
for this procedure.
Step 3
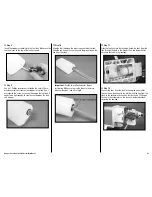
Slide the pre-bent brass tube through the smaller stopper
plate. The tube is then inserted in the stopper from the
smaller or back, of the stopper. Leave 5/8-inch (16mm) of
the tube forward of the stopper.

