4
Hangar 9 Funtana 125 ARF Assembly Manual
Using the Manual
This manual is divided into sections to help make assembly
easier to understand, and to provide breaks between each
major section. In addition, check boxes have been placed
next to each step to keep track of each step completed.
Steps with a single box (
) are performed once, while steps
with two boxes (
) indicate that the step will require
repeating, such as for a right or left wing panel, two servos,
etc. Remember to take your time and follow the directions.
UltraCote® Covering Colors
• Silver
HANU881
• White
HANU870
Before Starting Assembly
Before beginning the assembly of your model, remove
each part from its bag for inspection. Closely inspect the
fuselage, wing panels, rudder and stabilizer for damage. If
you find any damaged or missing parts, contact the place of
purchase.
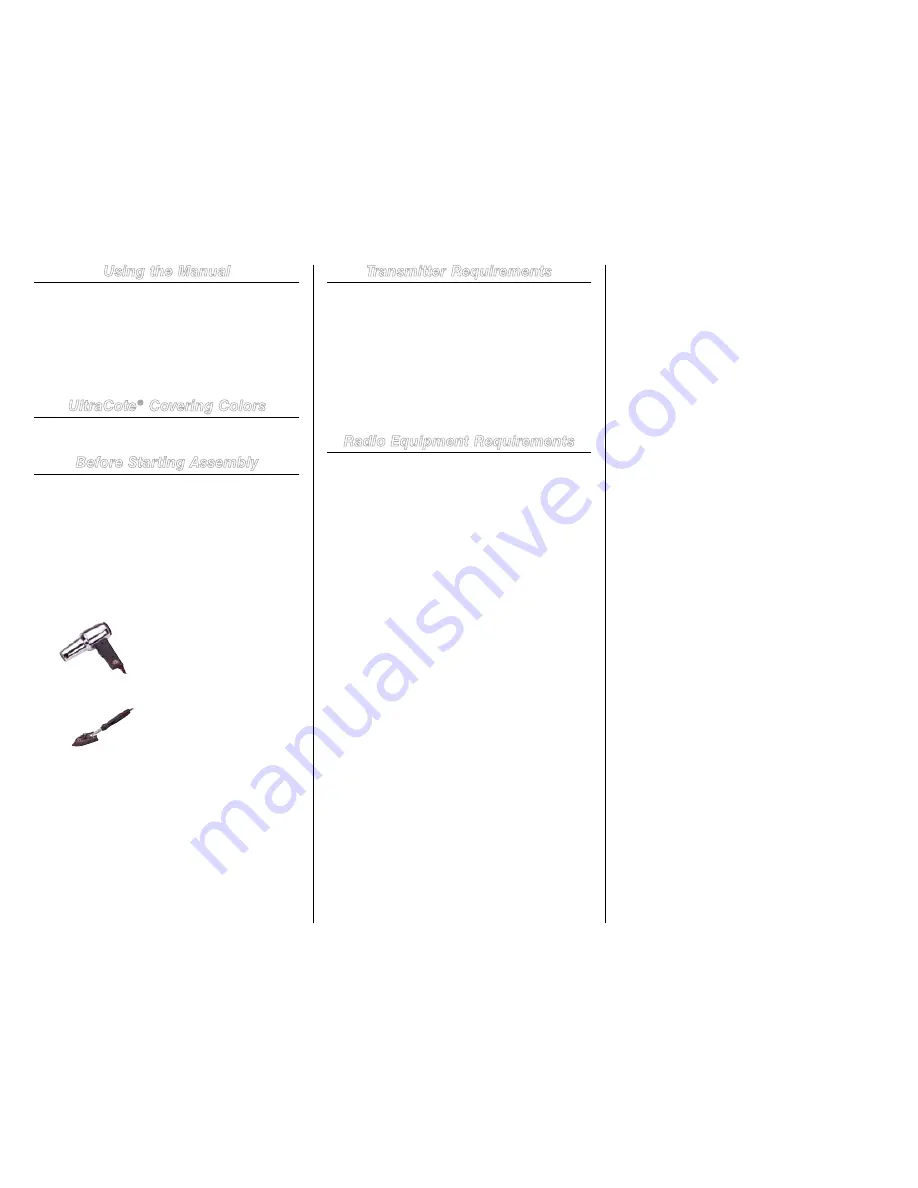
If you find any wrinkles in the covering, use a heat gun or
covering iron to remove them. Use caution while working
around areas where the colors overlap to prevent separating
the colors.
HAN100 – Heat Gun
HAN150 – Covering Glove
HAN101 – Sealing Iron
HAN141 – Sealing Iron Sock
Your model is covered in a printed version of UltraCote
developed specifically for your Funtana 125. It has all the
same properties as UltraCote. All the instructions provided
with our original UltraCote apply to this new and exciting
product.
Transmitter Requirements
The Funtana 125 ARF requires a minimum of a 4-channel
radio to operate the functions of your aircraft. We suggest
the following radio systems available through Horizon Hobby
or your local hobby distributor.
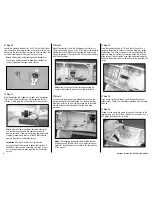
Spektrum DX6i with receiver
SPM6600
Spektrum DX7 with receiver
SPM2710
JR Systems X9303 2.4GHz with receiver
JRP2915
Radio Equipment Requirements
Note
: The elevator will require one standard rotation
and one reverse rotation servo to operate correctly
without the use of a computer radio. Two identical
rotation servos can be used, but you will need to use
a computer radio or a JR MatchBox
™
to operate the
servos in the correct direction for the elevator.
The following items are recommended when installing the
receiver in your aircraft:
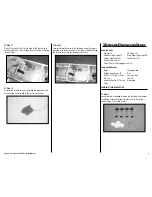
AR7000 7-Channel Receiver
SPM6070
DS9411 Digital Mid MG Servo (4)
JRPSDS9411
DS9411R Digital Mid MG Reverse Servo
JRPSDS9411R
DS821 Digital Sport Servo
JRPS821
(Not required for EP version)
18-inch Servo Extension (3)
JRPA097
3-inch Servo Extension (2)
JSP98100 or
Y-harness
(2)
JSP98020
JR Switch, Chargeswitch
JRPA004
Receiver Battery, 6-volt, 2700mAh
JRPB5008
Servo Arm, 1-inch (JR) (2)
HAN9154
Servo Arm, 1
1
/
2
-inch (JR) (3)
HAN9151
Optional Items for Elevator Servo Install:
MatchBox Servo Matching/Power System
JRPA900
Y-Harness 6-inch with Reverser Heavy-Duty EXRA325
Aileron Option 1:
DS9411 Digital Servo (2) (no mixing required)
• Y-harness (plugged into receiver)
• 6-inch extension (connected to servo) (2)
• Servo Arm, 1
1
/
2
-inch (JR) (2)
Aileron Option 2:
DS9411 Digital Servo (2)
(requires mixing of aileron servos)
• 3-inch extension (plugged into receiver) (2)
• 6-inch extension (connected to servo) (2)
• Servo Arm, 1
1
/
2
-inch (JR) (2)
Rudder: DS9411 Digital Servo
• 18-inch extension
(connection between servo and receiver)
• Servo Arm, 1
1
/
2
-inch (JR)
Elevator Option 1:
DS9411 Digital Servo and DS9411R Reverse Servo
(no mixing required)
• Y-harness (plugged into receiver)
• 18-inch extension (2)
(connection between servo and receiver)
• Servo Arm, 1-inch (JR) (2)
Elevator Option 2:
DS9411 Digital Servo (2)
(requires mixing of elevator servos)
• 18-inch extension (2)
(connection between servo and receiver)
• Servo Arm, 1-inch (JR) (2)
Elevator Option 3:
DS9411 Digital Servo (2)
(requires no mixing of elevator servos)
• 18-inch extension (2)
(connection between servo and receiver)
• Servo Arm, 1-inch (JR) (2)
• MatchBox Servo Matching/Power System
or
• Y-harness 6-inch with reverser
Throttle: DS821 Servo (Not required for electric version)
The Spektrum trademark is used with permission
of Bachmann Industries, Inc.


