42
Hangar 9 Funtana 125 ARF Assembly Manual
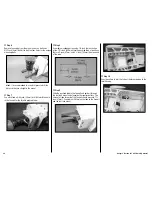
Note
: If you are installing a gas engine, simply route
the vent line to the bottom of the fuselage.
Cowling Installation
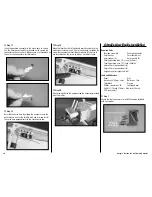
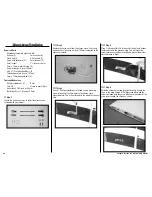
Required Parts
Fuselage assembly
Cowling
3mm washer (4)
Canopy hatch
Spinner with backplate
Propeller
Propeller adapter
3mm x 12mm hex head bolt (4)
Tools and Adhesives
Card stock
Hobby scissors
Medium grit sandpaper
Low-tack tape
Ruler
Hex wrench (to fit spinner bolt)
Rotary tool with sanding drum
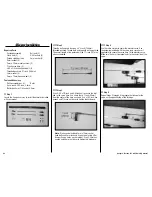
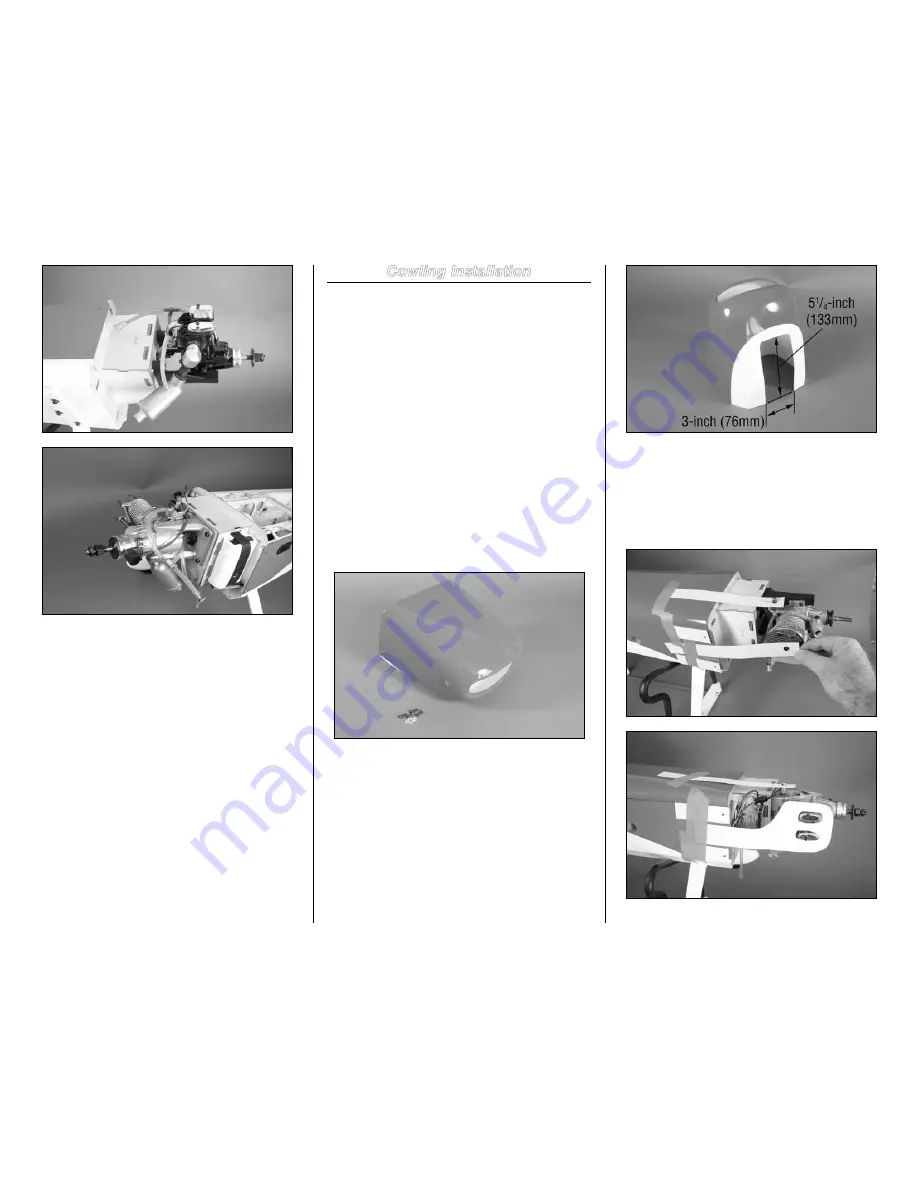
Step 1
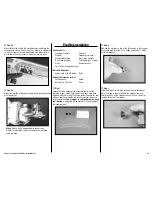
Locate the items necessary to install the cowling included
with your model.
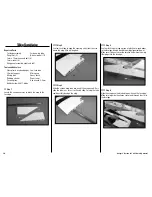
Step 2
Use hobby scissors and a rotary tool to remove the area
from the bottom of the cowl. This will allow air to pass
through the cowl and over the engine or motor for cooling.
The opening will measure 5
1
/
4
-inches by 3-inches (133mm x
76mm).
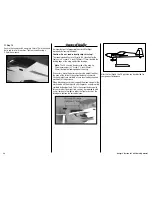
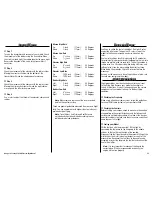
Step 3
Place the canopy hatch on the fuselage. Use card stock and
low-tack tape to make templates to locate the mounting
holes for the cowling, glow plug, needle valve and any other
items that may protrude or need access from outside the
cowling.

