51
Hangar 9 Funtana 125 ARF Assembly Manual
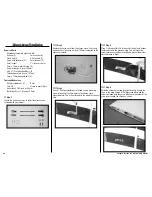
Step 6
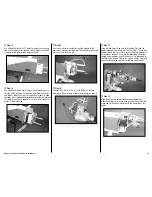
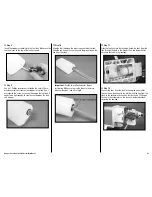
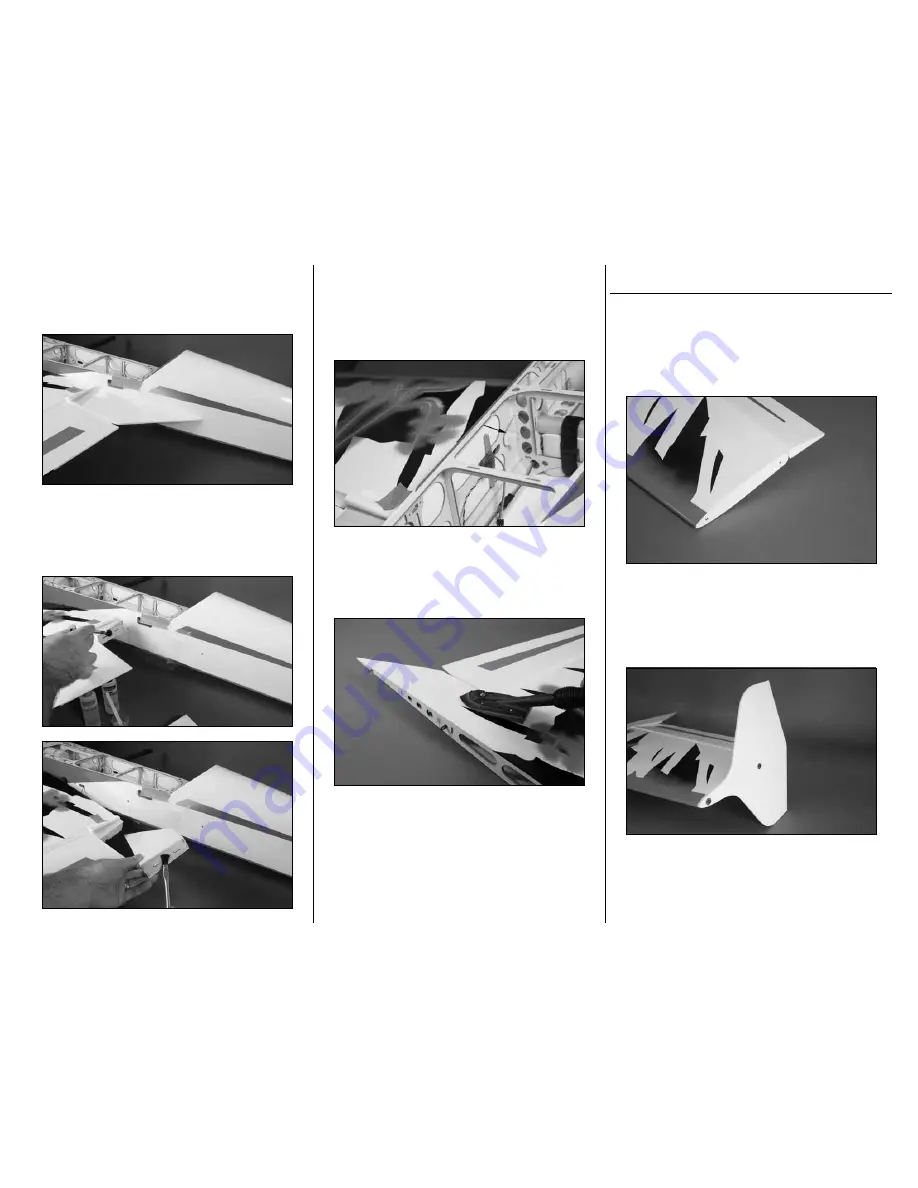
While sliding the wing in position, test fit the wing fillet to
the wing. You should be able to hold the fillet in position and
slide the wing tightly against the fuselage as shown.
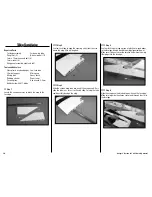
Step 7
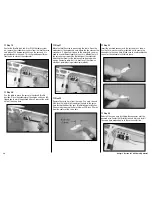
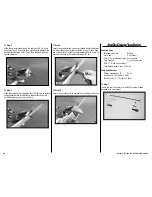
Once the fit of the fillet has been determined, mix 1/2 ounce
(15mL) of 30-minute epoxy and apply the epoxy to the
mating surfaces of both the fillet and wing panel.
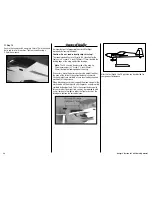
Step 8
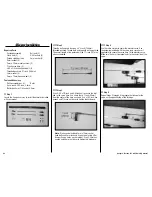
Position the fillet back on the wing and slide the wing tight
against the fuselage. Use a nylon wing bolt to hold the wing
panel tightly against the fuselage until the epoxy fully cures.
Use a paper towel and rubbing alcohol to remove any excess
epoxy that may have oozed from the joint.
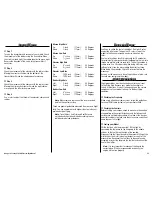
Step 9
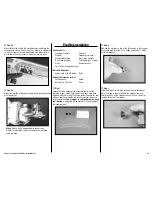
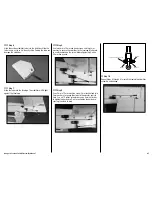
Once the epoxy cures, remove the wing from the fuselage.
Remove the tape from the covering and use a covering iron
to seal the covering on the wing and over the fillet.
Step 10
Repeat Steps 2 through 9 to install the remaining wing panel
and fillet.
OPTIONAL SIdE FORCE
GENERATOR INSTALLATION
Step 11
If you elect to purchase the side force generators, now is a
good time to attach them to the wing. Use a hobby knife and
#11 blade to remove the covering to expose the two blind
nuts at the wing tip.
Step 12
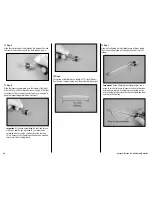
The side force generator is held in position using two 3mm
x 12mm hex head screws and two 3mm washers. Use a
2.5mm hex wrench to tighten the screws. Use threadlock on
the screws to prevent them from vibrating loose.
Step 13
Repeat Step 11 and 12 to install the remaining side force
generator on the opposite wing panel.

