Section 17: Canopy and Decal Installation
39
Required Parts
• Fuselage assembly
• Canopy
Required Tools and Adhesives
• Canopy glue (RC-56) • Sandpaper (medium grit)
Finally, the fun part of building your model. Adding
details besides the ones provided can really dress up
your plane and make it stand out at the field.
Step 1
Install a pilot of your choosing. Use epoxy or Zap-A-
Dap-A-Goo to secure the pilot.
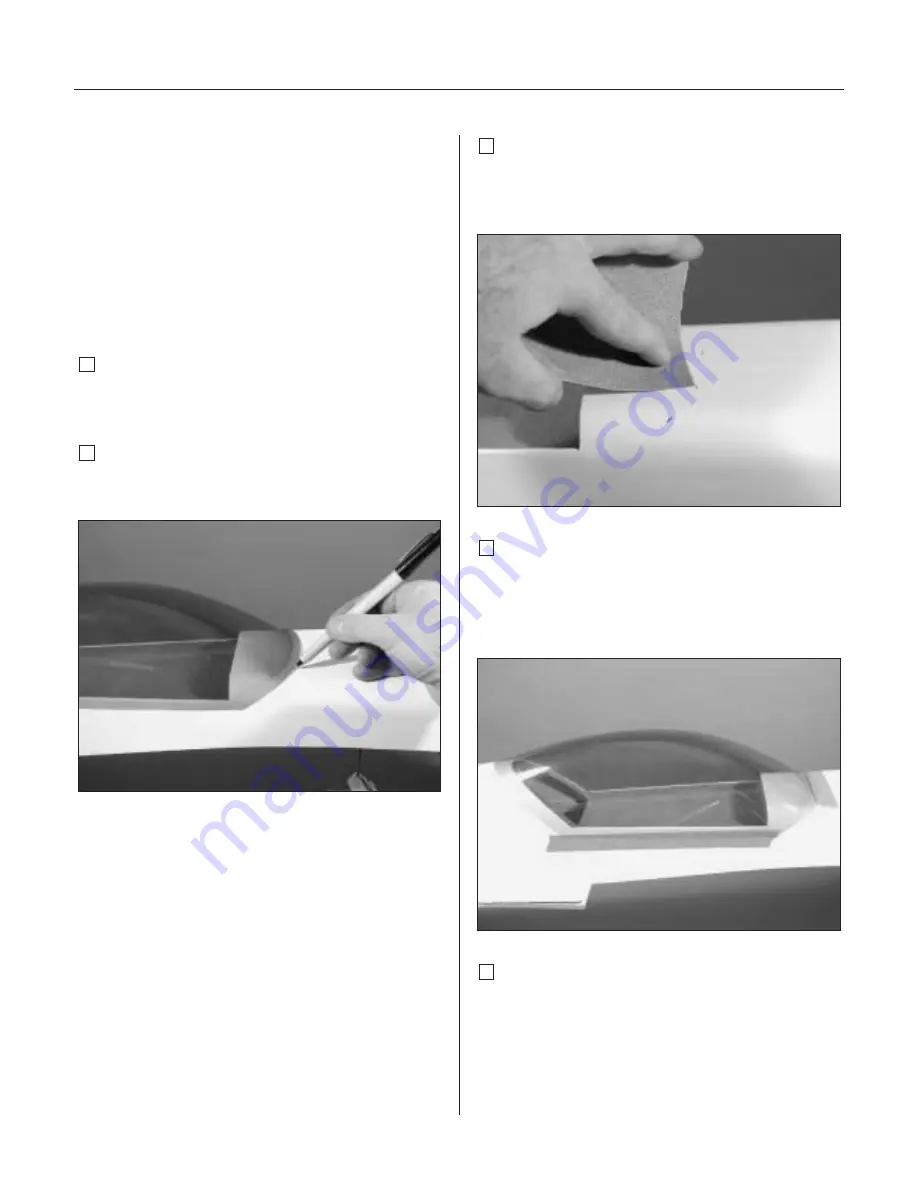
Step 2
Position the canopy onto the fuselage. Trace around
the canopy and onto the hatch using a felt-tipped pen.
Step 3
Lightly sand the inside edge of the canopy and
slightly inside the line drawn on the hatch using
medium sandpaper.
Step 4
Apply a bead of RCZ56 Canopy Glue (ZINJ5007)
around the inside edge of the canopy. Position the
canopy onto the hatch. Use tape to hold the canopy
secure until the glue fully cures.
Step 5
Apply the decals. Use the photos on the box to aid
in their location.


