Section 6 – Installing the Horizontal Stabilizer
15
DO NOT
cut into the underlying wood. Let the knife
“float” across the covering. Cutting into the wood will
weaken the stabilizer and may cause it to fail in flight.
You can use a soldering iron instead of a hobby knife to
remove the covering. Doing so will eliminate accidentally
cutting into the stabilizer.
Step 6
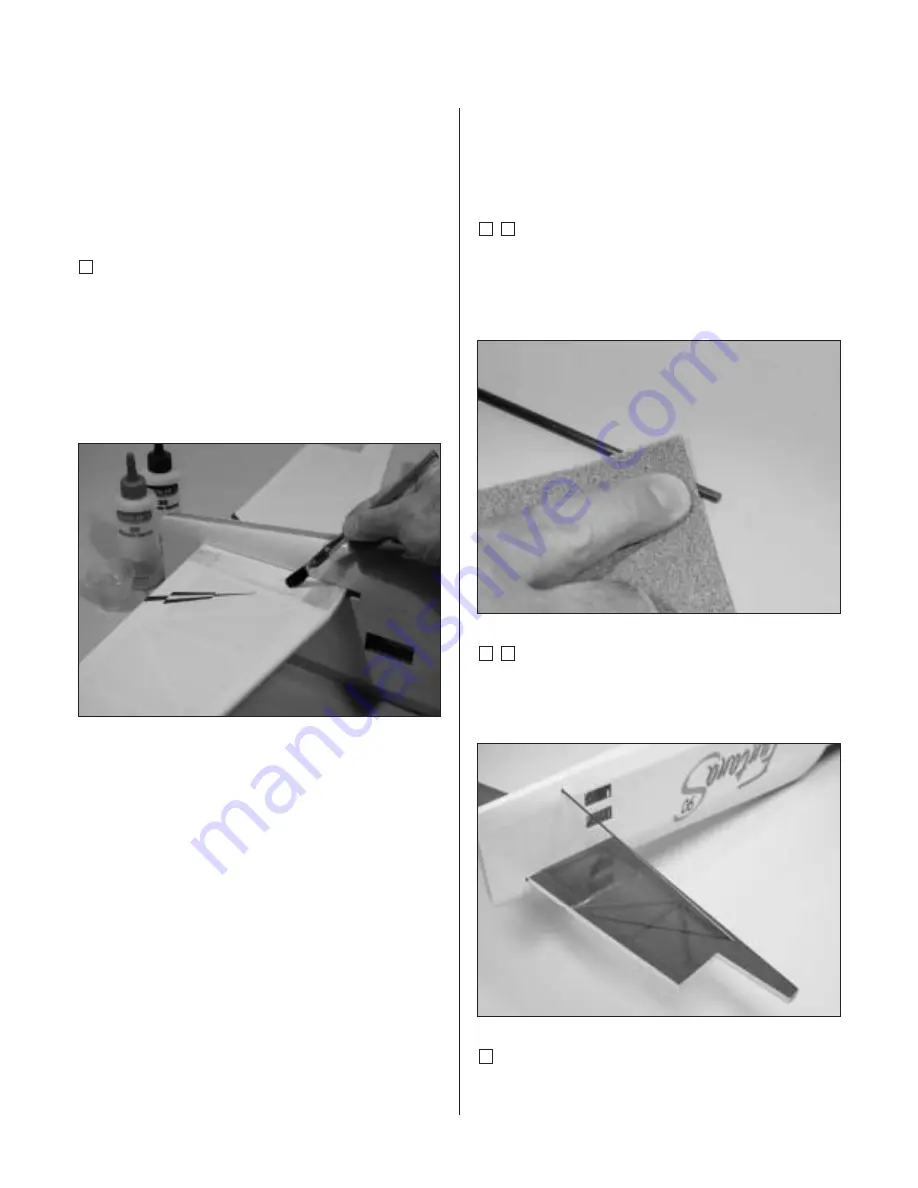
Mix 1/2 ounce of 30-minute epoxy. Apply epoxy to the
top and bottom of the exposed wood of the stabilizer.
Slide the stabilizer the rest of the way into the slot
in the fuselage. Double-check the alignment to verify
it is correct. Remove any excess epoxy using a
paper towel and rubbing alcohol. Allow the epoxy to
fully cure before continuing.
Note
: Do not omit the following steps. The
tail supports are required to assure the
stabilizer will not break during high-stress
maneuvers.
Step 7
Locate one of the carbon fiber tail support rods.
Test fit the carbon support rod on the fuse and stab.
Trim the length of the rod as necessary to fit into the
locations on the stab.
Step 8
Lightly sand the ends of the rod using medium
sandpaper. Use 30-minute epoxy to glue the
rod into position.
Step 9
Repeat Steps 7 and 8 for the remaining support rod.


