29
Step 12
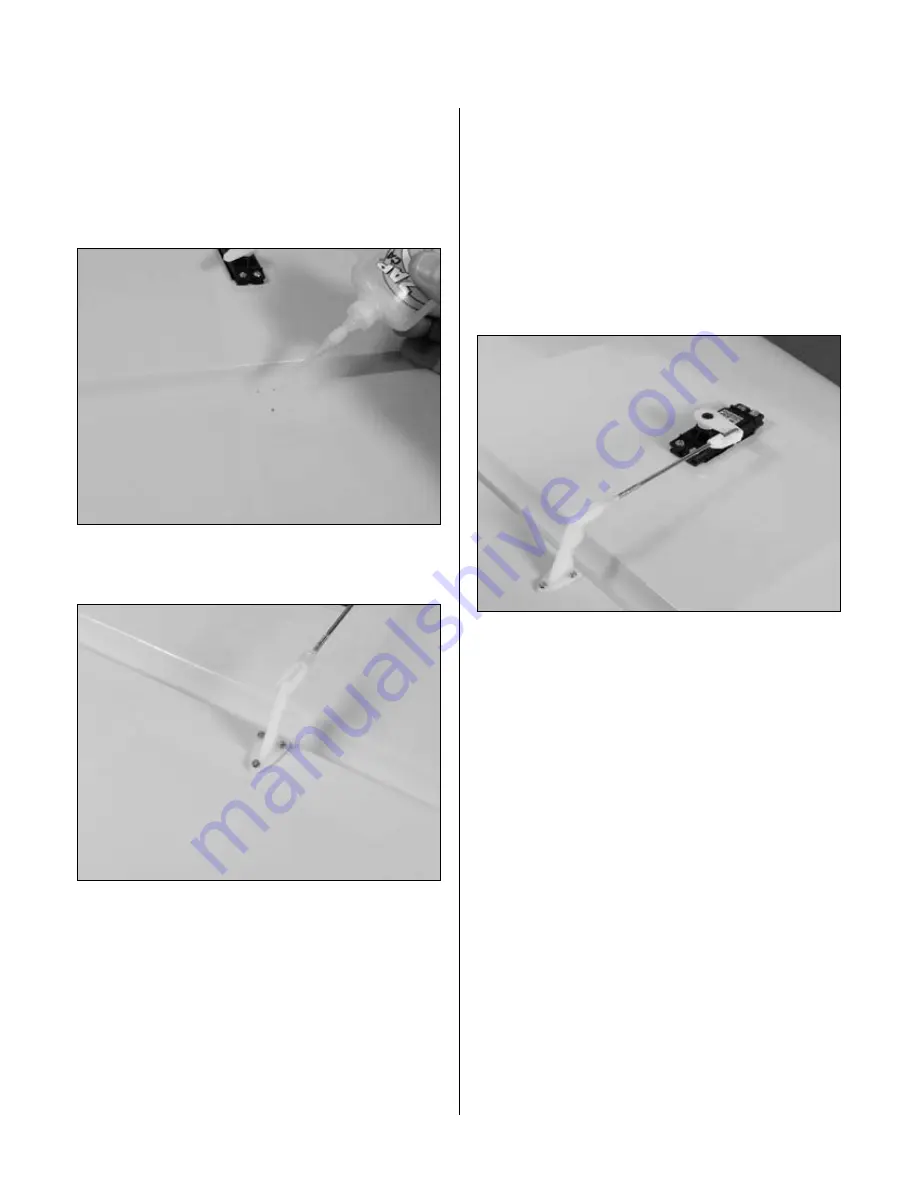
Install one of the #2 x 3/4" screws in a hole
drilled, and then remove it. Place 2–3 drops of
thin CA into the hole to harden the wood. This will
eliminate the potential of the screw pulling out of
the wood. Repeat this for each of the three holes.
Step 13
Attach the control horn using three #2 x 3/4" screws.
Step 14
Center the aileron servo electronically using the radio
system. Install a servo arm onto the aileron servo. Attach
the pushrod with clevis to the control horn. Physically
place the aileron control surface in neutral. Mark the
pushrod where it crosses the holes in the servo arm.
Bend the wire 90 degrees at the mark made in the
previous step. Cut the wire 1/2" (13mm) above the
bend. Slide the wire through the outer hole in the aileron
servo arm. Secure the wire using a nylon wire keeper.
Step 15
Repeat Steps 9 through 14 for the other aileron servo.
Section 8: Servo Installation
Summary of Contents for FuntanaX 50
Page 33: ...33 Notes ...


