43
4
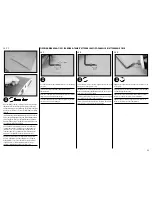
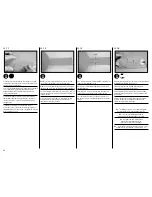
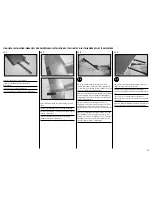
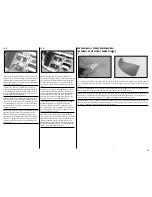
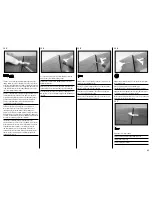
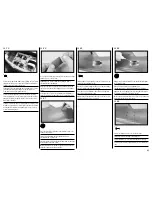
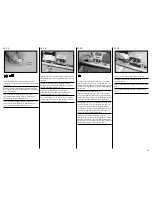
Turn on the radio system and install a long servo horn on the
elevator servo. Use side cutters to remove any arms that may
interfere with the operation of the elevator servo. With the
elevators and elevator servo centered, mark the pushrod where
it crosses the elevator servo horn.
Schalten Sie die RC Anlage ein und montieren ein langes
Servohorn auf dem Höhenruderservo. Schneiden Sie mit dem
Seitenschneider nicht benötigte Servoarme ab. Markieren Sie
mit zentriertem Höhenruder und Höhenruderservo die Stelle
wo das Gestänge den Servoarm kreuzt.
Allumer le système radio et installer un long palonnier sur le
servo de profondeur. Utiliser une pince coupante pour retirer
les bras qui pourraient interférer avec le fonctionnement du
servo de profondeur. Les gouvernes et le servo de profondeur
étant centrés, marquer la tringle à l’endroit où elle croise le
palonnier de profondeur.
Attivare il radiocomando e installare una squadretta per servo
lunga sul servo degli elevatori. Usare pinze diagonali per
rimuovere eventuali bracci che potrebbero interferire con il
funzionamento del servo degli elevatori. Una volta centrati gli
elevatori e il servo degli elevatori, fare un segno sull’asta di
spinta nel punto in cui essa incrocia la squadretta del servo
degli elevatori.
1
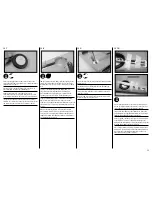
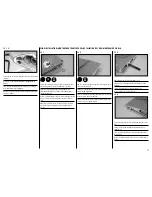
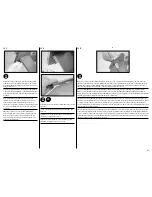
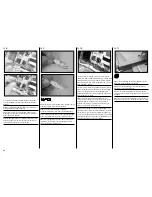
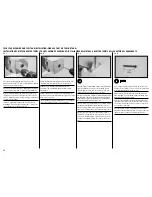
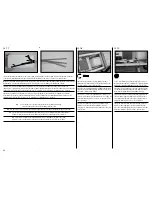
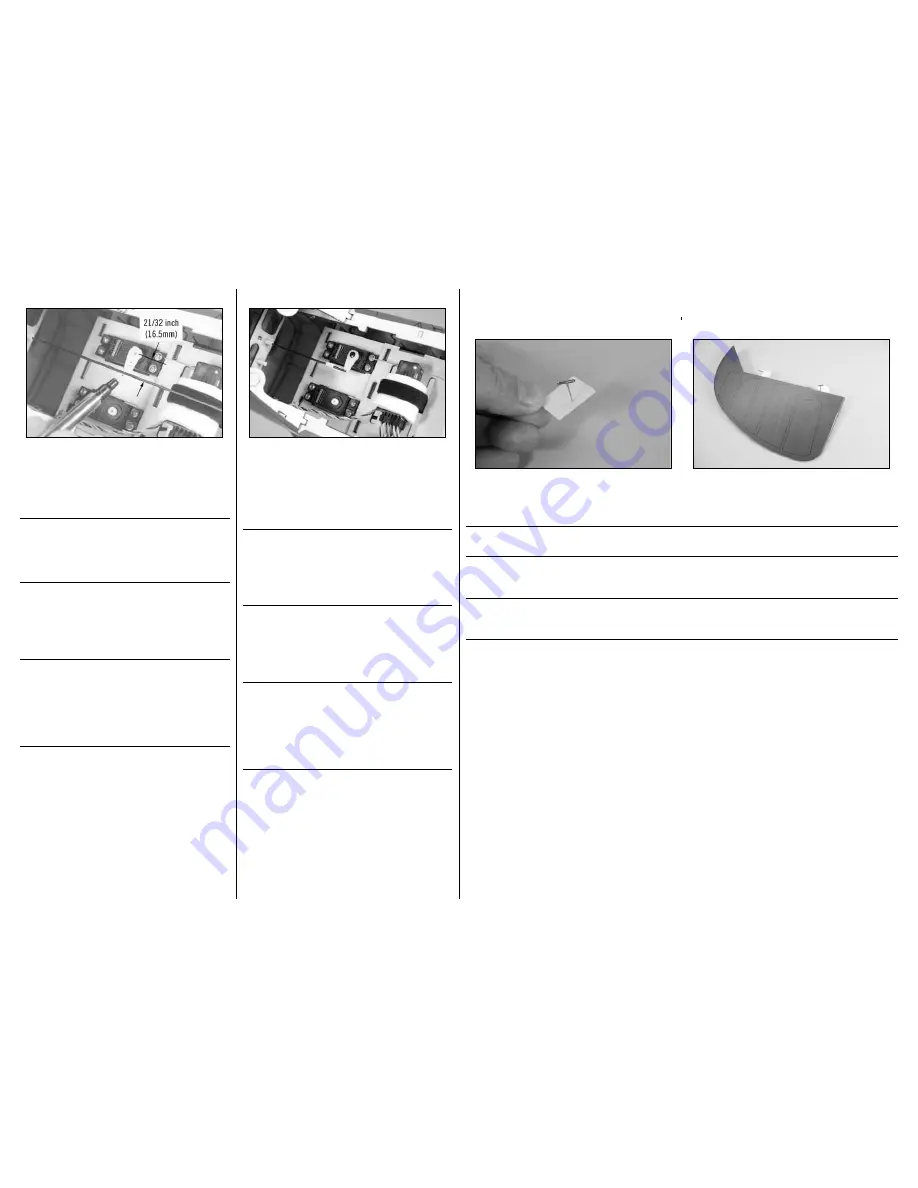
Use a pin vise and 1/16-inch (1.5mm) drill bit to drill a hole in the center of each hinge slot in both the elevators and stabilizers.
Place a T-pin in the center of the two hinges. Slide the hinges into position with the T-pin resting against the edge of the control
surface.
Bohren Sie mit einem Handbohrer ein Loch in jeden Scharnierspalt auf Ruder und Leitwerksseite. Stecken Sie eine T-Nadel in die
Mitte jedes Fließscharnieres und schieben das Scharnier in das Ruder so dass die T-Nadel anliegt.
Utiliser un porte-foret et un foret de 1,5 mm pour percer un trou au centre de chaque fente de charnière dans les gouvernes de
profondeur et les stabilisateurs. Placer une épingle en T au centre des deux charnières. Mettre en place les charnières en les
faisant glisser dans leurs fentes respectives, avec l’épingle en T en appui contre le bord de la gouverne.
Usare un trapano manuale e una punta per trapano da 1,5 mm per fare un foro al centro della scanalatura di ogni cerniera, sia
negli elevatori che negli stabilizzatori. Posizionare un perno a T al centro delle due cerniere. Far scorrere in posizione le cerniere
con il perno a T appoggiato contro il bordo della superficie di controllo.
5
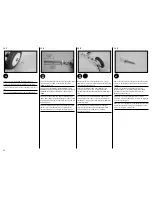
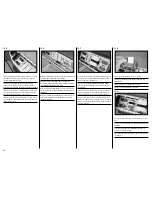
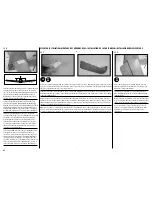
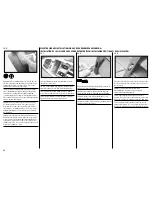
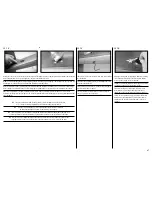
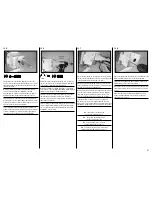
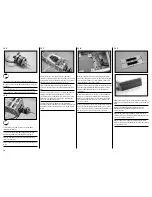
Bend the pushrod 90 degrees at the mark made in the
previous step. Enlarge the outer hole of the elevator servo horn
using a pin vise and 5/64-inch drill bit. Secure the pushrod
wire using the pushrod keeper. Use side cutters to trim the
excess wire so it does not interfere with the operation of the
servo.
Biegen Sie das Gestänge 90° an der Markierung die Sie im
letzten Schritt gemacht haben. Vergrößern Sie das äußere
Loch des Höhenruderservohorns mit einem 5/64 Handbohrer.
Sichern Sie das Gestänge mit einem Clip. Schneiden Sie
überschüssiges Gestänge mit einem Seitenschneider ab so
dass der Betrieb des Servos nicht behindert wird.
Plier la tringle à 90 degrés à la marque effectuée à l’étape
précédente. Agrandir le trou extérieur du palonnier de
profondeur à l’aide d’un porte-foret et d’un foret de 5/64
pouce. Fixer le fil de la tringle à l’aide du crochet. Utiliser une
pince coupante pour couper le fil en excès afin qu’il ne gêne
pas le fonctionnement du servo.
Piegare di 90 gradi l’asta di spinta in corrispondenza del
segno fatto nel passaggio precedente. Allargare il foro esterno
della squadretta del servo degli elevatori usando una morsa
stretta e una punta per trapano da 2 mm. Bloccare il cavo
dell’asta di spinta usando l’apposito bloccaggio. Usare pinze
diagonali per rimuovere il cavo in eccesso, in modo che non
interferisca con il funzionamento del servo.
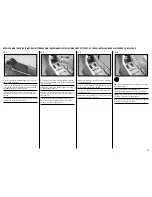
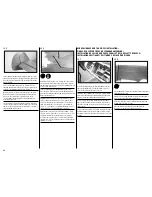
rudder hinges•seitenruderscharniere•
charnieres de direction•cerniere timone

