After the hinges are dry, check to make sure they are securely in
place. Try to pull the rudder from the vertical stabilizer. Use care
not to crush the structure.
Step 14.
Slide the tail wheel itself onto the tail wheel wire.
Next slide the wheel collar on the wire and tighten the screw
in the wheel collar. Place a drop of threadlock on the screw
to secure the collar in place.
Note:
The tail wheel should rotate freely with only a small
amount of side play. Check to be sure the rudder and
tail wheel operate smoothly.
Parts Needed
• Fuselage/wing assembly
• Elevator
Tools and Adhesives Needed
• Thin CA glue
• CA remover/debonder
• Paper towels
• T-pins
Step 1.
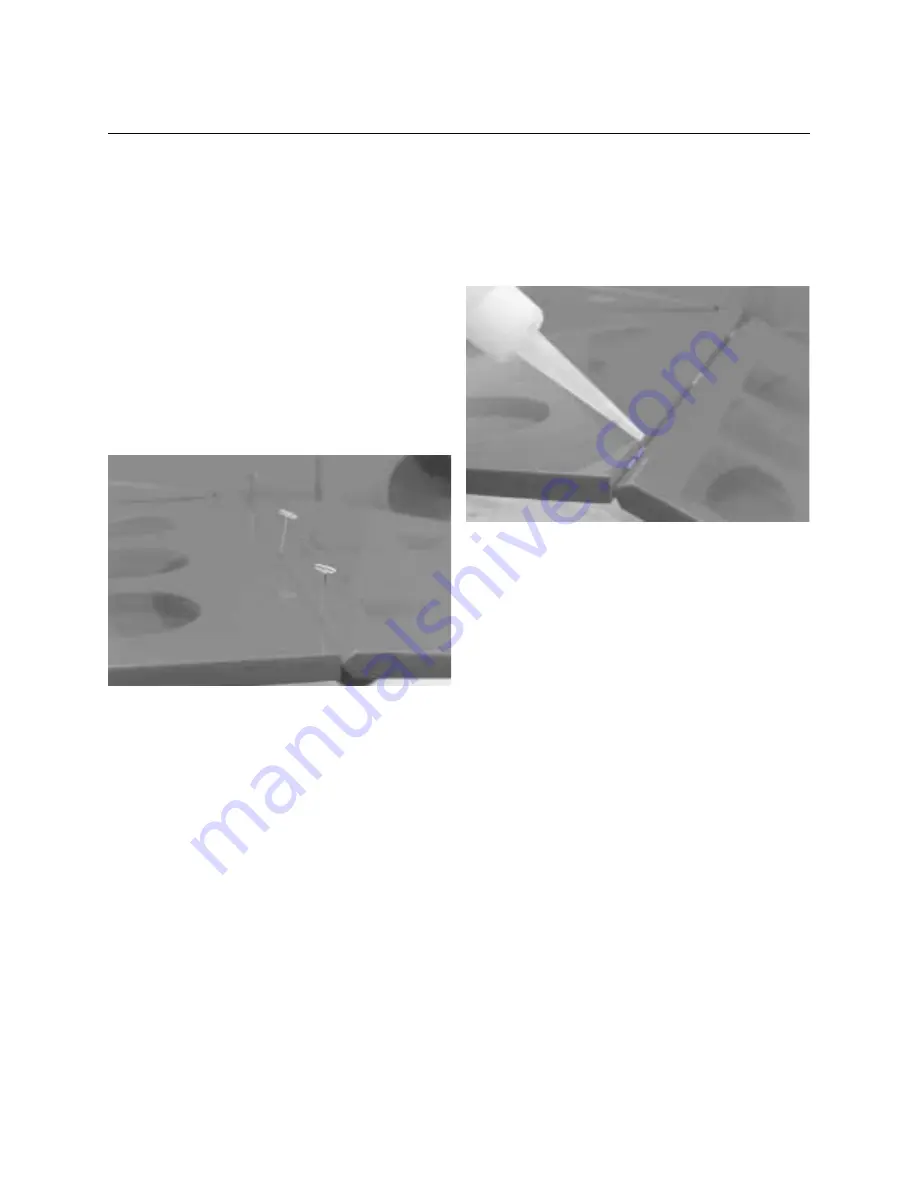
Locate the elevator and hinges. Trial fit the elevator into
the proper position on the horizontal stabilizer using the same
hinging technique used in Section 2. Remember to remove the
T-pins before applying the CA glue. Also, make sure the tail
wheel is free to move its full range.
Step 2.
With one elevator half aligned (left and right), apply thin
CA glue to the hinges on both sides. Wipe away any excess CA
with CA remover/debonder and a paper towel.
Note:
Try to maintain a minimal gap throughout
the length of the hinge line.
Step 3.
After the hinges are dry, check to make sure they are
securely in place. Try to pull the elevator from the horizontal
stabilizer. Use care not to crush the structure.
Step 4.
Repeat the previous procedure for the other
elevator half.
Step 5.
Flex the elevators up and down several times to
“work-in” the hinges and check for proper movement.
Section 8: Hinging the Horizontal Stabilizer
and Elevator
20


