14
Hangar 9 Toledo Special Assembly Manual
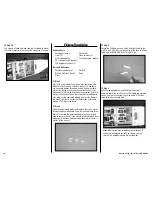
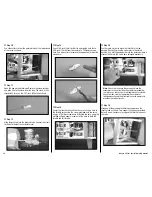
Step 10
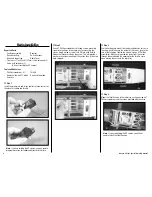
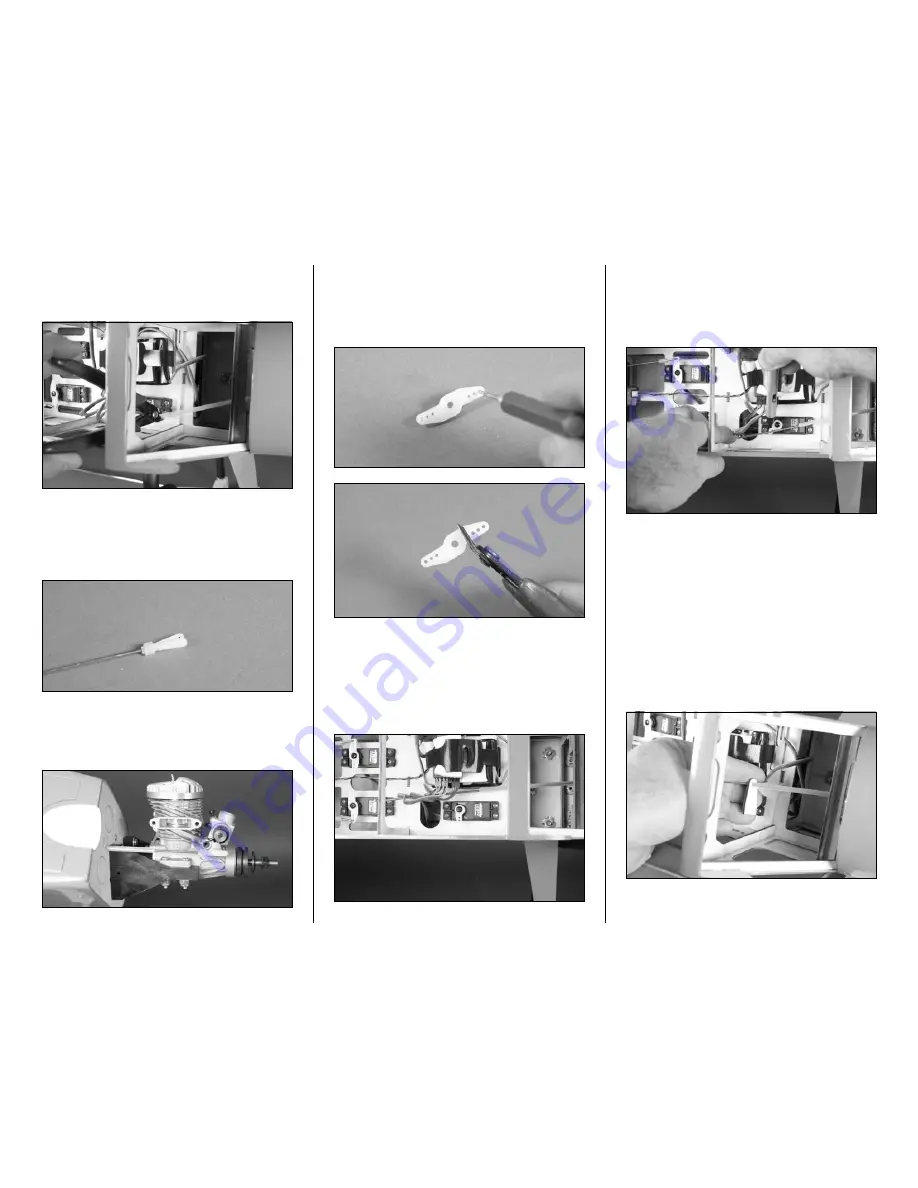
Use side cutters to trim the pushrod tube at the forward end
of the servo as shown.
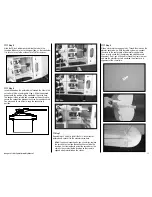
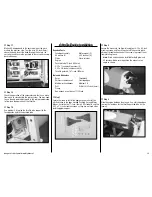
Step 11
Open the bag marked fuselage. Remove the clevis retainer
and slide it onto the clevis from the bag. The clevis is then
threaded 10 turns on the 16
1
/
2
-inch (420mm) pushrod.
Step 12
Slide the pushrod into the pushrod tube. Connect the clevis
to the outer hole of the carburetor arm.
Step 13
Use a 5/64-inch (2mm) drill bit to enlarge the hole that is
9/16-inch (10mm) from the center of a 180-degree servo
horn. Use side cutters to remove the opposite arm from the
servo horn.
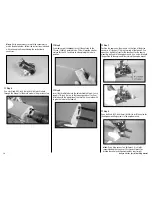
Step 14
Center the throttle stick and trim. Secure the servo horn to
the throttle servo using the screw provided with the servo
using a #1 Phillips screwdriver. Attaching the horn using this
method will give equal movement of the horn to both low
throttle and full throttle.
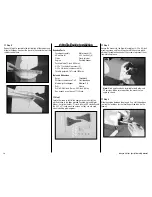
Step 15
Use the radio system to move the throttle to the low
position. Physically move the carburetor to the closed
position. Use a felt-tipped pen to mark the pushrod where it
crosses the hole in the servo horn enlarged previously.
note
: Check to make sure the servo will move the
carburetor in the correct directions before proceeding.
In most cases, the servo arm will angle back for closed.
Check to make sure that operating the carburetor
linkage manually and the direction the servo operates in
provides the correct results.
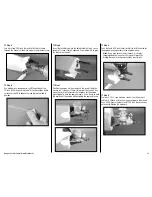
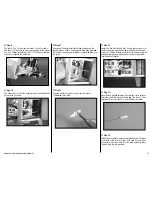
Step 16
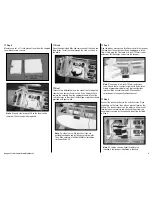
Slide one of the plywood throttle tube supports on the
throttle tube as shown. Two supports have been provided,
but only one is necessary to support the throttle tube near
the servo.


