18
Hangar 9 Toledo Special Assembly Manual
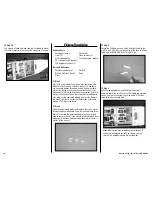
Step 16
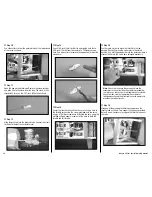
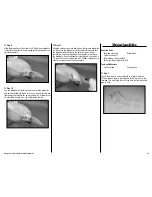
Physically move the carburetor to the closed position. Use
a felt-tipped pen to mark the pushrod where it crosses the
middle hole of the carburetor arm.
note
: Check to make sure the servo will move the
carburetor in the correct directions before proceeding.
In most cases, the servo arm will angle back for closed.
Check to make sure that operating the carburetor
linkage manually and the direction the servo operates in
provides the correct results.
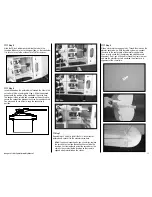
Step 17
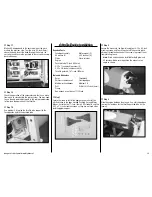
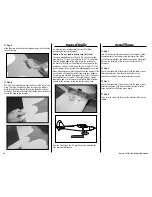
Make a Z-bend in the pushrod wire at the mark made in the
previous step. Insert the bend through the middle hole in the
carburetor arm and secure the pushrod to the servo horn
using a pushrod keeper.
note
: You will need to remove the carburetor arm
from the carburetor in most cases. Make sure the arm
is secure and aligned correctly before proceeding with
adjusting the radio system.
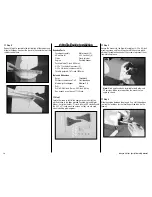
Step 18
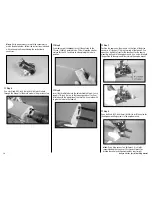
Check the operation of the carburetor and that it can move
from open to closed using the radio system. You may need
to use the end point adjustments in the radio programming
to fine-tune the operation of the throttle.
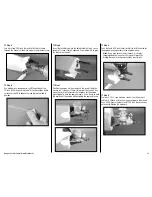
Step 19
Use medium CA to glue the throttle tube support to the
fuselage side and to the throttle pushrod tube.
Fuel Tank Installation
Required Parts
Fuselage assembly
Fuel tank assembly
#4 washer
Tie-wrap
4-40 x 3/8-inch socket head screw
Tools and Adhesives
Side cutter
Ball driver or hex wrench: 3/32-inch
Hobby knife with #11 blade
Step 1
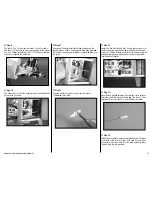
Remove the hatch from the bottom of the fuselage. Magnets
hold the rear of the hatch while tabs at the front key to the
fuselage to keep it secure. The rear only need to be lifted
slightly to remove the hatch, as lifting it too much may
damage the tabs at the front.

