19
Hangar 9 Toledo Special Assembly Manual
Step 2
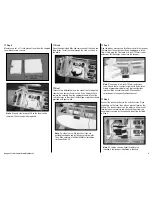
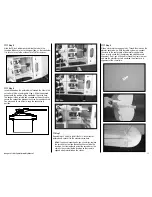
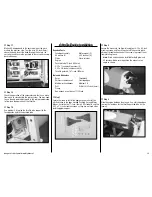
Open the bag with the fuel tank. The plywood tray can be set
aside as it is for the EP version and will not be used.
Step 3
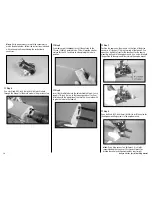
Position the tie-wrap in the fuselage as shown. Make
sure the tie-wrap will not pull on the throttle tube and is
positioned to the inside of the tube as shown.
Step 4
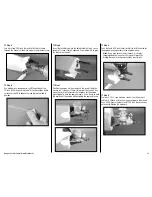
Inspect the fuel tank to determine the position of the vent
tube inside the tank. It is important to note which direction
the vent line faces so the tank can be installed in the correct
direction. Also note which fuel tubes go to the vent line
and to the clunk so they can be connected to the engine
correctly.
Clunk
Vent Line
Top View
Side View
Vent Line (faces top of fuselage)
To Muffler
To Carburetor
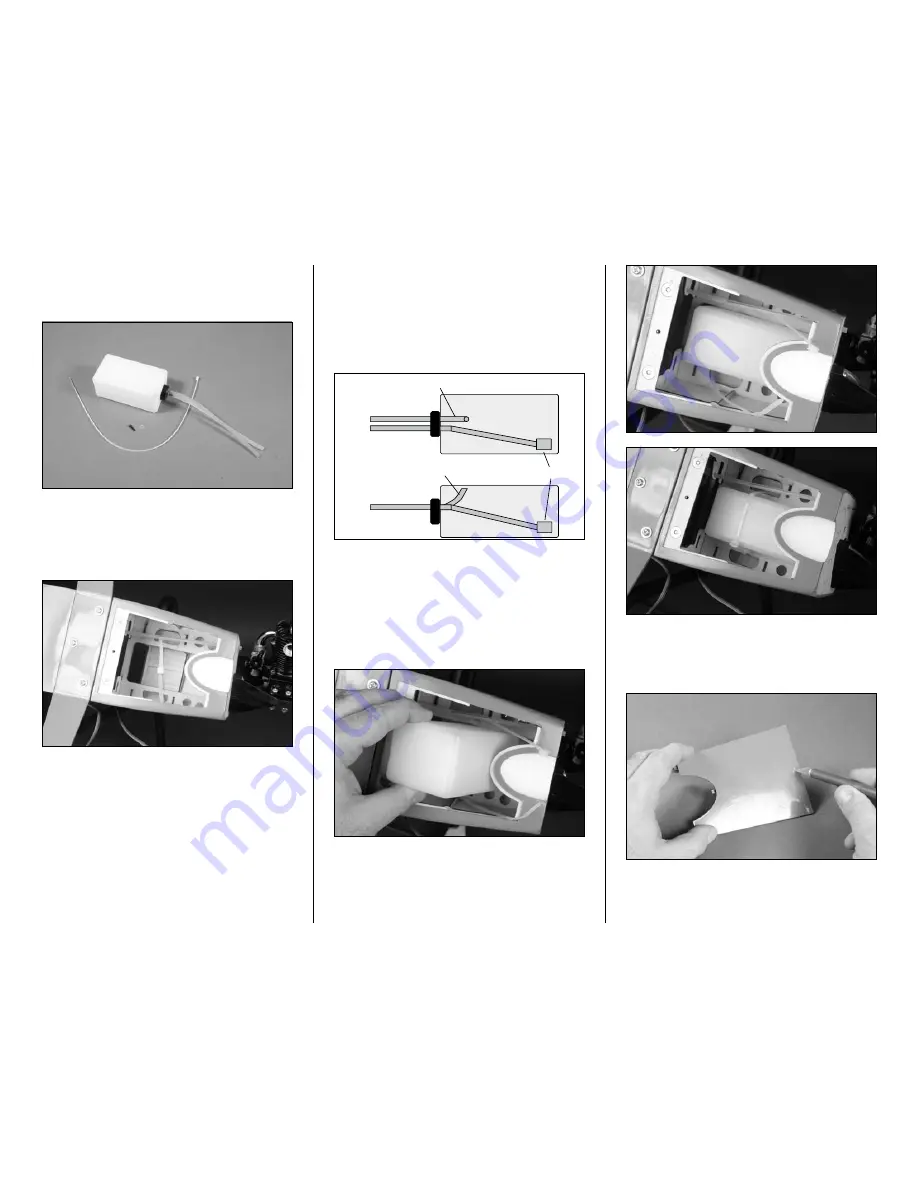
Step 5
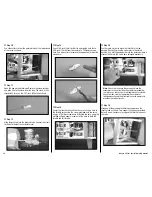
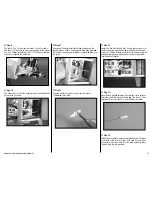
Insert the fuel tank into the fuselage while guiding the fuel
tubes through the hole in the firewall. Make sure the vent
line faces the top of the fuselage before using the tie-wrap
to secure the position of the tank in the fuselage. Use side
cutters to trim the excess tie-wrap so it will not interfere with
the installation of the hatch on the bottom of the fuselage.
Step 6
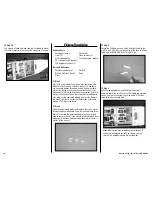
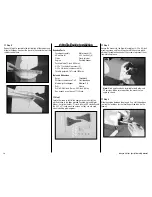
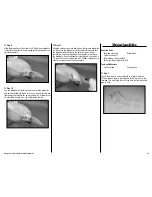
Use a hobby knife with a #11 blade to remove the covering
from the screw hole at the rear of the fuselage hatch.


