20
Hangar 9 Toledo Special Assembly Manual
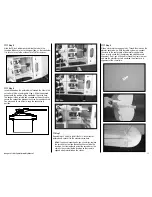
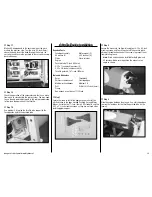
Step 7
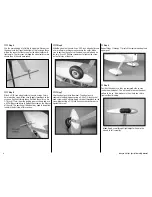
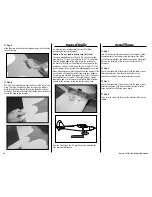
Place the fuselage hatch back into position on the bottom of
the fuselage. Use a 4-40 x 3/8-inch socket head screw and
#4 washer to secure the hatch back on the fuselage. Use a
3/32-inch ball driver or hex wrench to tighten the screw.
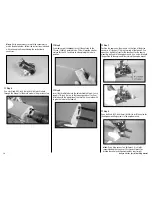
Step 8
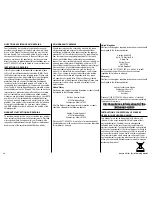
Install the muffler on the engine following the instructions
provided with the engine. Connect the fuel line from the
clunk to the carburetor and the vent line from the tank to the
muffler.
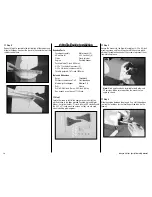
Electric Motor Installation
Required Parts
Fuselage assembly
Plywood battery tray
#8 washer (4)
Hook and loop strap
Tie-wrap (not included)
#4 washer (2)
4-40 x 3/8-inch socket head screw (2)
1
15
/
16
-inch (48mm) standoff (4)
Hook and loop tape (not included)
8-32 x 2
1
/
4
-inch machine screw (4)
Tools and Adhesives
Hobby knife with #11 blade Drill
Phillips screwdriver: #2
Drill bit: 5/32-inch (4mm)
Ball driver or hex wrench: 3/32-inch
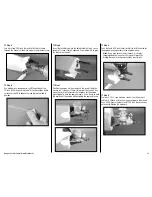
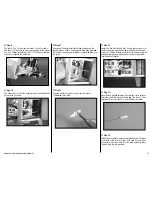
Step 1
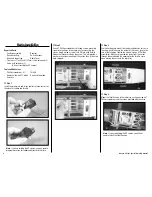
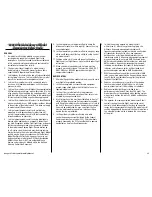
Locate the items to install the electric motor and speed
control in the fuselage.
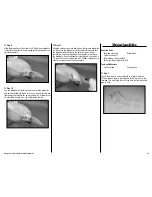
Step 2
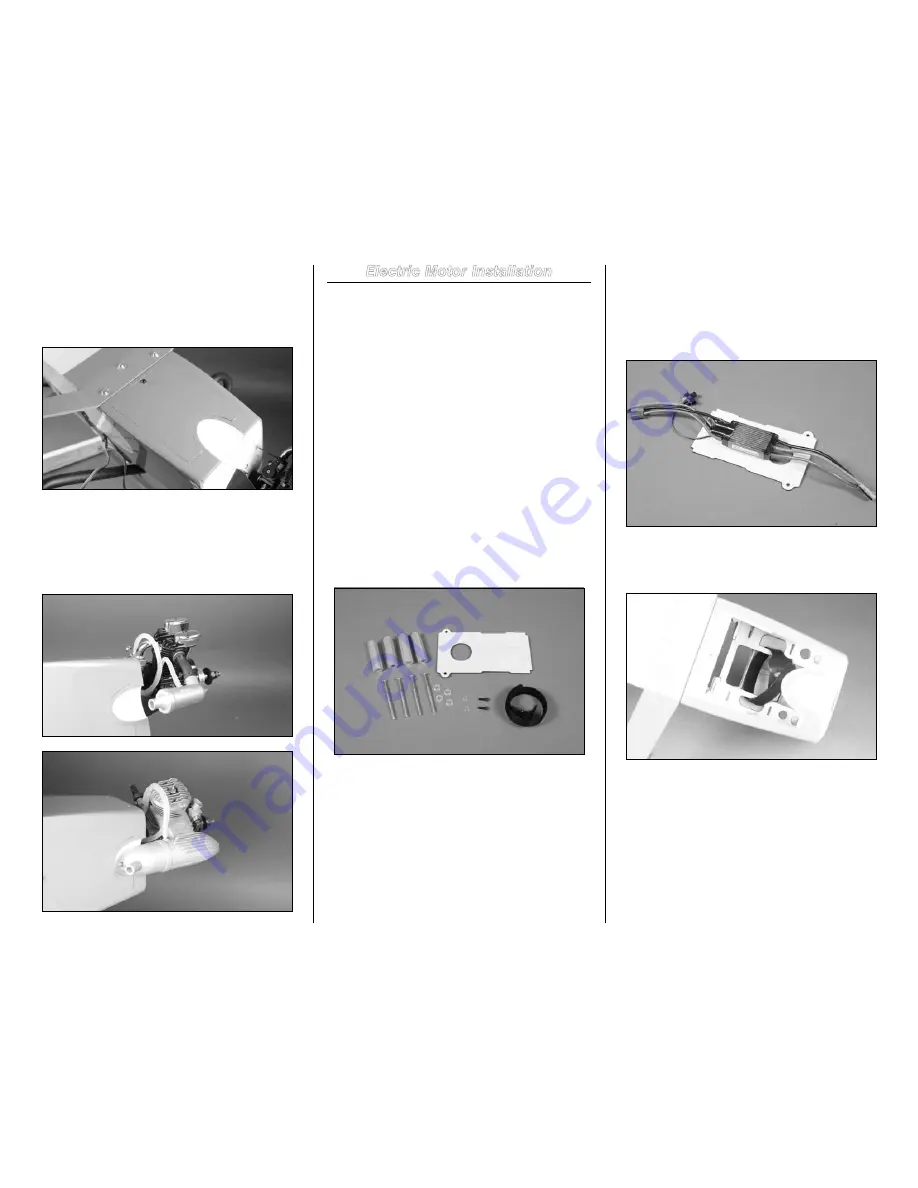
Use hook and loop tape (not included) to secure the speed
control to the plywood battery tray. The tray is symmetrical
with no official top or bottom to the tray until the speed
control is attached. The side with the speed control will now
be considered the top of the tray.
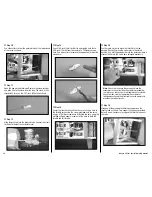
Step 3
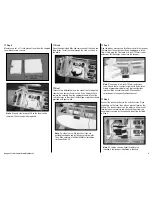
Insert the hook and loop strap in the fuselage as shown.

