26
Hangar 9 Toledo Special Assembly Manual
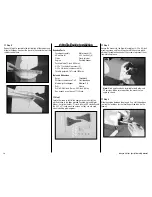
Step 2
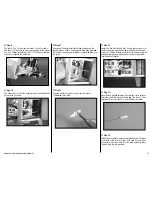
Check the fit of the windows in the sides of the fuselage. The
windows fit on the inside of the fuselage to hide the edges.
Once the right and left windows have been determined, use
canopy glue to glue the windows in the fuselage sides. Use low-
tack tape to keep the windows in position until the glue cures.
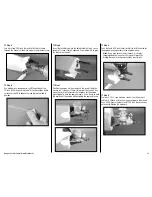
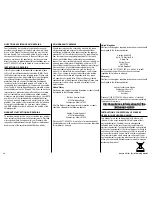
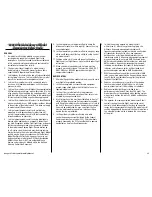
Step 3
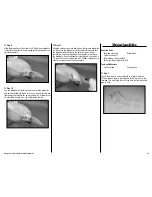
The windshield is installed in the same manner as the side
windows. Once everything has been placed, set the fuselage
aside to allow the glue to fully cure.
Aileron Servo Installation
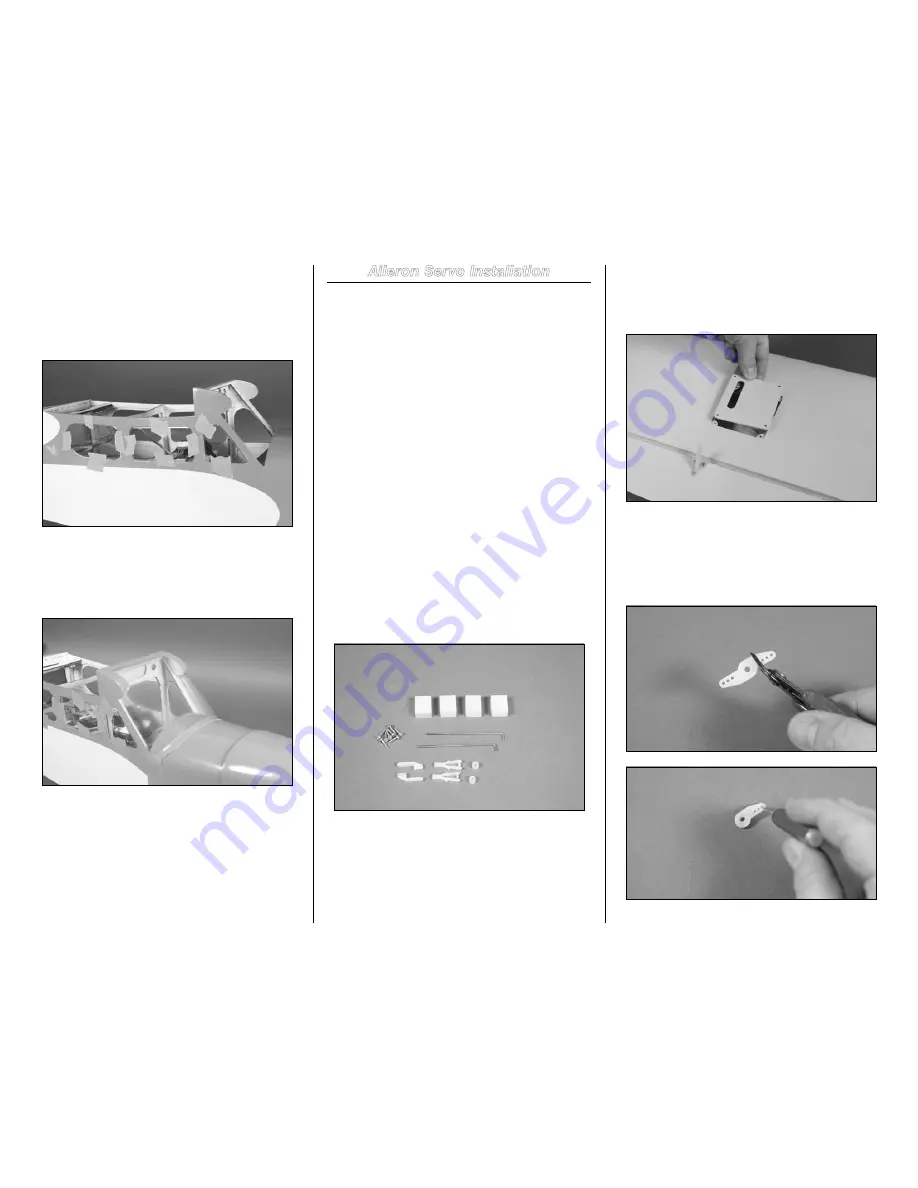
Required Parts
Wing panel (right and left)
Clevis (2)
Clevis retainer (2)
Pushrod keeper (2)
Servo with hardware (2)
9-inch (228mm) servo extension (2)
Aileron servo mounting blocks (4)
2
7
/
8
-inch (73mm) pushrod wire (2)
#4 x 1/2-inch sheet metal screw (8)
Tools and Adhesives
Phillips screwdriver: #1
30-minute epoxy
Mixing sticks
Mixing cup
Drill
Pencil
Ruler
Thin CA
Small clamps
Medium grit sandpaper
Drill bit: 1/16-inch (1.5mm), 5/64-inch (2mm)
Step 1
Locate the items necessary to install the aileron servos in
the wing. Most items are from the bag marked wing. You will
also need the aileron pushrod wires from the bag marked
pushrod.
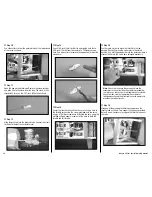
Step 2
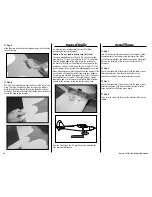
Remove the servo cover for the aileron from the wing panel.
Note the location of the servo horn exit on the cover and
how it aligns with the control horn.
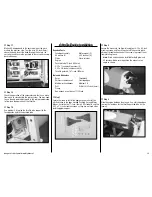
Step 3
Prepare a 180-degree servo horn by removing one of the
arms from the horn as show. Use a pin drill and 5/64-inch
(2mm) drill bit to enlarge the outer hole that is 9/16-inch
(15mm) from the center of the arm.

