16
EN
4.
5.
6.
7.
8.
4.
5.
1.
2.
3.
4.
Use an epoxy brush to apply epoxy to the exposed wood
on the base of the fi n where it contacts the fuselage.
5.
Fit the fi n back into position. Use a paper towel and
isopropyl alcohol to remove any excess epoxy from
the fi n and fuselage. Use low-tack tape to hold the fi n
securely in position while the epoxy fully cures. Slide the
hinge pin into position to secure the lower rudder hinge.
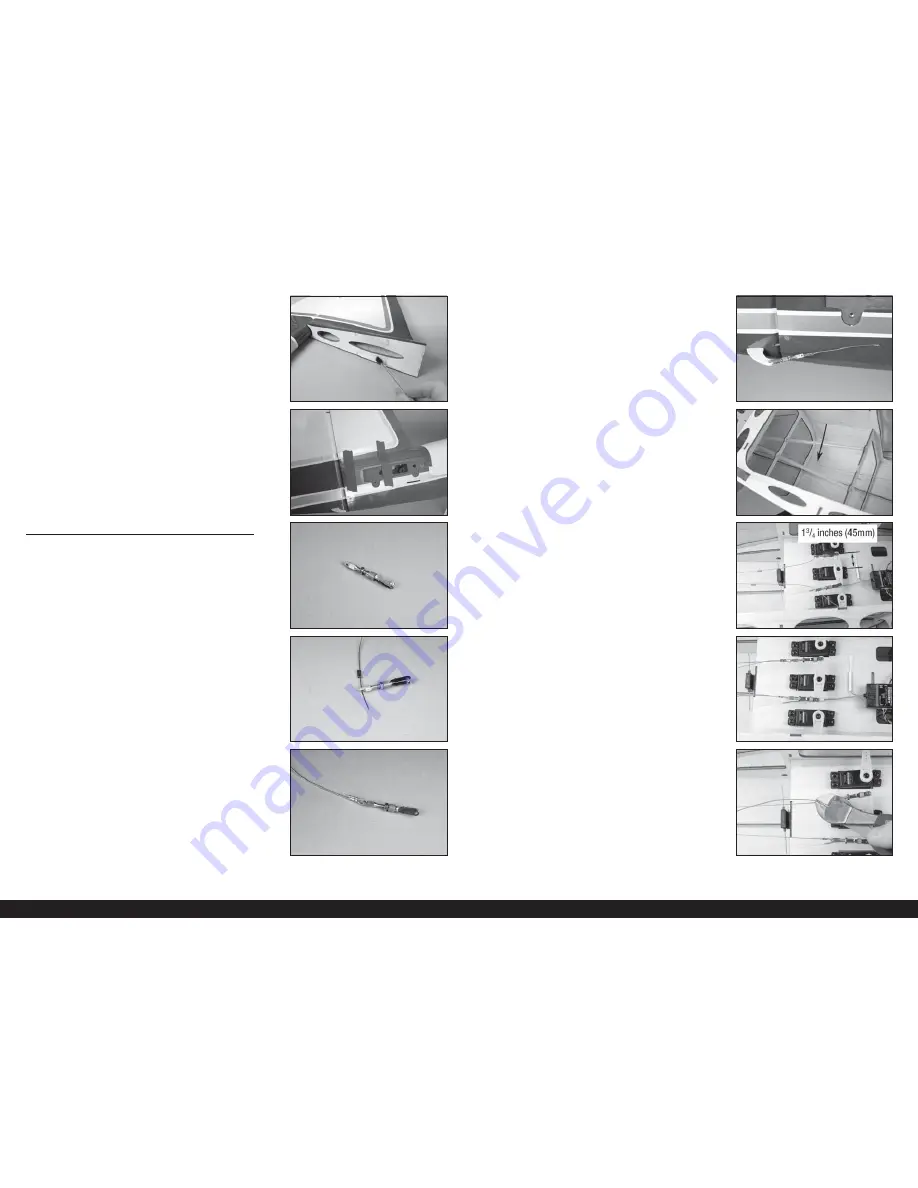
RUDDER CABLE INSTALLATION
1.
Slide a clevis retainer on the barrel portion of the clevis.
Thread an M2 nut on the cable end, then thread the
cable end into the clevis until it is visible between the
forks of the clevis. Prepare all four clevises at this time.
2.
Slide a sleeve on the cable, then the cable through the
cable end.
3.
Loop the cable back through the sleeve. Use a crimping
tool to secure the sleeve to the cable.
4.
Attach the clevis to the rudder control horn, then insert
the cable into the tube in the fuselage. Guide the cable to
toward the rudder servo. Install both cables at this time.
5.
When routing the cables to the servo, they will cross
inside the fuselage as shown.
6.
Attach the two remaining clevises to the rudder servo
arm. Slide a sleeve on the cable, then slide the cable
through the cable end. The clevis will attach to the arm
1
3
/
4
inches (45mm) on either side from the center of the
arm.
7.
Slide the cable back through the sleeve. Tighten the
rudder cables so there is light tension on both cables.
The rudder and rudder servo should also be centered at
this time.
8.
Use a crimping tool to secure the sleeve to the cables.
Use side cutters to trim the excess cable.
Check the tension on the cables periodically
and adjust if they become slack.


