12
13
Graph
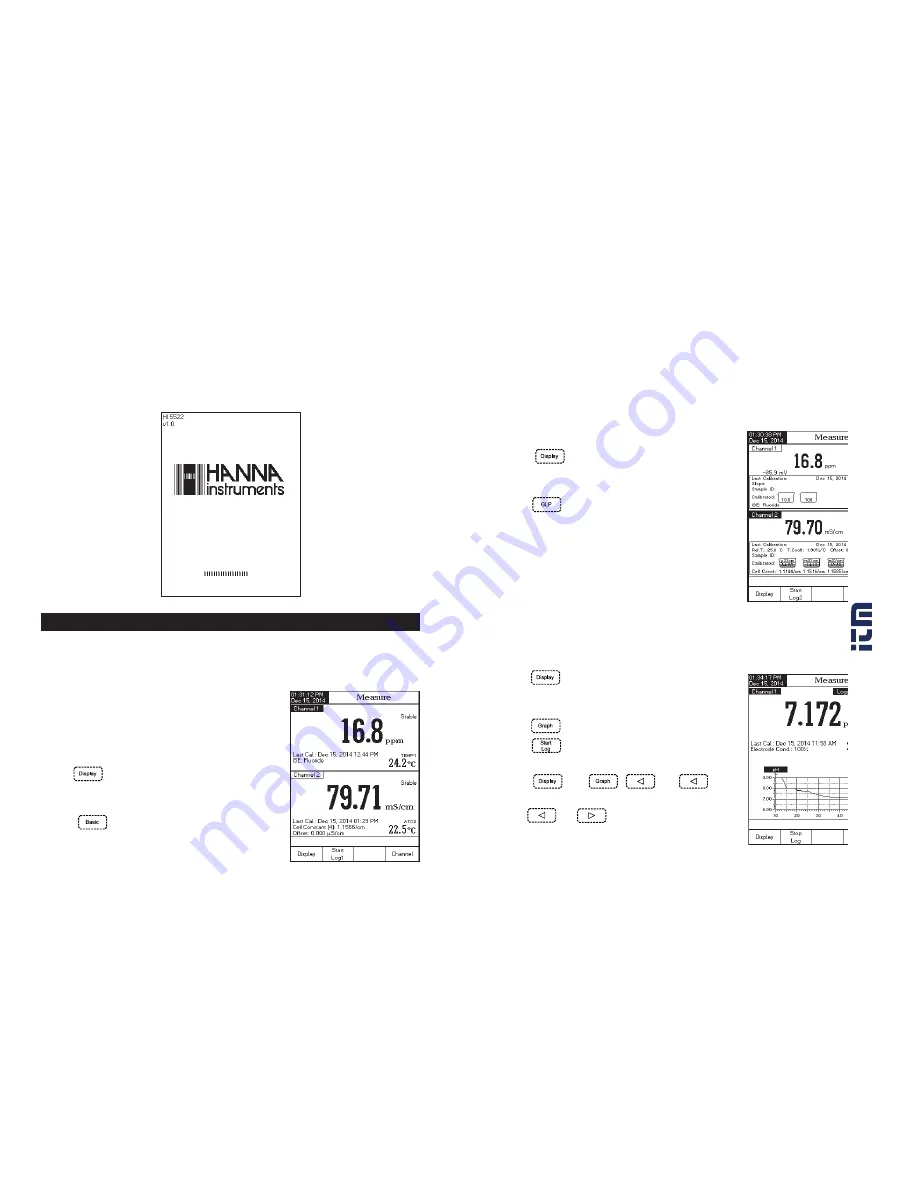
The on-line graph with real time logging (pH, mV, Rel mV, ISE, Conductivity, Resistivity, TDS, Salinity vs.
Seconds) will be displayed when this option is selected.
If there is no active log, the previously logged data for the selected parameter will be shown.
To access the off-line / on-line graph:
• Press
while in
Measure
mode. The “
Choose Display
Configuration
” message will be displayed in the Reminder
messages area.
• Press
.
• Press
to begin or online graph.
To Zoom Graph
• Press
then
.
and
will
appear in virtual keys.
• Use
and
to move along the X (Time) axis
of the graph.
GLP
(pH, ISE, Conductivity and Salinity mode only)
Detailed GLP data will be displayed on the custom LCD for the selected measurement when this option is
selected: Last Calibration date and time, Offset and Slope values, Calibration Buffers/Standards and general
information regarding the buffers/standards, the calibration temperature, temperature compensation mode,
date and time. For
pH Measure
, the Electrode Condition is also displayed on the LCD in percent.
Note
: If a single-point pH calibration is performed or the current calibration does not include at least two
consecutive standard buffers of pH 4.01, 7.01 (6.86) and 10.01 (9.18) the Electrode Condition will be
unknown. Electrode Condition remains active for 24 hours after a calibration.
To access the GLP display option:
• Press
while in
Measure
mode. The “
Choose
Display Configuration
” message will be displayed in
the Reminder messages area.
• Press
. The instrument will display the detailed GLP
data.
DISPLAYING MODES
For measurement mode’s the following display configurations are available: Basic, Good Laboratory Practice
(GLP), Graph and Log History.
Basic
The main measured value and it’s units are displayed on the
LCD, along with the temperature value, temperature probe
status and basic calibration information (when available).
To choose the Basic display mode:
• Press
while in
Measure
mode. The “
Choose Display
Configuration
” message will be displayed in the Reminder
messages area.
• Press
. The instrument will display the basic
information for the selected measurement mode.
INSTRUMENT START UP
• Please ensure that the capacitive keypad is not covered by hand or other objects at the meter power on.
• Turn the instrument on from the power button located on the rear panel of the instrument.
• Please wait until the instrument finishes the initialization process.
Note:
It is normal for the loading process to take a few seconds. If the instrument doesn’t display the next
screen, restart the meter using the power button. If the problem persists, contact your dealer.
w
w
w
.
.c
om
in
fo
rm
at
io
n@
itm
.c
om
1.
80
0.
56
1.
81
87


