Operation
Page EN-11
Operation
Switching on and off
Switching on
1. Connect the mains plug to a properly in-
stalled socket (220–240V ~ / 50Hz / 10A).
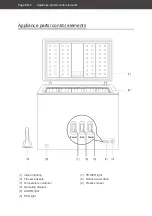
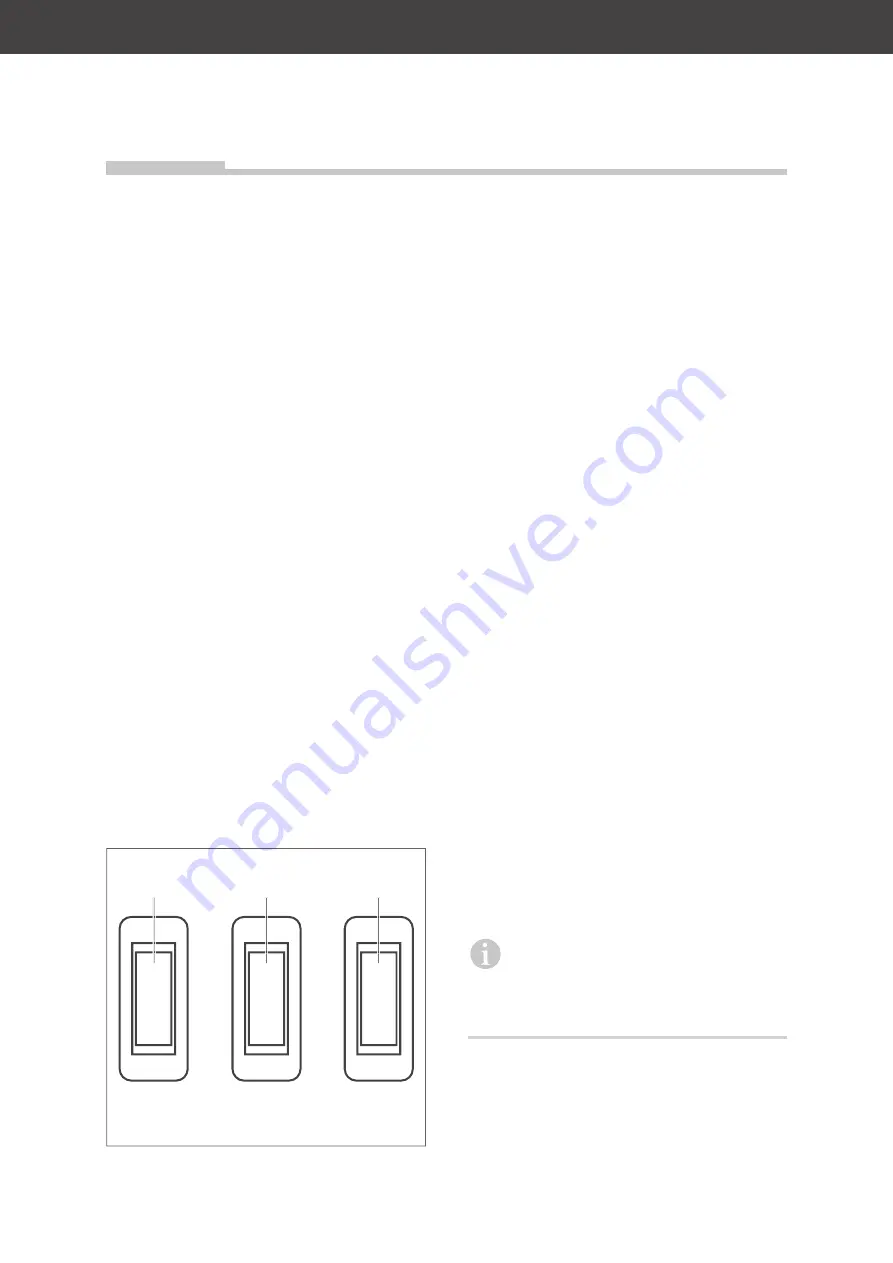
The Power (7) indicator lights up.
2. Turn the thermostat control to the desired
cooling capacity.
The compressor starts to work after a
short time, the refrigerant flows through
the pipes and a quiet humming can be
heard. The Power, Run (6) and Alarm (5)
indicators are illuminated.
Once the chest freezer has reached the
set temperature, the compressor turns off.
The Run and Alarm indicators switch off.
3. If the chest freezer makes worrying nois-
es check the solid base and remove any
objects that are on top of the chest freez-
er.
Switch off / shutdown
If you do not want to use the empty freezer,
switch it off in the following way:
1. Pull out the mains plug to switch off the
chest freezer.
2. Remove the freezer baskets from the
chest freezer.
3. Clean the chest freezer. (See “Cleaning
and maintenance” on page EN-16.)
4. Leave the lid slightly open, so mould does
not form on the inside. You have now
switched off the chest freezer and it is no
longer in use.
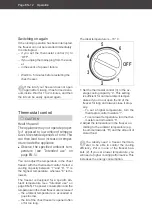
If you only set the thermostat control
(3) to “OFF”, the compressor stops
working, meaning that the appliance does
not cool. However, the power will continue
to fl ow.
Requirements
You can use the chest freezer once
– you have read the ‘Safety’ chapter and un-
derstood the safety instructions (see
see page
EN-5).
– It has been set up and connected as de-
scribed in the ‘Start-up’ chapter (see
see page
EN-19).
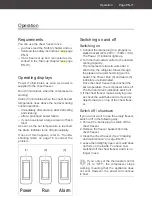
Operating displays
Power (7)illuminates as soon as power is
supplied to the chest freezer.
Run (6) illuminates when the compressor is
working.
Alarm (5) illuminates when the chest freezer
temperature rises above the set level during
normal operation,
– immediately after start-up, after defrosting
and cleaning.
– after a prolonged power failure.
– if you have stored a large amount of fresh
food.
As soon as the set temperature is reached,
the Alarm indicator turns off automatically.
If none of this happens, refer to “Trouble-
shooting table” on page 19 to correct the
problem.
Power
Run
Alarm
(7)
(5)
(6)

