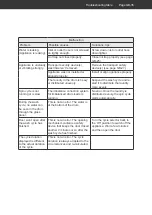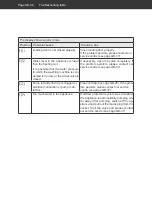
Automatic control functions
Page GB-25
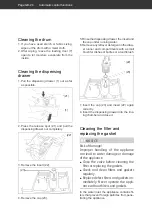
Clean the filter every 2 months or if the appli-
ance is not getting enough water despite the
valve being open completely.
1. Switch off the appliance.
2. Close the valve.
3. Unscrew the water inlet hose (a) from the
valve.
(24)
(26)
(25)
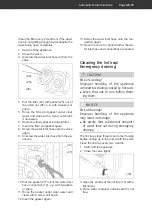
4. Pull the filter (24) with gasket (25) out of
the union nut (26), e.g. with tweezers or
pliers.
5. Rinse the filter and gasket under clear
water and clean with a small, soft brush
if necessary.
6. Replace a faulty gasket including filter.
7. Insert the filter and gasket again.
8. Screw the water inlet hose onto the valve
again.
9. Unscrew the water inlet hose from the ap-
pliance.
(27)
(12)
10. Pull the gasket (27) out of the water inlet
hose connection (12), e.g. with tweezers
or pliers.
11. Rinse the gasket under clear water and
clean with a small, soft brush.
12. Insert the gasket again.
13. Screw the water inlet hose onto the con-
nection again.
14. Open the valve to check whether the wa-
ter inlet hose and connections are sealed.
Cleaning the lint trap/
Emergency draining
CAUTION!
Risk of scalding!
Improper handling of the appliance
can lead to scalding caused by hot suds.
■
Leave the suds to cool before drain-
ing them.
NOTICE
Risk of damage!
Improper handling of the appliance
may result in damage.
■
Be aware that substantial amounts
of water leak out during emergency
draining.
The lint trap stops threads and other foreign
bodies ending up in the pump with the suds.
Clean the lint trap every two months.
1. Switch off the appliance.
2. Close the valve tightly.
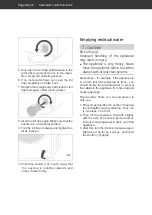
(10)
3. Open the shutter of the lint trap (10) with a
flat object.
4. Place a flat container underneath the lint
trap.

