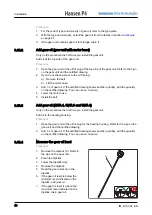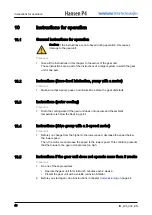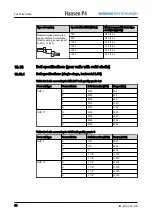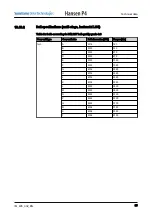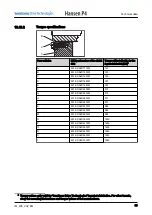
Remove the shrink disk
Procedure
1. Remove the safety cover.
2. Loosen the bolts (A) 1/4 of a turn.
Start with one bolt and continue
counterclockwise until the last bolt.
3. Do the step 1 again until all bolts
are loose. Do not remove the bolts.
4. If the shrink disk does not become
loose, install bolts in the holes (B)
and tighten them. This way, the
inner ring (D) and the outer ring (C)
are pushed away from each other.
5. Remove the shrink disk.
6. If the shrink disk is dirty:
• Clean the shrink disk.
• Apply a solid lubricant to the
machined surfaces. Refer to section
on page 58.
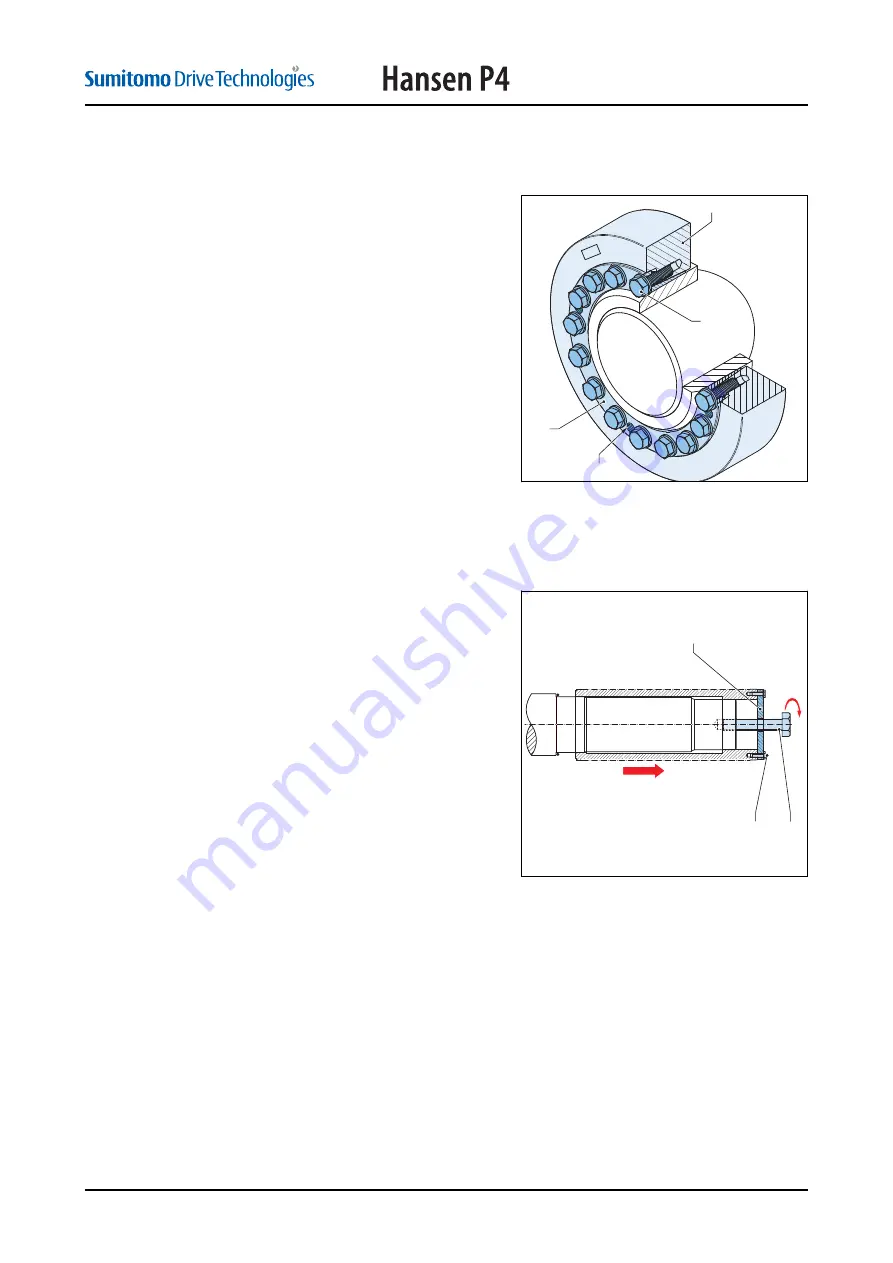
Remove the gear unit
Procedure
1. Install these parts:
• Installation disk (A)
• Bolts (B) (for the type of bolts,
refer to the certified drawing)
• Bolt to remove the gear unit (C)
2. To remove the gear unit from the
machine shaft, tighten the bolt (C).
3. To move the gear unit, refer to
23.
Disconnect the keyway connection
C
A
D
B
Nm
B
A
C
11.3.3
Removal of the gear unit
IM_405_002_EN
49


