Spider
EN
Feeding computer
-
Voercomputer
-
Fütterungscomputer
-
Logiciel d
’
alimentation
Index
12
-
46
Hanskamp AgroTech B.V. (The Netherlands)
www.hanskamp.nl/en
3.2 Installation in FeedStation
1.
Check if all components are present according to the parts list at the
back of the manual.
2.
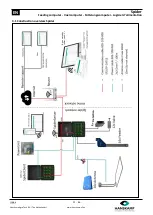
Find a location for the Spider near the feeding station (max. 10 meters
distance). The location must be dry, easily accessible and have a power
supply (24VDC PowerUnit). Once a suitable location has been found,
the Spider can be installed. Use the included mounting hardware to
attach the unit's mounting feet to the outside of the case. To attach
the Spider to the feeding station, use the case mounting plate (art. no.
004
-
247
-
000). Install the SpiderServer on one side and the PowerUnit
(art. no. 002
-
812
-
000) on the other.
3.
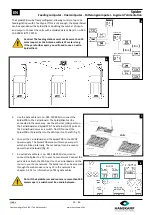
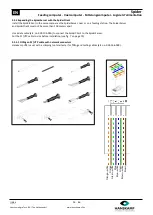
Install the SpiderAntenna on the feed trough and run the cable to the
Spider unit. Make sure that it is out of reach of the animals (fig. 1).
See chapter 3.2.2 for ear and leg recognition.
Caution: The Antenna cable must not be shortened.
Shortening the cable will negatively affect Antenna
performance.
4.
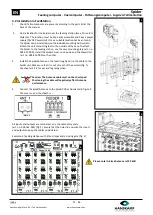
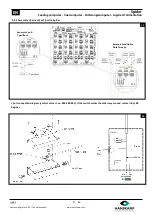
Connect the SpiderAntenna to the SpiderPCB as illustrated in figure 2.
The core is + and the sheath is
-
.
All inputs and outputs are numbered, as is the cable entry plate
(art. no. 005
-
161
-
001) (fig. 3). Ensure that the holes line up with the inputs
and outputs to keep the cables uncluttered.
Example: 4 feeding stations with 4 feed types and a closing gate (fig. 4).
Please note! A black Antenna is 120 kHz!
1
3
4
Fs4
Fs3
Fs2
Fs1
2

