DSO8000 SERIES
Function Check
Perform this quick functional check to verify that your scope meter is operating correctly.
1. Turn on the instrument.
Use the power adapter designed for your scope meter only. Use a power source that
delivers 100 to 240 VACRMS, 50Hz. Turn on the scope meter.
2. Input a signal to a channel.
Set the attenuation switch on the probe to X10 and connect the probe to CH1 on the
scope meter.
To do this:
■
Align the slot in the probe connector with the key on the CH1 BNC connector.
■
Push to connect, and twist to the right to lock the probe in place.
■
Attach the probe tip and ground lead to the
OUTPUT port
.
(Before this,you must press
OSC/DMM key to Enter Waveform Generator mode and output a 1kHz 2V peak -to-peak
square wave.And then Enter the Oscilloscope mode.)
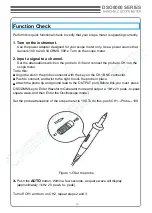
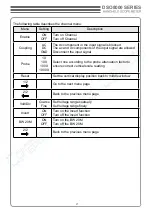
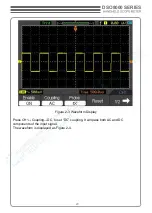
Set the probe attenuation of the scope meter to 10X.To do this, push CH1→Probe→10X
.
Figure 1-5 Set the probe
3.
Push the
AUTO
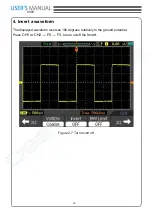
button. Within a few seconds, a square wave will display
(approximately 1 kHz 2 V peak- to- peak).
Turn off CH1 and turn on CH2, repeat steps 2 and 3.

