English
_11
5.
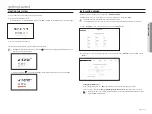
Set the date, time, and daylight saving time on the <
Date & Time
> screen, and then click the <
Next
>.
■
The time zone setup might differ depending on the region that the product is released.
6.
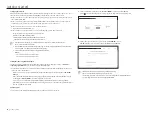
On the <
Camera register
> screen, select a camera to register from the searched camera list and click <
Register
>.
Select a camera to register from the list and click <
Change IP
>.
After completing camera register click <
Next
>.
■
After entering the ID and password set in the camera, the connection test must be completed to successfully register.
7.
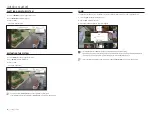
On the <
Channel setup
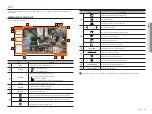
> screen, you can view the camera videos registered to each channel in thumbnails along
with thumbnail information. To change the camera video position, select a video and drag and drop it to the desired
location.
8.
Click <
finish
> to complete the Installation wizard.
•
g
ET
TIN
g
ST
ARTED
Summary of Contents for Wisenet XRN-6410RB2-16TB
Page 1: ...NETWORKVIDEO RECORDER User Manual Wisenet NVR ...
Page 124: ......


