122_
appendix
appendix
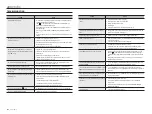
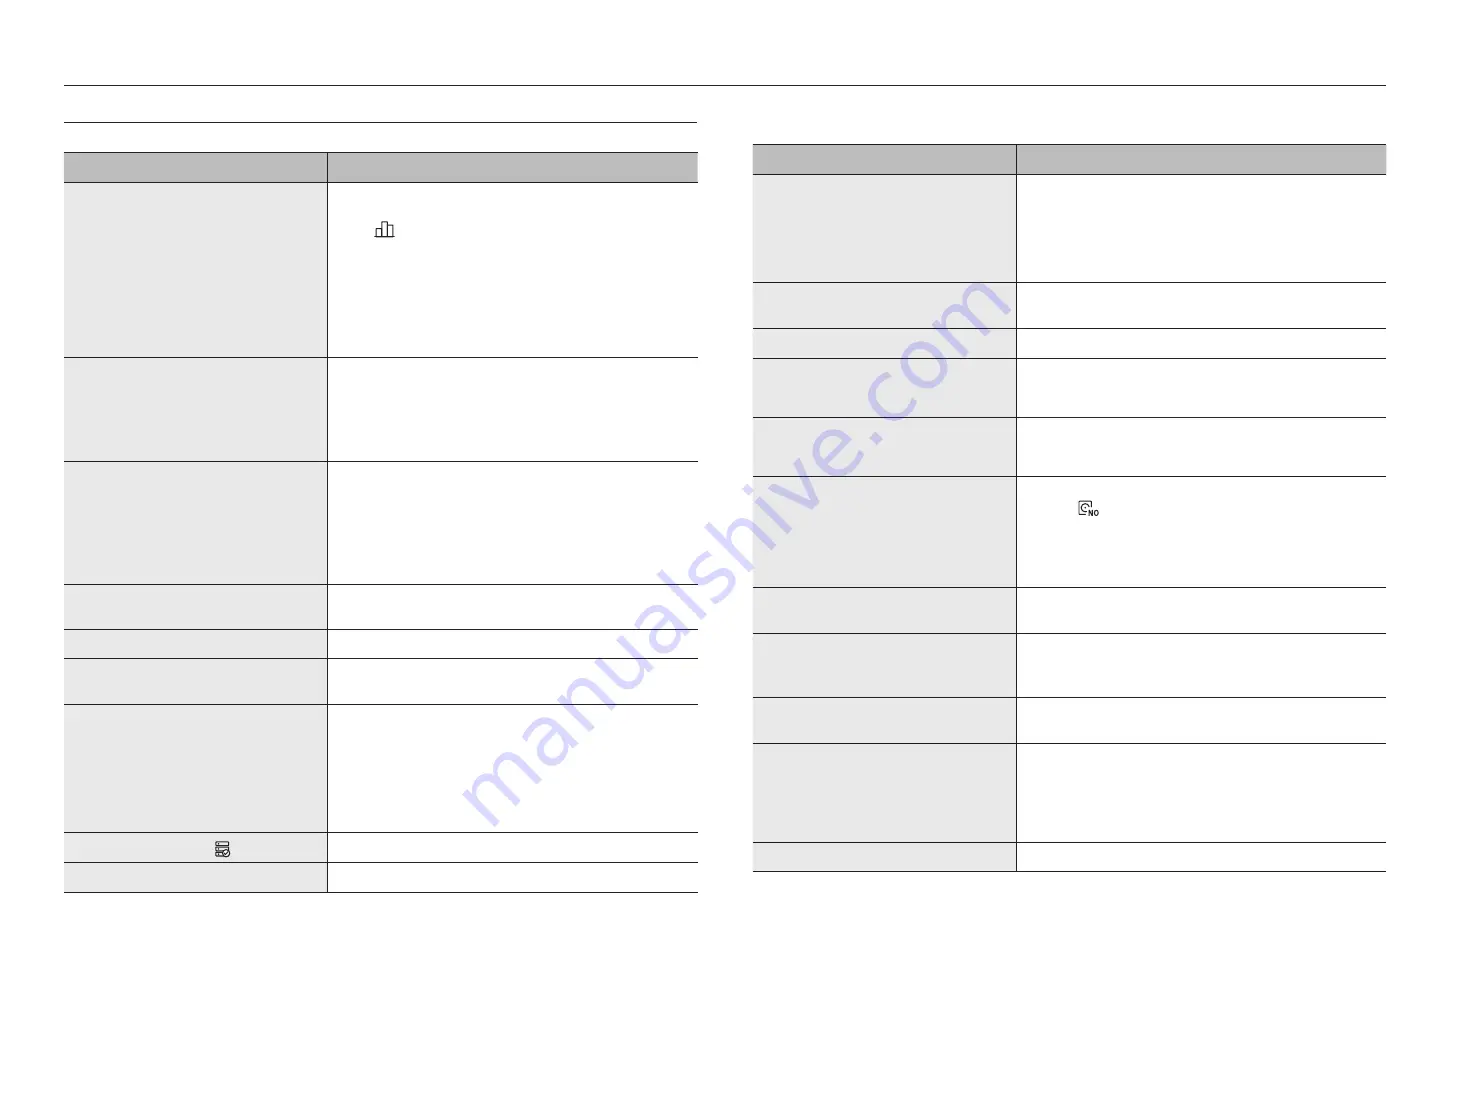
TROublESHOOTINg
Problem
Action
Live video will be slow or cut off.
●
The frame number set for multiple data transmission set in camera or network environment
could differ from the actual rate of transmission.
Click <
> at the bottom of the screen to check the number of incoming frames per
channel and the actual number of frames played.
Basically, when you register a camera, the Live4NVR profile is created and the rate is set to
H.264 800*448 30fps.
If necessary, go to “
Setup
>
Camera
>
Profile setup
>
Edit
” and change the number of
frames.
●
If you keep seeing video slow down or cut off, then check the network environment or camera
condition.
The system does not turn on and the indicator on the front
panel does not work at all.
●
Check if the power supply system is properly connected.
●
Check the system for the input voltage from the power source.
●
If the problem persists even after you have taken the above actions, check the power supplier
and replace it with a new one if necessary.
●
Check inside if the cables are properly connected. (SMPS, FRONT)
The video input is okay, but the videos of some channels are
not properly displayed or are abnormally displayed (e.g. black
screen, B/W screen).
●
Check if the camera is properly supplied with power.
●
Check the state of the cable connected to the camera and reconnect it after replacing or
disconnecting it.
●
Check the video output connecting the camera's Web Viewer.
●
Check if the network port is properly connected and the network setting is set correctly.
●
Change the hub supporting Gigabit, it may solves.
The screen displays the logo image repeatedly.
●
This may occur from a problem with the main board, or the related software is corrupt.
Contact the nearest service center for more information.
The Channel button does not work on the Live screen.
●
The Channel button does not work if the current screen is in the event monitoring mode.
The cursor will not move to the Start button when I start the
calendar search.
●
Check if the channel and the date that you want to play are marked with the V symbol.
Both channel and date should be checked before you can start playing with the Start button.
The screen of the connected monitor is displayed abnormally or
not displayed at all.
●
Check if the necessary cables are connected to the monitor properly.
●
Some monitors do not support the Recorder output (HDMI1 or HDMI2/VGA). Check the
monitor resolution.
–
HDMI1 : 3840x2160(30 Hz), 1080P, 720P, 1280x1024
–
HDMI2/VGA : 1920x1080, 1280x720, 1280x1024, 1024x768
●
Disconnect the monitor cable from the recorder, and connect again.
Logo screen on bootup stalls in the < > state.
●
The HDD may have problems. Visit your nearest customer service center to check the HDD.
No response controlling PTZ in the live viewer.
●
Check the registered Camera if it support PTZ function.
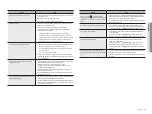
Problem
Action
The camera is not connected or the PC fails to connect to the
product.
●
Check if the network cable is connected properly.
●
Ensure that you have set Network - Connection Mode.
●
Check the IP setting of the PC or camera.
●
Try the Ping Test.
●
Check if there is a different device near the product uses the same IP.
I registered a camera, but the web viewer does not show live
video.
●
After registering a camera, a user need to edit/save the desired layout, before the screen split
mode and live screen fit for the setting appears.
The input camera image is too bright or too dark.
●
Check the registered camera settings in “
Setup
>
Camera
>
Camera
setup
”.
The time setup window will pop up.
●
This message is displayed if there occurs a problem with the time setting of the internal clock
or an error in the clock itself.
Contact the retailer or the service center for more information.
The time bar is not displayed in Search mode.
●
The timeline can switch between normal and extension mode.
In extension mode, the time bar may not be displayed in the current timeline. Switch to
normal mode or use the left or right button to navigate through the time bar.
The "NO HDD" icon and an error message are displayed.
●
If you do not format your purchased HDD at all or in a format supported by Recorder, a “NO
HDD” icon (
) will be displayed at the top left. When the “NO HDD” icon is displayed, go
to “
Setup
>
Device
>
Storage
device
” and check the HDD connection status and format the
HDD.
●
If the problem persists in a normal condition, contact the nearest service center to have the
HDD checked by the service personnel.
I have installed an additional HDD on the Recorder but it does
not recognize the HDD.
●
See the compatibility list to check if the additional HDD is supported by the Recorder. For the
compatibility list, contact the retailer where you purchased the Recorder.
I have connected an external storage device (USB Memory, USB
HDD) to the Recorder but the Recorder seems not to recognize
it.
●
See the compatibility list of external storage devices to check if the connected device is
supported by the Recorder. For the compatibility list, contact the retailer where you purchased
the Recorder.
If I press the
ESC
key in full screen mode of the Web Viewer, the
system does not switch to a normal split mode.
●
Press the
ALT
+
TAB
keys to select 'ACTIVE MOVIE' and press the
ESC
key again. The system will
switch to a normal split mode.
It is difficult to configure the network for default search, export,
and router use.
●
For more information, refer to the user manual.
●
If you want to check the basics of the product for a quick start, refer to the Quick Guide
(export, search).
●
If you use the router for network connection, refer to the “
Connecting and Setting the
Network
” of the Quick Guide.
I forgot the password.
●
Contact the Recorder administrator for help.
Summary of Contents for Wisenet XRN-6410RB2-16TB
Page 1: ...NETWORKVIDEO RECORDER User Manual Wisenet NVR ...
Page 124: ......


