Chapter 7 Setting Robots
74
1.
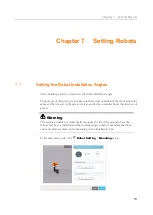
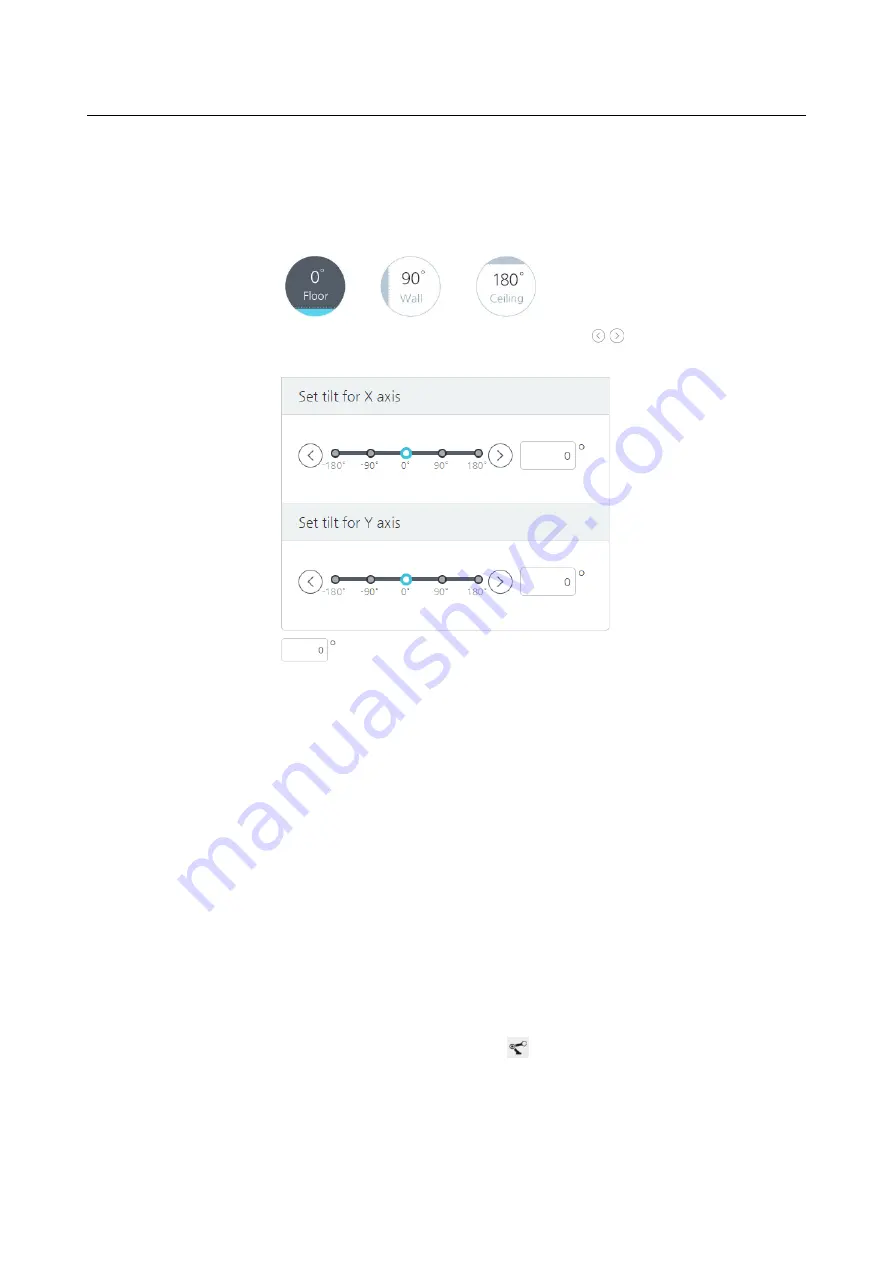
Depending on the tilt of the ground where the robot arm's base is installed, set the
angle accordingly.
If installed on the ground, then press
0°
, if installed on the wall, press
90°
, or if
installed on the ceiling, press
180°
to set the tilt value more quickly.
You can touch the gauge or press the left/right buttons to fine tune the tilt
for the X/Y axis.
You can touch the input window to enter the angle value directly.
2.
Press the
Apply
button to apply the settings to the system.
Press the
Cancel
button to revert to the previous settings.
7.2
Setting TCP
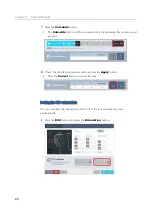
When you mount a tool in the robot arm for the first time, you must also set the TCP
(Tool Center Point). By setting the tip location/direction and the weight of the mounted
tool, you can calculate the robot's motion.
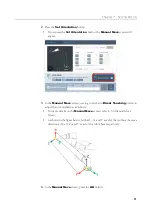
You can set a different TCP for each of multiple robots linked, and if you want to use
multiple tools for a single robot, then you can save different settings and retrieve and
apply them to a newly replaced tool.
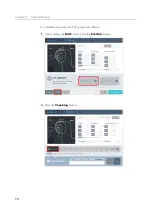
To set the TCP, in the main menu, select
Robot Setting
>
TCP Setup
.
Summary of Contents for HCR-3
Page 1: ...HCR 3 Collaborative Robot User Manual Aug 2019 V 2 001...
Page 2: ......
Page 99: ...Chapter 8 Safety Settings 99 3 Press the OK button...
Page 186: ...Chapter 15 Maintenance 186 4 When the confirmation window appears press YES...
Page 190: ...190 Appendix B Certification Safety...
Page 191: ...191 MD Machinery Directive...
Page 192: ...192 LVD Low Voltage Directive...
Page 193: ...193 EMC Electro Magnetic Compatibility...
Page 194: ...194 Appendix C Dimensions for Installation...
Page 200: ......
Page 201: ......


