Training Workbook: HAPPY HCD-1501 Operation and Maintenance
Education Department
Chapter 2: Machine Setup & Orientation
27
Machine Setup
Control Panel 2
Design Transfer
Control Panel 2
Important Main Menu Screens: Frame Screen
FRAME
STEPS FOR WORKING WITH CUSTOM SIZED HOOPS
.
P. FOOT
Next: Transferring
Designs
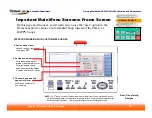
On this page and the next, you’ll learn how to use the “user” option in the
Frame function to choose a non-standard hoop instead of the library of
HAPPY hoops.
NOTE:
On 3
rd
-party hoops, actual sewing area may differ from hoop’s stated size, based
on hoop shape presser foot clearance and other factors. Always test sewing area after
entering hoop dimensions. This is especially true of square/rectangular hoops.
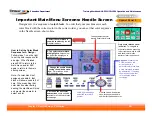
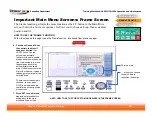
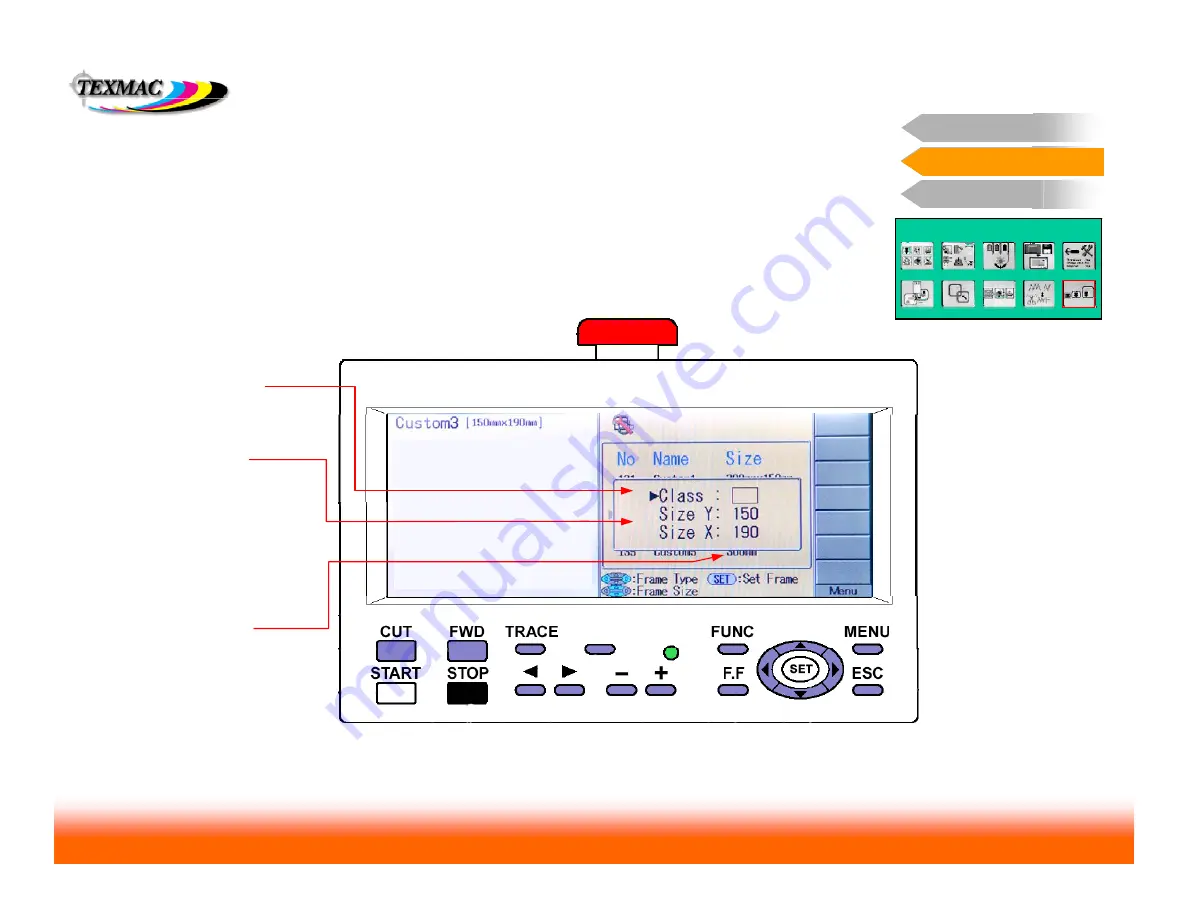
4. Set the hoop class –
choose round or rectangular
then press SET.
6. The new hoop size will
appear in this list
next to the custom slot
you’ve set up.
5. Set the hoop size –
For a round hoop, enter 1
number: the diameter in mm.
For a rectangular hoop,
enter 2 numbers: the height
(Y) and and width (X) in mm.

