Training Workbook: HAPPY HCD-1501 Operation and Maintenance
Education Department
Chapter 2: Machine Setup & Orientation
30
Machine Setup
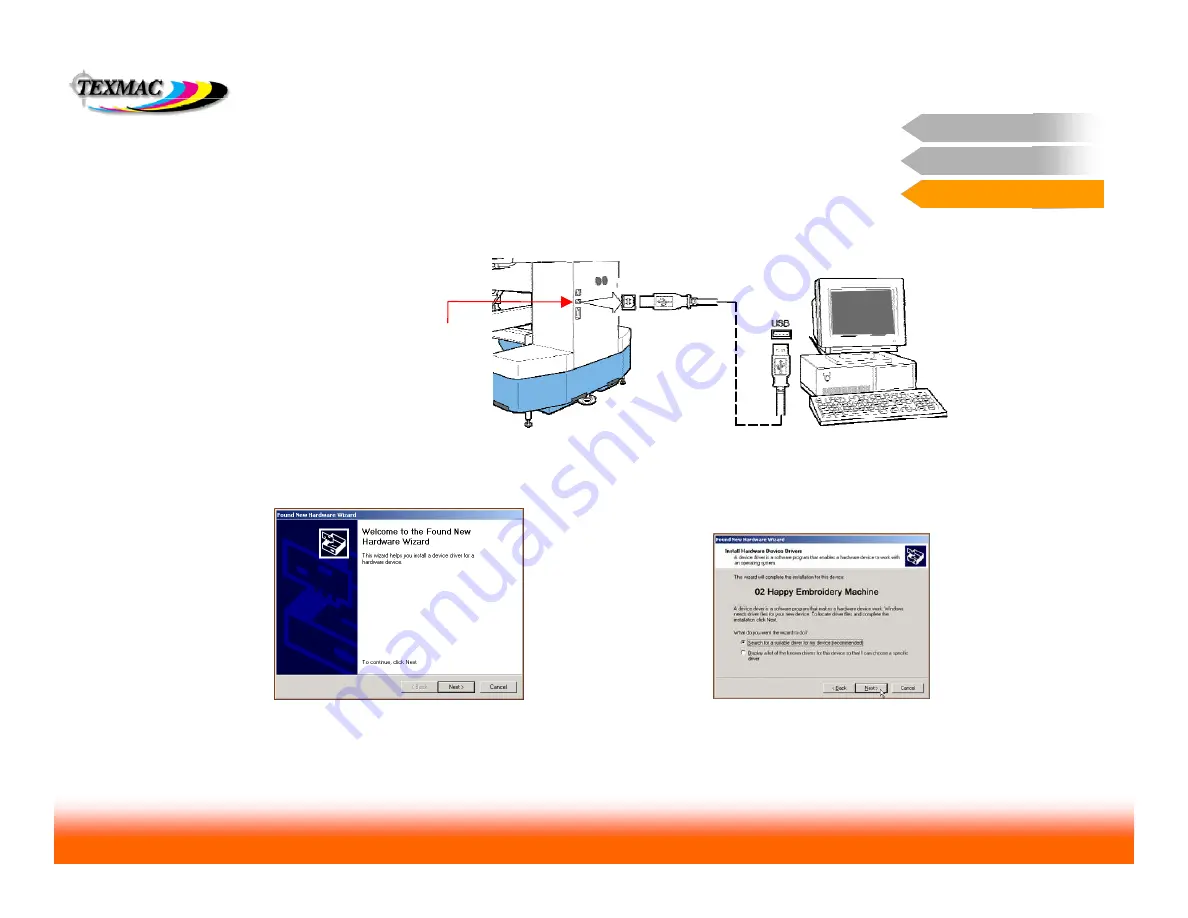
Control Panel 2
Design Transfer
Transfer via USB Connection
Design Transfer
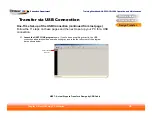
6. Power on your HAPPY machine and watch your PC screen.
Windows should detect the machine, starting the Hardware
Installation Wizard, similar to what is shown below.
8.
Continue until the message “
Your new hardware is installed and ready to use” or a similar message appears.
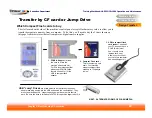
5. Ensure that your HAPPY machine is
turned off, and connect a USB
cable between your PC and the
machine.
You may use the cable that
came with your machine or purchase
a longer one at any computer supply
store. Ensure that any USB cable you
purchase is high-quality and under 16
feet.
USB port
Any USB port
on your PC
Rear view of
machine
Connect
USB cable
One-Time Set-up of the USB Connection (continued from last page)
Follow the steps on these pages to set up your PC for a USB connection.
7. Continue through the prompts,
ensuring that at some point, Windows
identifies the new hardware as “02 Happy Embroidery Machine” for
Windows XP / Vista 32, or, in Vista 64/Windows 7, lists it in the Device
Manager under Ports. Be sure to note the port#.

