12
3
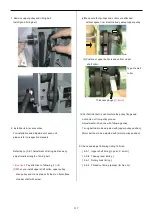
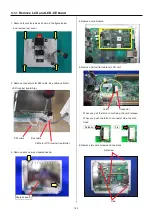
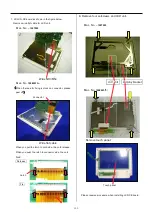
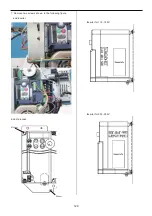
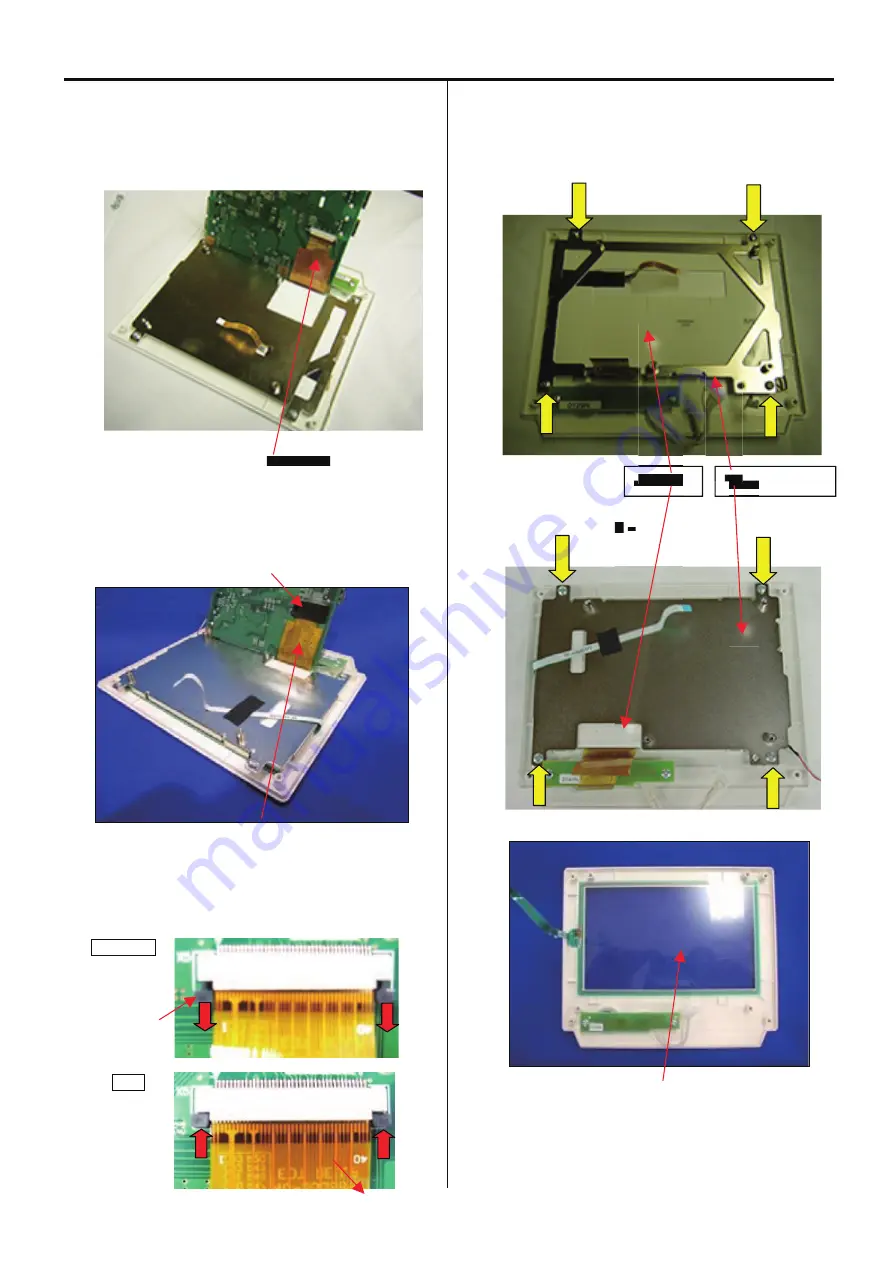
7. Lift LCD-CE board as shown in the figure below.
Remove wide flat cable for LCD unit.
Mac. No.
~ 1027033
Wide flat cable
Mac. No.
1028001A ~
(
(
When the tape for fixing is stuck on connector, please
peel off.
)
)
Connector
Wide flat cable
When you pull the latch to cord side, the cord release.
When you push the latch to connector side, the cord
fixed.
Release
Latch
Fix
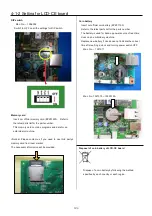
8. Remove four setscrews and LCD unit.
Mac. No.
~ 1027033
Mac. No.
1028001A ~
Remove touch panel.
Please reverse procedure when installing LCD-CE board.
Display bracket
LCD unit
Touch panel
Summary of Contents for HCS2-1201-30
Page 1: ...Maintenance Manual for Embroidery Machine HCS2 1201 30 Version 2 3 HappyJapan Inc...
Page 154: ...153 5 1 1 Electrical connection diagram except for Rev A...
Page 155: ...154 5 1 1 Electrical connection diagram except for Rev A...
Page 156: ...155 5 1 2 List of electrical connection diagrams except for Rev A...
Page 157: ...156 5 1 3 Electrical connection diagram for Rev A...
Page 158: ...157 5 1 3 Electrical connection diagram for Rev A...
Page 159: ...158 5 1 4 List of electrical connection diagrams for Rev A...
Page 160: ...159 5 2 1 Connection of inverter 100V Inverter set...
Page 161: ...160 5 2 2 Connection of inverter 200V Inverter set...
Page 165: ...160c HCD8116 TP switch board ass y 6 5 265 2 1 6 7 257...

