background image

Training Workbook: HAPPY HCS2-1201 Voyager Operation and Maintenance

Education Department

Chapter 1:  Introduction and Basics

5

Proper Machine Environment

Temperature and Humidity-Controlled Environment

Set up/store your machine in a temperature and humidity-controlled environment to prevent 
long-term corrosion and to protect the electronics.  Don’t keep your machine anywhere you 
wouldn’t keep a laptop or desktop computer ! 

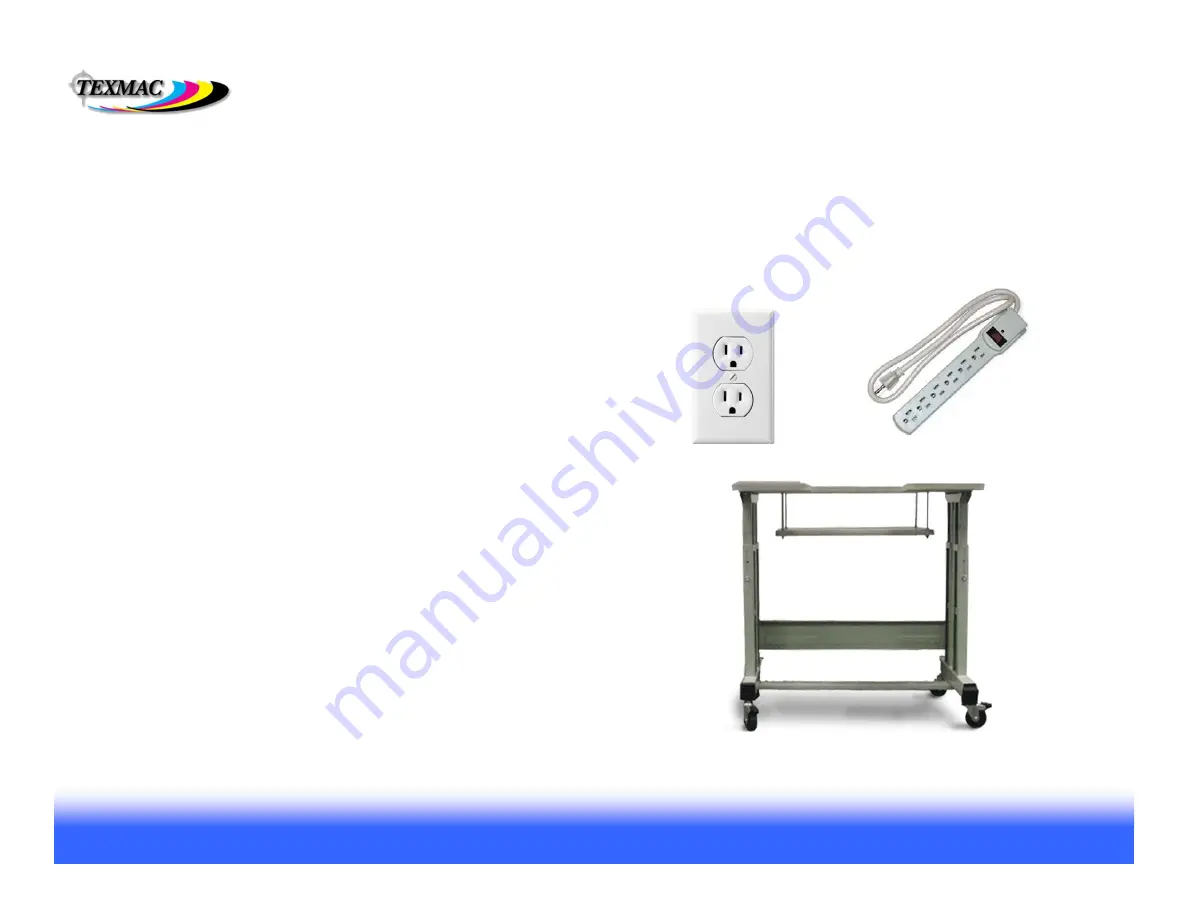
Clean, Protected Electrical Power

grounded outlets: 

Your machine uses standard 110v household 

current.  Be sure you connect it to a grounded 3-prong outlet like 
the one shown here.  This is standard in most homes and 
businesses today, but some older buildings may only have 2-
prong outlets.  

Steady Table / Mounting Surface

Your machine will perform better (especially at higher speeds) 
when operated on a strong, level and steady mounting surface.  
Although on wheels, the optional stand provides plenty of 
stability, and even more when the wheels are rotated to their 
outermost positions and the brakes are applied at all 4 corners.

surge protection:

Protect your machine against occasional power 

spikes (from electrical storms or electrical wiring problems) with at 
least a basic surge protector.  The electronics on your machine 
can be very expensive to replace.  Higher-end surge protectors 
and UPS units are able to protect against higher energy strikes, 
and often come with a guarantee.

Basic surge 
protector

Standard 
3-prong 
110v 
outlet

Optional machine stand with accessory 
shelf,  casters and wheel brakes

Summary of Contents for HCS2-1201

Page 1: ...major parts p 2 Diagram of major systems Pantograph sewing machine color change cut p 3 The Sewing Cycle p 4 Machine environment p 5 Control Panel Introduction Orientation p 6 Power on off emergency s...

Page 2: ...s Main power switch Press and hold continuously for 1 2 sec to power on cylinder arm Rotary hook door bobbin cover Oiling guide instructions Manual needle selector knob Table area beneath cylinder arm...

Page 3: ...and thread is cut below needle plate between a fixed moving knife 2 Then when needle comes back up the catcher hook grabs the cut end and docks it into the thread holder Side view of machine head and...

Page 4: ...ead below the garment surface Then as it starts back up the slack causes the loop to open allowing the rotary hook below to pass behind the needle and grab the thread Presser Foot presses down on the...

Page 5: ...some older buildings may only have 2 prong outlets Steady Table Mounting Surface Your machine will perform better especially at higher speeds when operated on a strong level and steady mounting surfac...

Page 6: ...oduction and Basics 6 Control Panel Intro Power On to the Main Drive Screen Power On Power on your machine with the black switch located on the side of the machine The screen below appears Press to co...

Page 7: ...ode to sew or to accept design transfers by PC connection Note the important information shown in the Drive screen here This is the only screen where this information is displayed Current stitch posit...

Page 8: ...700 7 1 1 Sewing Position Screen Jump to any position in the design using this screen by piece by color block or by stitch Adjust Max Speed During sewout or while stopped Select hoop Adjust Sewing Pos...

Page 9: ...rform basic edits adjustments to the current design OPTION adjust settings for machine designs and stitch data LETTER onboard lettering feature QUEUE queue a sequence of designs to be sewn OTHER date...

Page 10: ...oping proper hooping is a must Not too tight not too loose We will cover this in class Digitizing hire a digitizing service and or learn how to digitize in digitizing classes Machine Adjustments we wi...

Page 11: ...ntact oil dust humidity moisture can prevent it from unspooling smoothly and cause it to hang up Use thread cone stabilizers plastic springs to minimize cone movement during sewing Bobbin thread L typ...

Page 12: ...of upper thread on your machine Layout of Cone Needle Sequence Needle numbers are arranged right to left lowest number to highest needle 1 needle 2 needle 3 needle 4 needle 5 needle 6 needle 12 needle...

Page 13: ...ensure thread feeds smoothly and turns the break sensor and all slack is removed from around thread cones Dock all thread ends from each needle onto the thread holding spring Prevents thread from com...

Page 14: ...o 3 Good tension Upon stopping your hand the slight downward momentum of the bobbin case should cause it to unspool and continue downwards slightly and stop If downward motion of your hand causes the...

Page 15: ...Alternate needle for sewing caps and other tightly woven goods heavy canvas is 80 12 sharp point for better penetration The width of the shaft of an embroidery needle limits the the finest possible d...

Reviews: