


15
Removal of outer covers
2-1
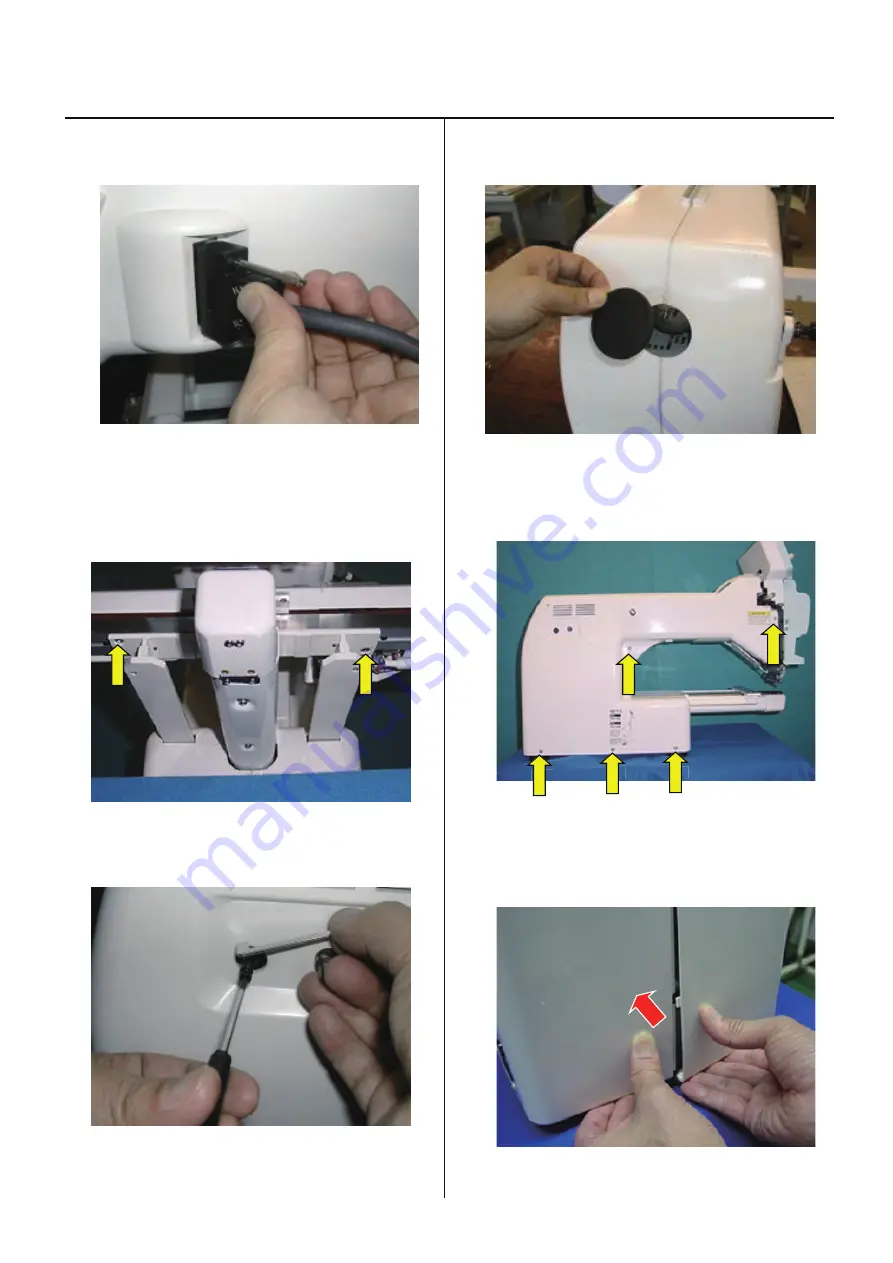
5. Disconnect cable for X carriage.
6. Remove 2 screws, then take the X carriage off.
7. Remove the guide.
8. Take off rubber cap.
9. Remove cover (left). (Remove screw in arrow mark)
10. Unlock nail of the cover (left) by pressing an arrow point of
the cover (right).
x
x
x
Summary of Contents for HCH-701-30
Page 1: ...Maintenance Manual for Embroidery Machine HCH 701 30 Version 2 4 HappyJapan Inc ...
Page 132: ...128 Electrical connection diagram 5 ...
Page 133: ...129 Electrical connection diagrams 5 ...
Page 134: ...130 List of electrical connection diagrams 5 ...
Page 137: ...130c HCD81222 LCD CE MX 基板組 ...
Page 138: ...130d HCD8116 TP switch board ass y 3 82 7 32 7 387487 2487 ...


