


25
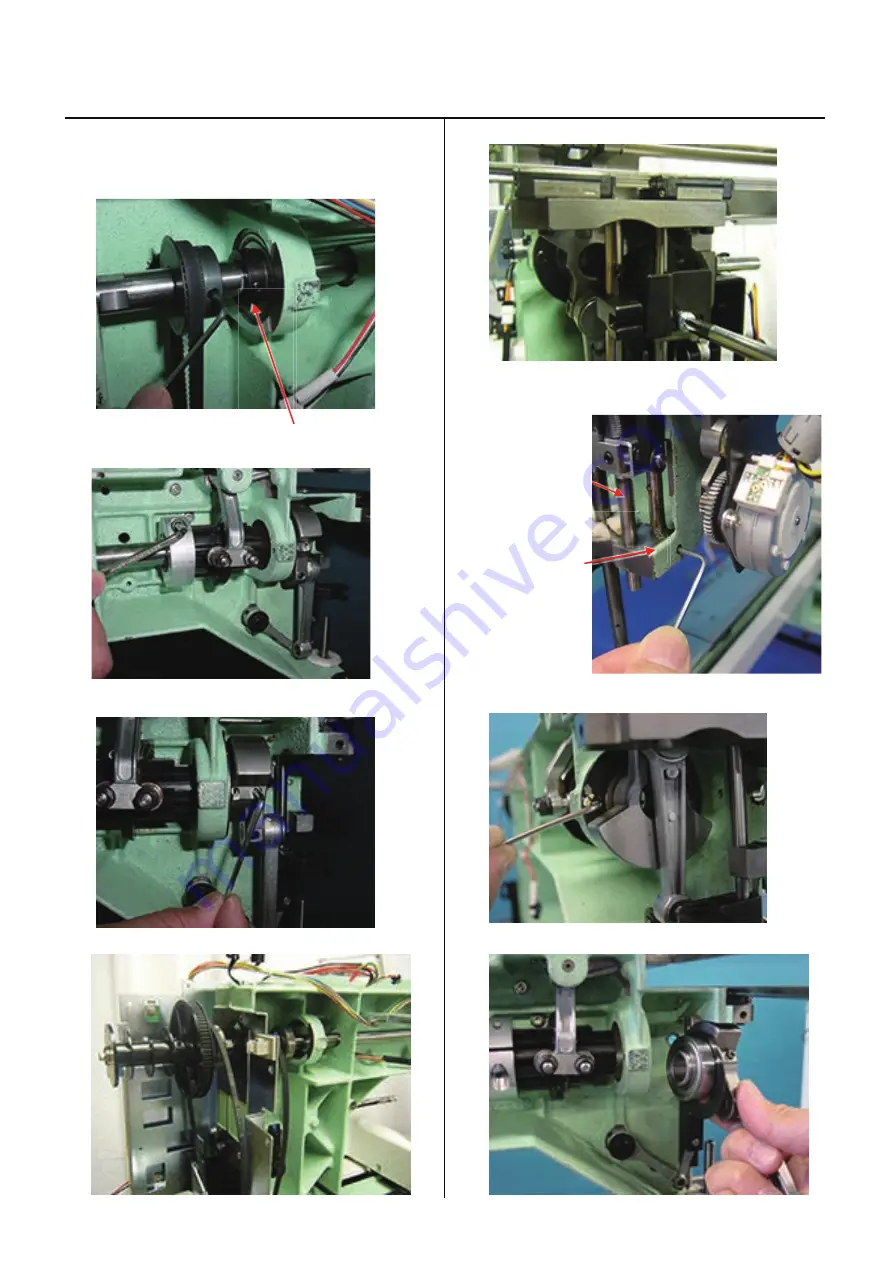
Exchange of crank
3-2-1
14. Loosen screw on upper pulley,.
<Important>
Do not loosen the screw of Upper shaft collar.
Upper shaft collar
15. Loosen collar screw on take-up lever cam.
16. Loosen screw on crank.
17. Pull out upper shaft. (To the extent that crank comes out)
18.
Remove Needle bar boss stopper.
19.
Loosen fixing screws and pull down pressure foot guide
bar and guide shaft.
Pressure foot
guide bar
Guide shaft
20. Remove bearing retainer.
21. Remove crank ass’y.
Summary of Contents for HCH-701-30
Page 1: ...Maintenance Manual for Embroidery Machine HCH 701 30 Version 2 4 HappyJapan Inc ...
Page 132: ...128 Electrical connection diagram 5 ...
Page 133: ...129 Electrical connection diagrams 5 ...
Page 134: ...130 List of electrical connection diagrams 5 ...
Page 137: ...130c HCD81222 LCD CE MX 基板組 ...
Page 138: ...130d HCD8116 TP switch board ass y 3 82 7 32 7 387487 2487 ...


