71
Adjustment of thread holder
3-3-14
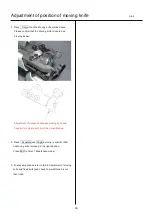
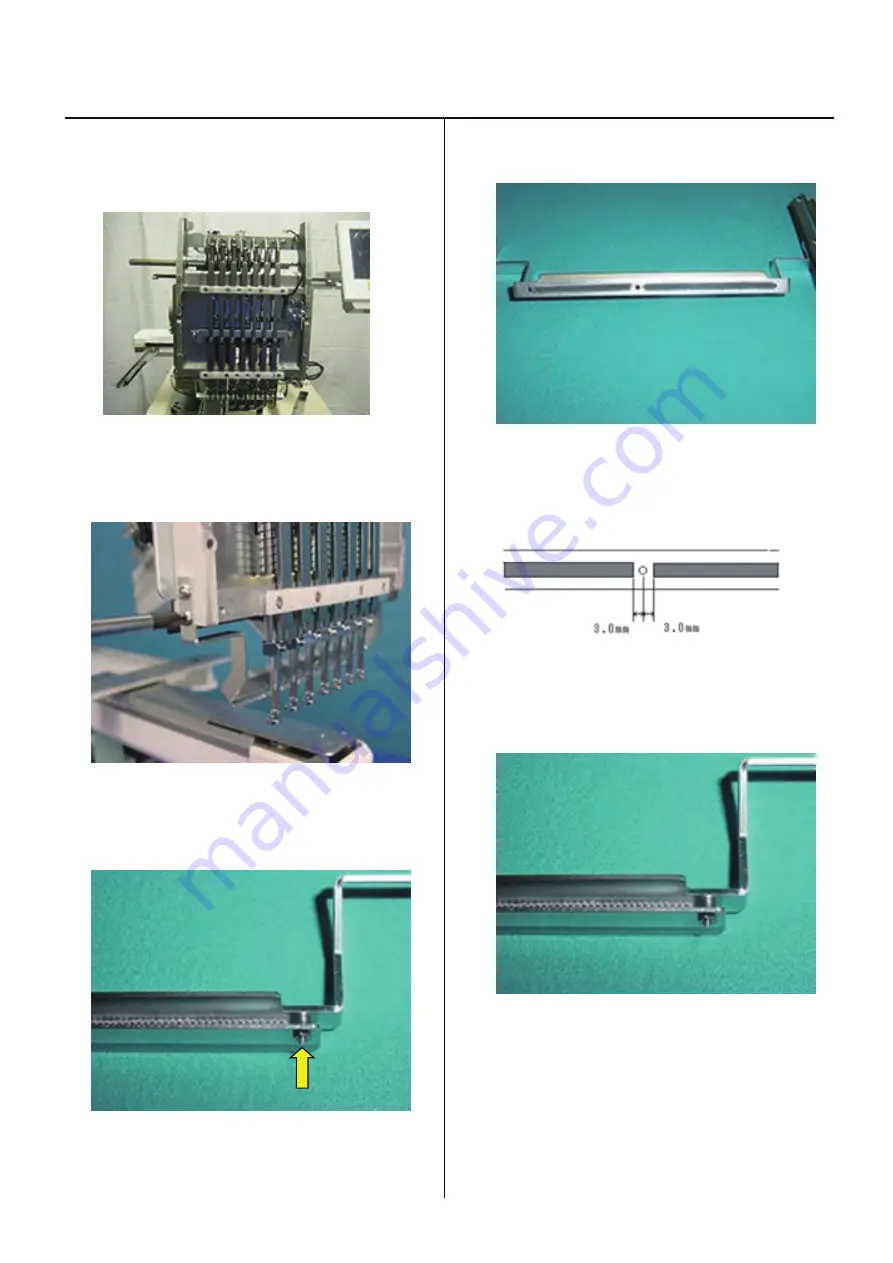
1. Referring to [3-2-1 Exchange of crank], remove Font cover
2. Remove thread holder ass’y.
3. Remove holder (lower).
4. Exchange the majic-tape.
<View from bottom>
Stick position for velcro strap
5. Assemble holder (lower).
6. Install holder ass’y to moving head in reverse order
to finish.
Please refer to [3-3-13 Adjustment of thread holder].
Summary of Contents for HCH-701-30
Page 1: ...Maintenance Manual for Embroidery Machine HCH 701 30 Version 2 4 HappyJapan Inc ...
Page 132: ...128 Electrical connection diagram 5 ...
Page 133: ...129 Electrical connection diagrams 5 ...
Page 134: ...130 List of electrical connection diagrams 5 ...
Page 137: ...130c HCD81222 LCD CE MX 基板組 ...
Page 138: ...130d HCD8116 TP switch board ass y 3 82 7 32 7 387487 2487 ...


