


9
9
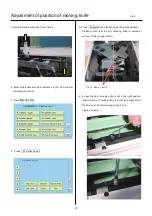
Exchange of Y carriage belt
3-7-4
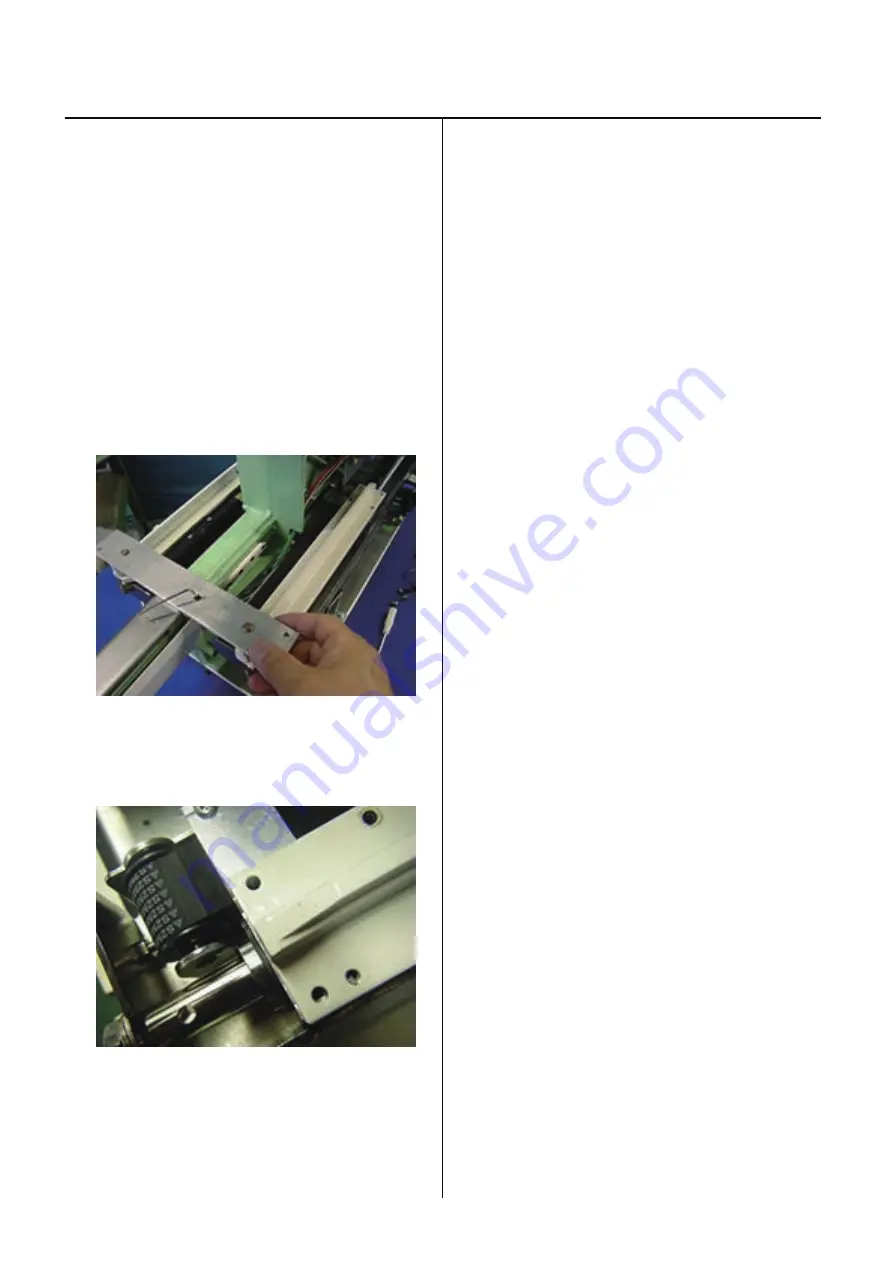
12. Referring to [3-7-3 Adjustment of Y carriage belt tension],
adjust tension of Y belt.
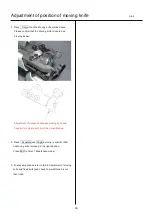
13. Put arm ass’y onto bush guide and connecting plate,
then check if all fixing holes (arm ass’y) are not
displaced from screw holes of bush guide and
connecting plate C.
<Caution>
If you find displacement, loosen lock nut and
screw for tension.
Move one tooth of timing belt from idler pulley ass'y
to desired direction, then adjust belt tension again.
14. Please confirm that you can insert all screws
smoothly, then fix arm ass’y.
15. Return Weight, arm, X carriage ass’y, cover (front) and
coversf to previous places to finish.
Summary of Contents for HCH-701-30
Page 1: ...Maintenance Manual for Embroidery Machine HCH 701 30 Version 2 4 HappyJapan Inc ...
Page 132: ...128 Electrical connection diagram 5 ...
Page 133: ...129 Electrical connection diagrams 5 ...
Page 134: ...130 List of electrical connection diagrams 5 ...
Page 137: ...130c HCD81222 LCD CE MX 基板組 ...
Page 138: ...130d HCD8116 TP switch board ass y 3 82 7 32 7 387487 2487 ...


