

-FC -6
3-2
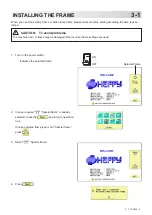
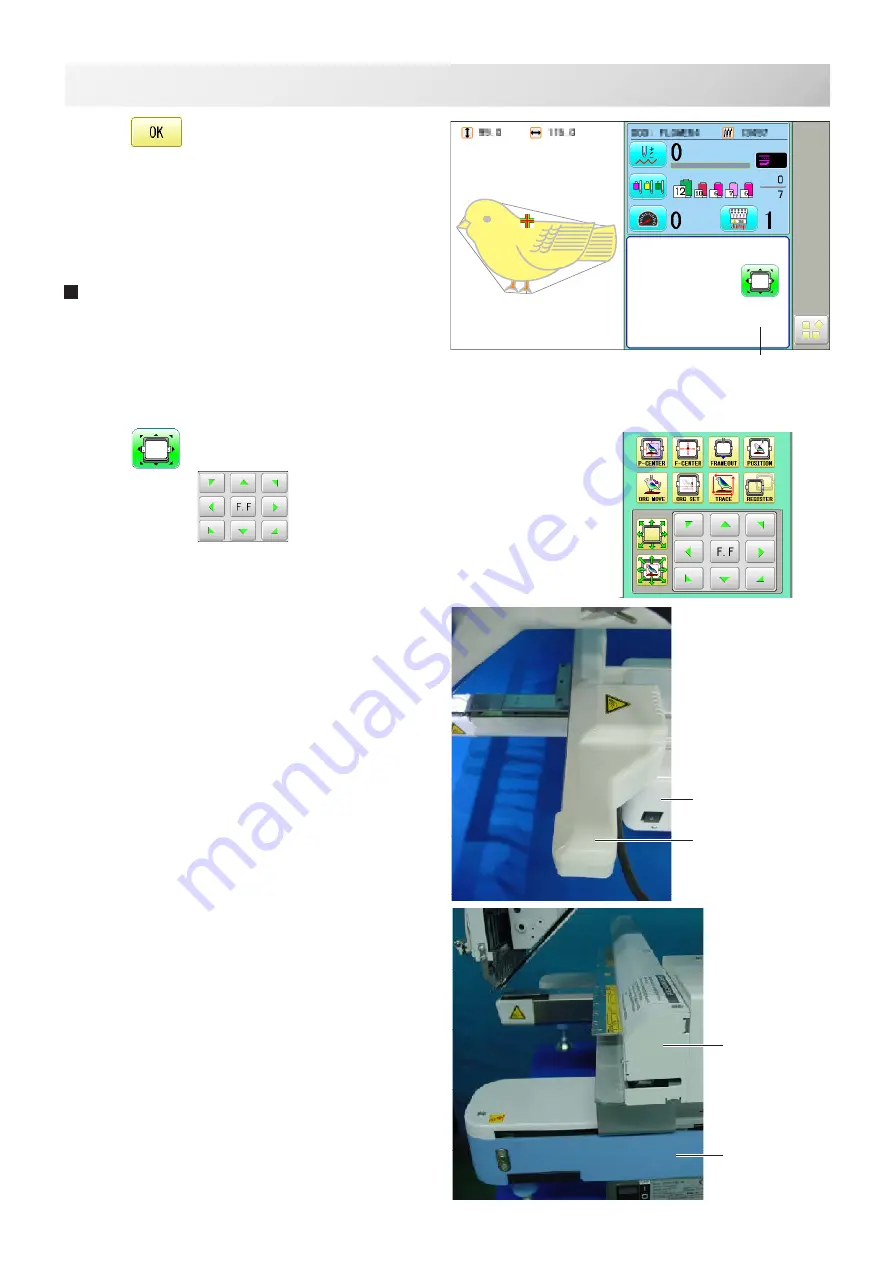
INSTALLING THE FRAME
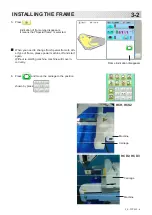
5. Press
.
Iindication of frame type disappears.
It means that “Special frame” is selected.
When you need to change from Special frame to oth
-
er type of frame, please powor machine off and start
again.
Without re-starting machine, machine will move in
-
correctly.
6. Press
and move the carriage to the position
shown by press
.
Frame Iindication disappears
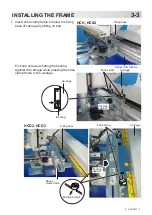
HCD2
, HCD3
HCH, HCS2
3_2 PA13
Machine
Machine
Carriage
Carriage


