Qsens (optional)
During a tanning session Qsens will gently spray the body with a fine water mist. This results in a wonderful cooling effect. By default Qsens is set
to spray in intervals of 2 minutes.
Water
Qsens uses a special bacteria-free water. Contaminated water may cause a rash or other unpleasant skin disorders. Therefore, never use ordinary tap water but
make sure to order the special Qsens liquid containers from your dealer.
Maintenance
Qsens is virtually maintenance-free, on the condition that pure water is used. Contaminated water may cause blockages in the spray head and other components.
Damages that are the result of the use of non-original parts or ordinary tap water are not covered by the warranty.
Only use original Hapro parts when carrying out maintenance or repair work.
The sunbed contains electrical components that will break down in damp conditions. Make sure not to spill any liquid on the sunbed.
Always switch off the mains voltage before carrying out any maintenance to the sunbed.
The system should be bled before commissioning the system and if any air is present in the conduit. Refer to the section 'Initialisation' in this product description
to find out how to bleed the system.
Residual liquid from the liquid container may be discharged into the regular water drainage system. The liquid container is made of PE and can be recycled.
Initialisation
Make sure to bleed the system before using Qsens for the first time and when the liquid container has been exchanged. Make sure all air and water hoses are
correctly installed and that the supply hose is correctly positioned in the liquid container before the system is bled.
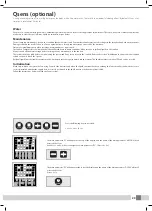
Follow the instructions below to bleed the Qsens system.
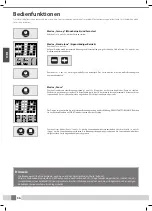
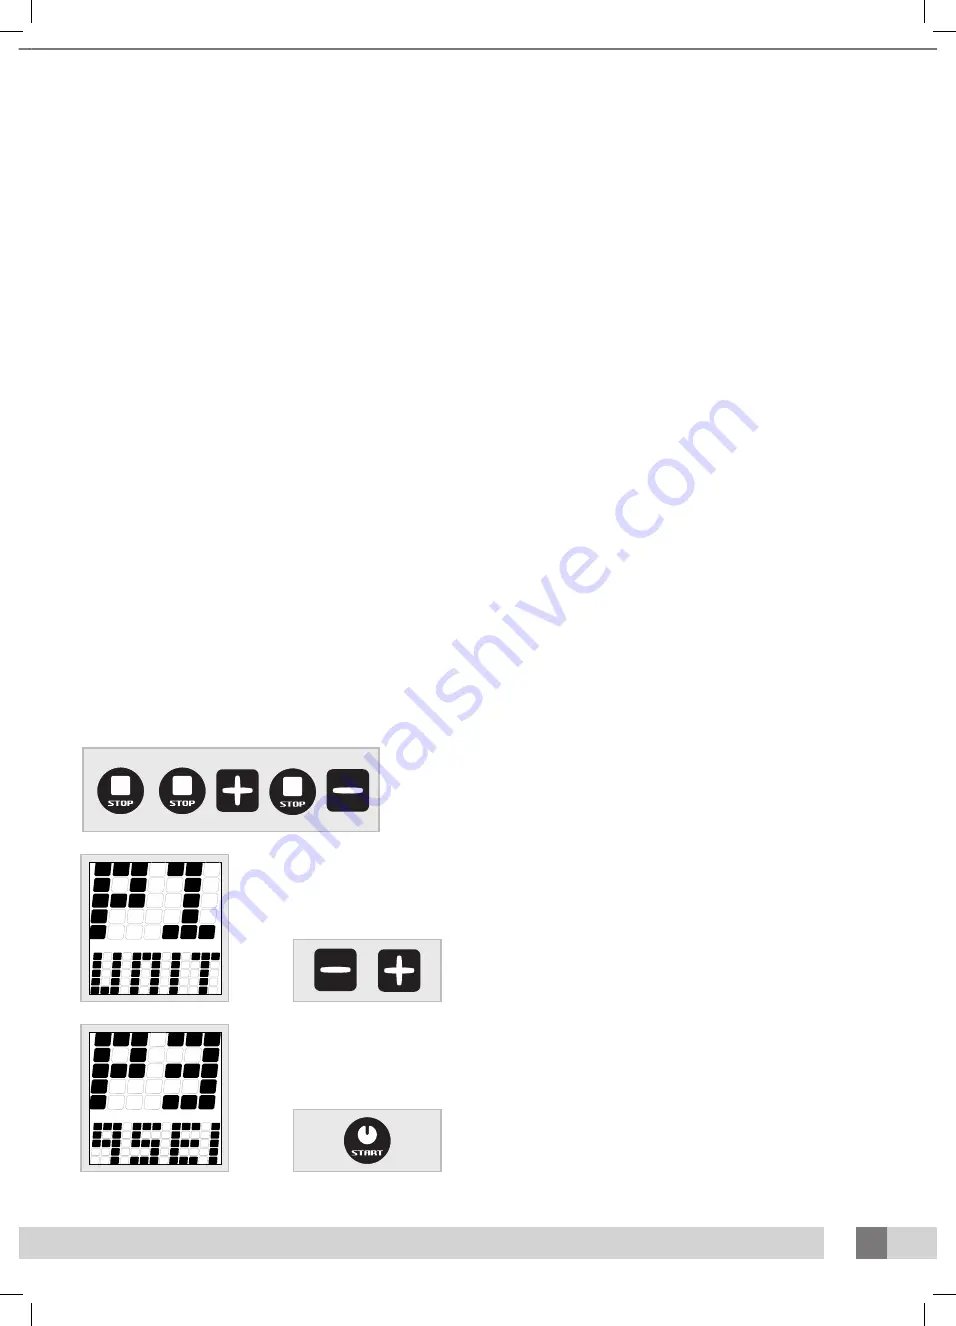
Press the following keys successively:
<5> <5> <4> <5> <3>
The main parameter “P1” will appear at the top of the display, and the name of the main parameter “UNIT” will scroll
across the bottom.
Use the <3> and <4> keys to navigate to main parameter “P3”. (Press <4> 2x.)
The main parameter “P3” will appear at the top of the display, and the name of the main parameter “QSENS” will scroll
across the bottom.
Press <2> 1x
23
Summary of Contents for Luxura V10
Page 10: ...10 1 ENG R 1 ENG L E NG Decorative lighting...
Page 34: ...34 2 GER R 2 GER L DE U 2 2 GER L D E U Decorative lighting...
Page 58: ...58 3 NED R 3 NED L N L D 3 3 NED L NL D Bedienung Sierverlichting...
Page 82: ...82 4 FRA R 4 FRA L FR A 4 4 FRA L F R A Decorative lighting...
Page 101: ...Montage 101 2 3 1 2 1...
Page 102: ...102 Monta Montage 4 A C C A...
Page 103: ...Montage 103 A...
Page 104: ...104 Monta Montage B...
Page 105: ...Montage 105 C...
Page 107: ...Montage 107 5...
Page 108: ...108 Monta Montage 6...
Page 109: ...Montage 109 7...
Page 112: ...112 Monta Montage 10...
Page 113: ...Montage 113 11...
Page 115: ...Montage 115 13...
Page 118: ...118 Monta Montage SENS SENS B...
Page 120: ...120 Monta Montage 14...
Page 122: ...122 Monta Montage 25mm 15mm 1 2 16...
Page 123: ...Montage 123 17...
Page 125: ...Montage 125 24 19...
Page 126: ...126 Monta Montage 21 20...
Page 127: ...Montage 127 21...
Page 128: ...128 Monta Montage 23 22...
Page 129: ...Montage 129 23...
Page 130: ...130 24...
Page 132: ...132 26...
Page 133: ...133 27 27 A F...
Page 134: ...134 2x M8 2x M8 x 25 4x M8 x 24 2x M6 x 16 5x M6 x 15...
Page 135: ...135 A B...
Page 136: ...136 C D...
Page 137: ...137 E...
Page 139: ...139 28...
Page 140: ...140 29...
Page 141: ...141 30...
Page 143: ...143 4 3...
Page 144: ...144 Dimensions Abmessungen Afmetingen Dimensions...
Page 150: ...a VDL Company www hapro com 2010 Hapro International 18365 rev 08...


