15
FINAL INSTALLATION
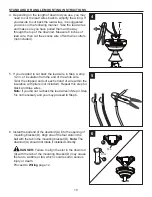
7. Remove one light pan screw (S) from one of the three
brackets below the light pan (H) and save. Loosen but
do not remove the other two screws on the other two
brackets.
8.
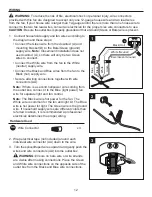
Connect the 9-pin connector from the fitter plate (P) to
the 9-pin connector from the light kit (Q).
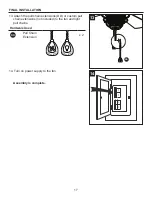
9. Align the two key slots in the light kit (Q) with the two
previously loosened light pan screws (S). Place the
light kit (Q) over the two screws and turn the light kit
(Q) clockwise. Re-install the previously removed light
pan screw (S) and tighten all three screws securely.
7
8
9
H
S
Q
S


