


11
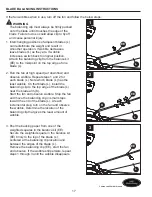
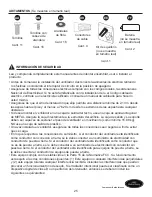
1. Remove one of the two preassembled
shoulder screws in the hanger bracket (B).
Loosen the second shoulder screw without
fully removing it. Rotate ceiling canopy (D) so
second shoulder screw moves into the small
opening of the keyslot. Tighten shoulder
screw. Re-install the previously removed
shoulder screw to fully assemble ceiling
canopy (D) to hanger bracket (B).
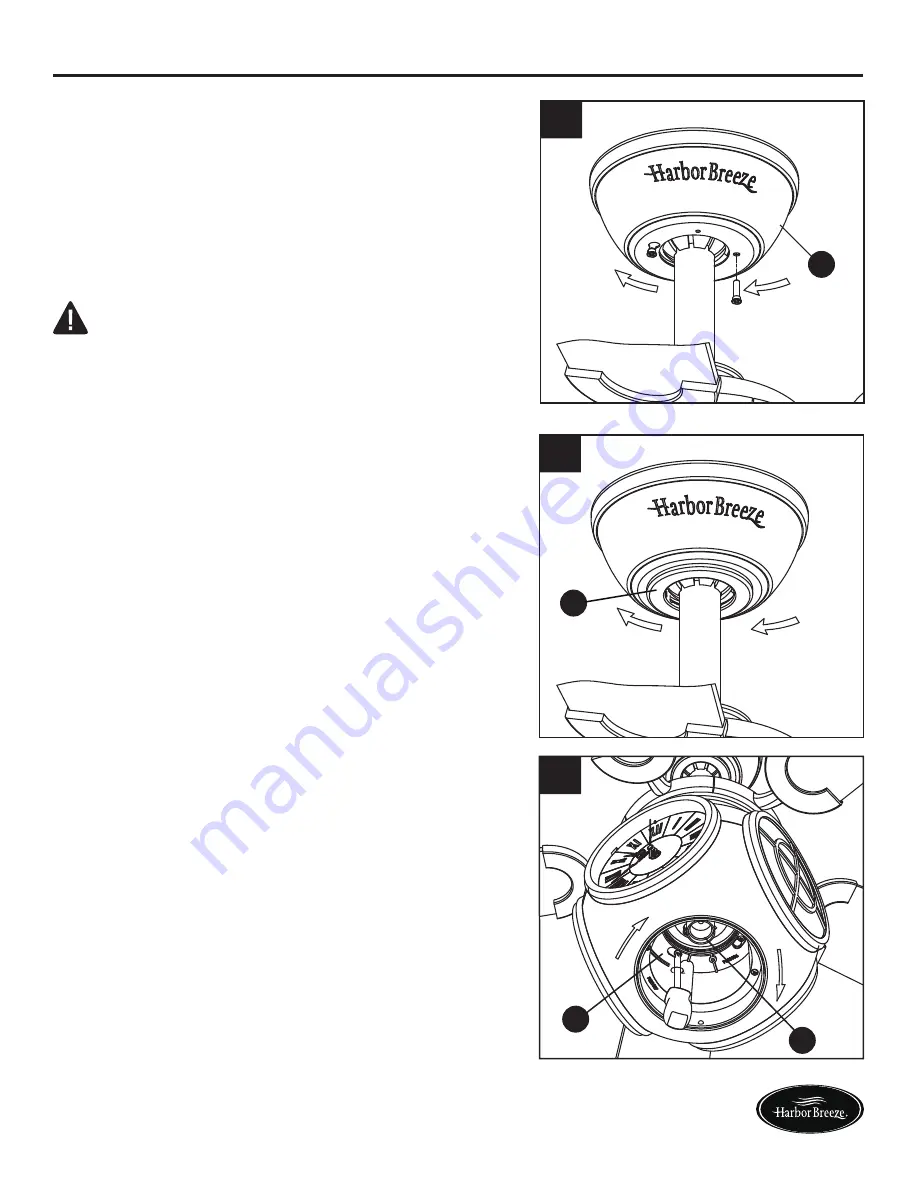
3. Remove one of the four preassembled screws
inside the adaptor plate at the bottom of the
motor assembly (A). Slightly loosen the
remaining three screws. Assemble the
housing assembly (G) to the adaptor plate of
the motor assembly (A) using the three
keyslots in the housing assembly (G). Replace
the fourth screw and securely tighten all four
screws.
FINAL ASSEMBLY INSTRUCTIONS
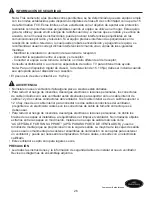
2. Securely attach and tighten the canopy
screw cover (E) over the shoulder screws in
the hanger bracket (B), utilizing the keyslot
twist-lock feature.
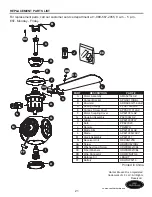
Lowes.com/harborbreeze
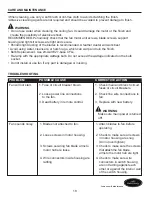
WARNING
To avoid possible fire or shock, make sure the
electrical wires are completely inside the canopy
housing and not pinched between the housing
and the ceiling.
1
D
2
E
A
G
3


