Slip downrod (A) into housing yoke, align holes and
re-install pin (M) and clip (N). Tighten downrod set
screws and then tighten nuts. Slide yoke cover (F)
down until it rests on top of motor housing (D). (Fig. 3)
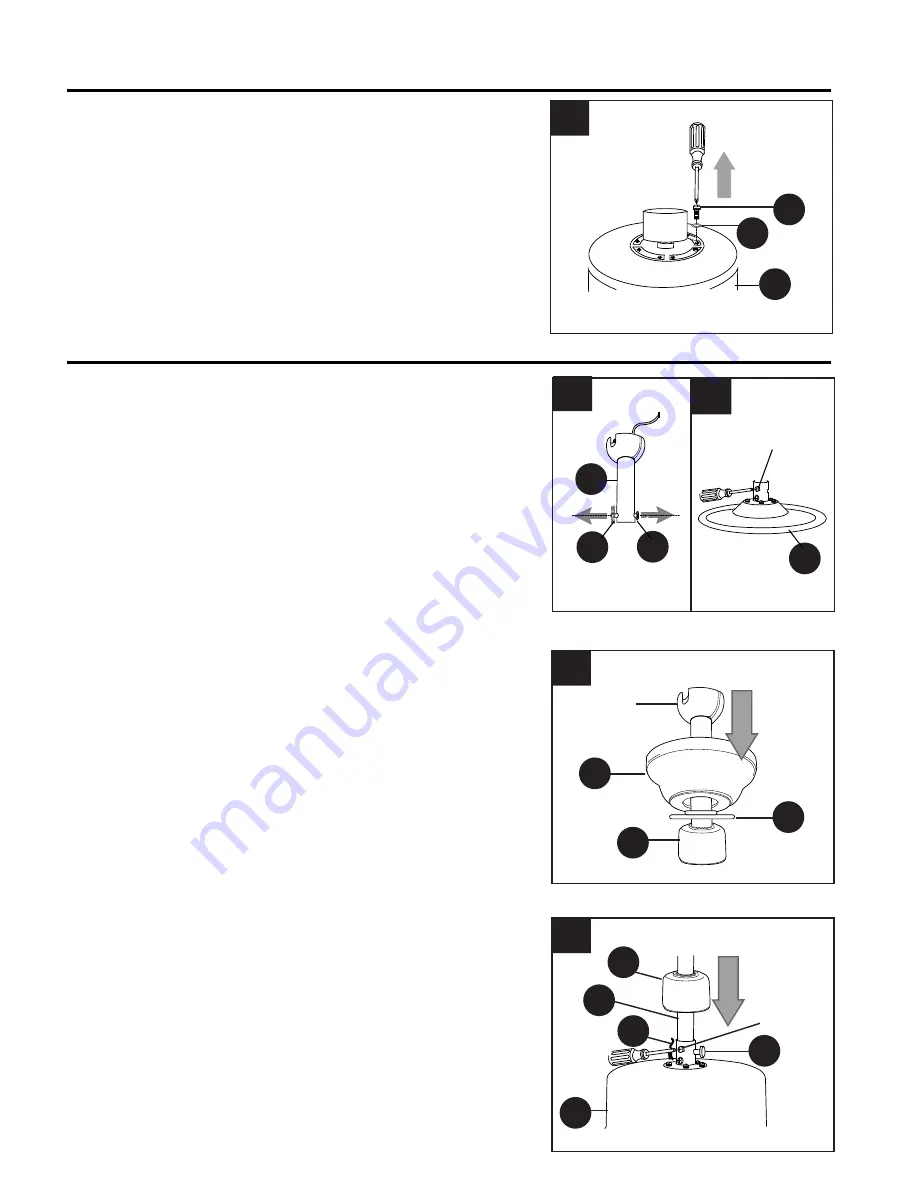
Choose downrod (A) length you wish to use.* If you
choose to use the 12 in. downrod (A), remove
hanging ball from the 6 in. downrod (A) and attach to
the 12 in. downrod (A). Insert downrod (A) through
canopy (B), canopy cover (I), and yoke cover (F).
(Fig. 2). [
Note:
Canopy cover (I) must be turned with
the shiny side
toward
the motor housing (D).] Thread
wires from motor housing (D) through downrod (A).
INITIAL INSTALLATION
5
5.
J
K
D
Remove motor screws (J) and lock washers (K)
from underside of motor and save for bade arm
(P) attachment later on. [If there are plastic motor
blocks installed with the motor screws (J) and
lock washers (K), discard the plastic motor
blocks.] (Fig. 5)
FAN MOUNTING
2
I
B
F
Hanging
Ball
2.
Set
Screw
M
F
3
D
N
A
3.
7
M
N
A
D
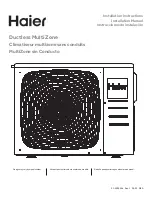
Remove pin (M) and clip (N) from downrod (A). (Fig. 1A)
Partially loosen set screws in motor housing yoke at top
of motor housing (D). (Fig. 1B)
*Helpful Hint:
Downrod style mounting is best suited for
ceilings 8 ft. (2.44 m) high or higher. For taller ceilings
you may want to use a longer downrod (sold separately)
than the ones provided. Angle style mounting is best
suited for angled or vaulted ceilings. A longer downrod
is sometimes necessary to ensure proper blade
clearance.
Set
Screw
1.
1A
1B