background image

1

ATTACH YOUR RECEIPT HERE

Purchase Date _________________________ 

ITEM #5249289, 5336648 

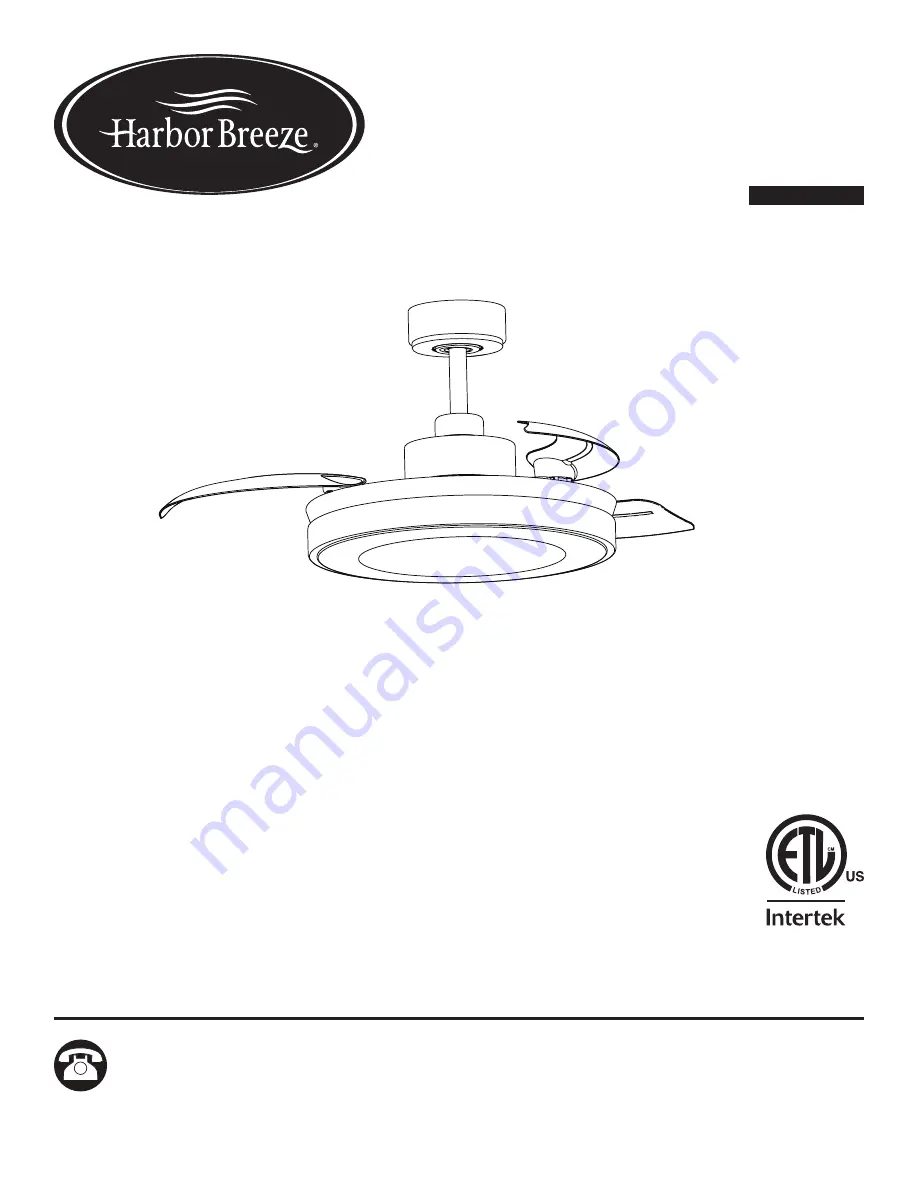
PRESTWICK

RETRACTABLE FAN

MODEL #42868, 42869

Español p. 16

AS23113

HARBOR BREEZE and logo design are trademarks or 

registered trademarks of LF, LLC. All rights reserved.

Questions, problems, missing parts?

 Before returning to your retailer, call our customer 

service department at 888-251-1003, 8 a.m. - 8 p.m., EST, Monday - Sunday. You could also 

contact us at partsplus@lowes.com.

Summary of Contents for PRESTWICK 42868

Page 1: ... 42869 Español p 16 AS23113 HARBOR BREEZE and logo design are trademarks or registered trademarks of LF LLC All rights reserved Questions problems missing parts Before returning to your retailer call our customer service department at 888 251 1003 8 a m 8 p m EST Monday Sunday You could also contact us at partsplus lowes com ...

Page 2: ...2 TABLE OF CONTENTS Package Contents 3 Preparation 3 Safety Information 4 Assembly Instructions 6 Operating Instructions 11 Care and Maintenance 12 Troubleshooting 12 Limited Lifetime Warranty 14 ...

Page 3: ...H Motor Assembly 1 I Set Screw preassembled to Motor Assembly H 2 J Fitter Plate Screw preassembled to Fitter Plate K 4 K Fitter Plate preassembled to Motor Assembly H 1 L Light Kit 1 M Lens 1 N Remote Pack 1 A B C E D F H I K G J N L M PREPARATION Estimated Assembly Time 30 minutes Tools Required for Assembly not included Step ladder Phillips screwdriver Wire stripper cutter safety glasses and el...

Page 4: ...ctrical currents Under this condition anyone coming in contact with the fixture will receive electrical shock which could cause serious injury or death DO NOT damage or cut the wire insulation covering during installation of the fixture DO NOT permit wires to contact any surface having a sharp edge To do so may damage or cut the wire insulation which could cause serious injury or death from electr...

Page 5: ...e harmful interference to radio communications However there is no guarantee that interference will not occur in a particular installation If this equipment does cause harmful interference to radio or television reception which can be determined by turning the equipment off and on the user is encouraged to try to correct the interference by one or more of the following measures Reorient or relocat...

Page 6: ...lectric shock or personal injury mount to the outlet box marked acceptable for fan support and use the mounting screws and washers provided with the outlet box 3 Note If your ceiling is 9 feet or higher you may want to use the 12 inch downrod tube G instead of the 6 inch downrod tube from downrod pack E in the instructions that follow Insert the downrod tube of your choice through the downrod ball...

Page 7: ...wnrod ball all the way up until it is level with the top of downrod tube Insert and tighten the two downrod set screws into the two small holes near the top of downrod tube Note Two slots in downrod ball allow access for the downrod set screws 6 Insert downrod ball from downrod pack E into the opening of the mounting bracket A Rotate the downrod ball until the tab in the mounting bracket A is seat...

Page 8: ...ferred to above a professional electrician should determine the proper wiring 8 Wrap electrical tape not included around each individual wire connector down to the wire 9 Turn the spliced taped wires upward and gently push the wires and wire connectors into the outlet box WARNING Ensure no bare wire strands are visible after making connections Place the ground and neutral supply wire connections o...

Page 9: ...mounting bracket A Twist the canopy C clockwise to lock and tighten both screws Lift the key slots in the inside of the canopy cover D over the heads of the canopy screws B preassembled to the mounting bracket A Twist the canopy cover D clockwise to lock 12 Remove one of the four fitter plate screws J preassembled to the fitter plate K and loosen the other three but do not remove Feed the 2 pin co...

Page 10: ...ector from the light kit L 14 Bend the lens M just enough to fit it into the bottom edge of light kit L Note Do not bend so much that it forms a crease in the lens M 15 Turn on the circuit breakers and the wall switch to the fan supply line leads Assembly is complete 13 L 2 Pin Connector 14 15 L M ...

Page 11: ...remote from remote pack I press and release the following buttons A Fan On Off B Fan Speed 1 Low 6 High C Reverse Switch Changes direction of blade rotation Counterclockwise direction creates downward airflow for cooling effect Clockwise direction pulls warm air from ceiling for warming effect D 30 Minute Timer Turns off fan after 30 minutes E Light Color Warm F Dimmer Press to dim lights or to br...

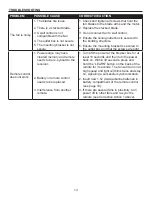
Page 12: ...fan TROUBLESHOOTING PROBLEM POSSIBLE CAUSE CORRECTIVE ACTION The fan does not move 1 The power is off or the fuse is blown 2 There is a faulty wire connection 3 The plugs are not connected properly 1 Turn the power on or check the fuse 2 Turn the power off Loosen the canopy and check all connections 3 Check that the connectors from the light kit and fan are connected properly There is excessive wo...

Page 13: ... screws are tight Remote control does not work 1 Power surge may have cleared memory and remote needs to be re synced to the receiver 2 Battery in remote control needs to be replaced 3 Interference from another remote 1 Turn off the power at the breaker box for at least 10 seconds and then turn the power back on Within 30 seconds press and hold the LEARN button on the back of the remote for 3 seco...

Page 14: ...y a non licensed electrician will render the warranty invalid The manufacturer s sole responsibility shall be to repair or replace the motor parts or product within the terms stated above The manufacturer shall not be liable for any loss or damage of any kind including any incidental or consequential damages resulting directly or indirectly from any breach of warranty express or implied or any oth...

Page 15: ...tact us at partsplus lowes com PART DESCRIPTION 5249289 PART 5336648 PART A Mounting Bracket 4L000016960 4L000016960 C Canopy 4L000016970 4L000017030 D Canopy Cover 4L000016980 4L000017040 E Downrod Pack 4L000016990 4L000017050 F Yoke Cover 4L000017000 4L000017060 L Light Kit 4L000017010 4L000017070 N Remote Pack 4L000017020 4L000017020 A D C F E N L 9876 PB 031423 ...

Reviews: