


Continue to "Wiring" instructions on page 9.
Install ball end of downrod (A) into mounting
bracket (C) opening. Align slot in ball with tab in
mounting bracket (C). (Fig. 6)
DANGER:
Failure to align slot in ball with tab
may result in serious injury or death.
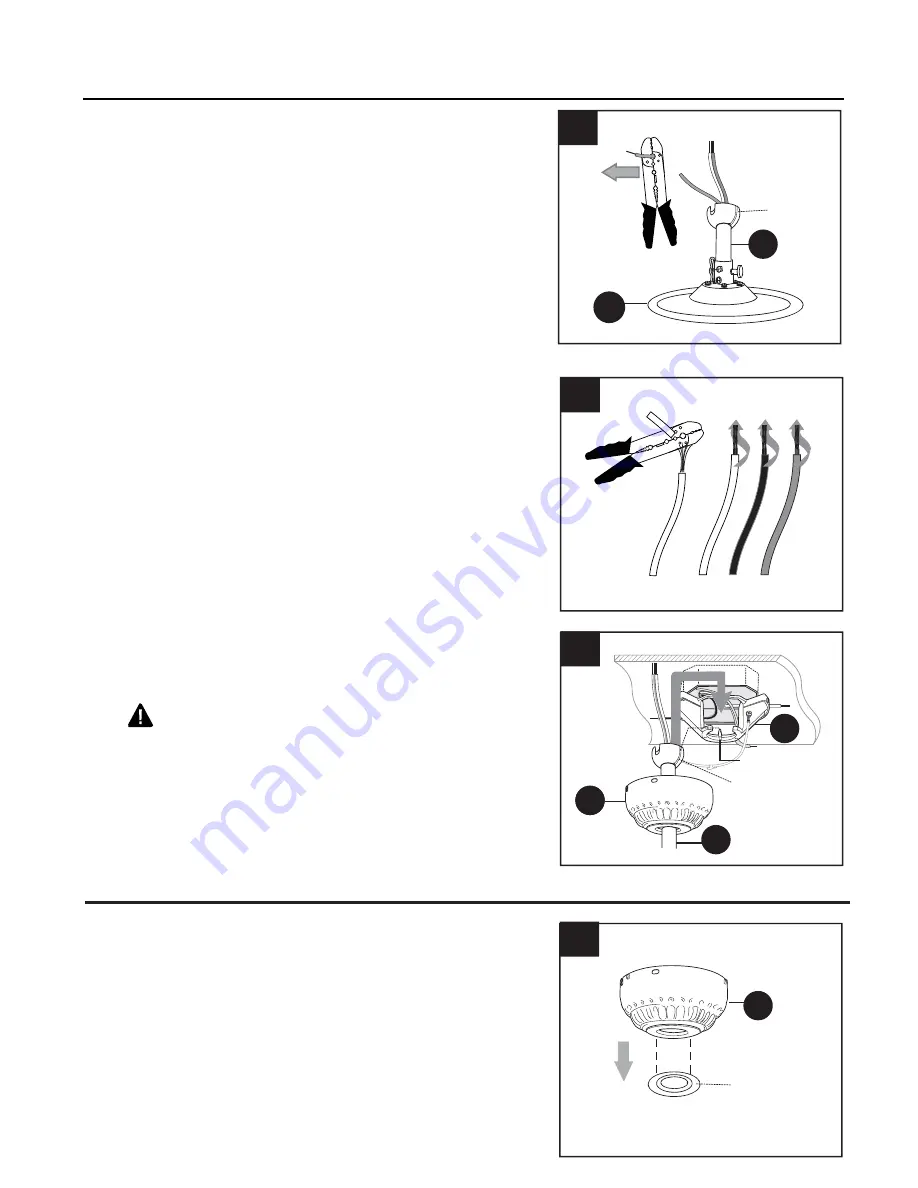
Depending on the length of downrod (A) you use, you
may need to cut the lead wires back to simplify the
wiring. If you decide to cut back the lead wires, it is
suggested that you do so in the following manner:
Take the lead wires and make sure that you have
pulled them all the way through the top of the downrod
(A). Start at the TOP of the ball on the downrod (A) and
measure 8 in. of lead wire, and then cut the excess
wire off with wire cutters. (Fig. 4)
Note:
If you do
not
cut back the lead wires,
Steps 4
and 5 are not necessary and you may proceed to
Step 6 instead
.
If you decided to cut back the lead wires in Step 4,
strip 1/2 in. of insulation from end of white wire. Twist
stripped ends of each strand of wire within the
insulation with pliers. (Fig. 5) Repeat Step 5 for
black, blue (if applicable) and green wires.
DOWNROD STYLE FAN MOUNTING
4.
5
5.
B
C
B
Hanging
Ball Slot
Tab
A
6
Ball
A
D
4
6.
Remove canopy cover from bottom of canopy (B).
(Fig. 1) [Note: It may be necessary to use the handle
end of a screwdriver to remove the canopy cover by
tapping on the canopy cover from the inside of the
canopy (B).]
*Helpful Hint:
Closemount style mounting is more
suitable for ceilings lower than 8 ft. (2.44 m) high.
The downrod, hanging ball, and canopy cover are
not used in this type of installation.
Canopy
Cover
B
1
CLOSEMOUNT STYLE FAN MOUNTING
8
1.


