background image

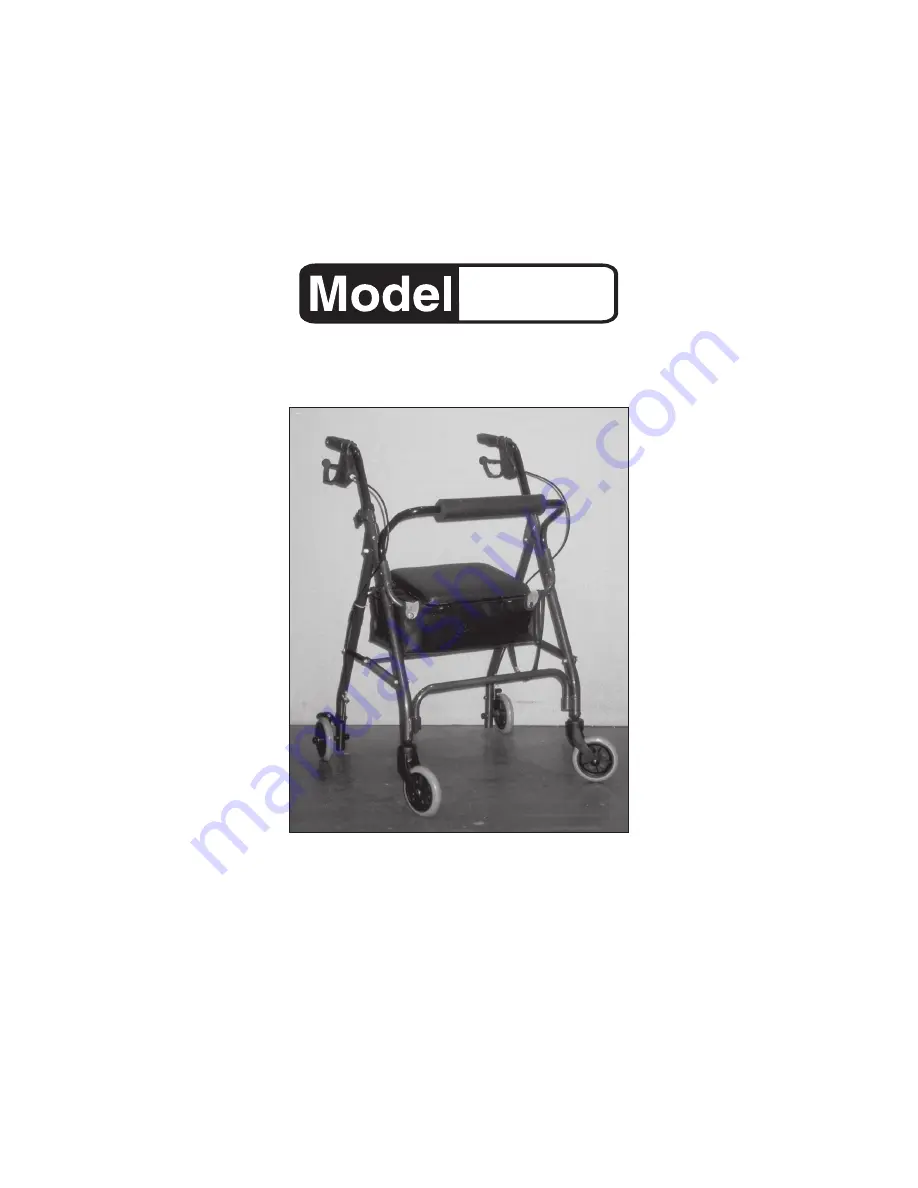
WALKER/STROLLER

WITH HAND BRAKE

ASSEMBLY AND OPERATING INSTRUCTIONS

3491 Mission Oaks Blvd., Camarillo, CA 93011

Visit our Web site at http://www.harborfreight.com

For technical questions and replacement parts, please call 1-800-444-3353

02969

Copyright © 2003 by Harbor Freight Tools

®

.  All rights reserved.  No portion of this manual or any

artwork contained herein may be reproduced in any shape or form without the express written consent
of Harbor Freight Tools.

Summary of Contents for 2969

Page 1: ...te at http www harborfreight com For technical questions and replacement parts please call 1 800 444 3353 02969 Copyright 2003 by Harbor Freight Tools All rights reserved No portion of this manual or any artwork contained herein may be reproduced in any shape or form without the express written consent of Harbor Freight Tools ...

Page 2: ...is not a toy Children must never be allowed to play with on or around this product 3 Store idle equipment When not in use product must be stored in a dry location to inhibit rust 4 Use the right product for the job There are certain applications for which this product was designed It will do the job better and more safely at the rate for which it was intended Do not modify this product and do not ...

Page 3: ...rugs Read warning labels on prescriptions to determine if your judgment or reflexes are impaired while taking drugs If there is any doubt do not operate the product 12 Maintenance For your safety service and maintenance should be performed regularly by a qualified technician Special Warnings for this Product 1 Before use be sure your Walker Stroller is fully opened the Seat is down completely and ...

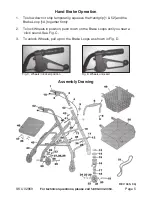
Page 4: ... the Bar into the slots in the Back Frame as shown in Fig A right 2 To attach the two Handles first slide one of the Handrail Rods 3 into the Front Frame 10 as shown in the Assembly Diagram Find a comfortable height for the Handle then line up the holes in the Handrail Rod with one of the holes in the Front Frame Secure in position using an M6 Screw 42 and Knob 5 Repeat to attach the other Handle ...

Page 5: ...porarily squeeze the Handgrip 1 52 and the Brake Loop 1A together firmly 2 To lock Wheels in position push down on the Brake Loops until you hear a click sound See Fig C 3 To unlock Wheels pull up on the Brake Loops as shown in Fig D Fig D Wheels unlocked Fig C Wheels in locked position Assembly Drawing REV 04h 04j ...

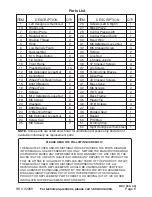
Page 6: ...p Padded Seat Basket PVC Bag Folding Strap Right Handgrip w thumb rest ITEM 26 27 28 29 30 31 32 33 34 35 36 37 38 39 40 41 42 43 44 45 46 47 48 49 50 51 52 QTY 1 1 1 1 2 4 4 2 1 2 4 6 2 2 2 2 2 2 1 2 4 2 1 1 1 1 1 NOTE Some parts are listed and shown for illustration purposes only and are not available individually as replacement parts REV 04h 04j PLEASE READ THE FOLLOWING CAREFULLY THE MANUFACTU...

Reviews: