


Page 17
For technical questions, please call 1-888-866-5797.
Item 57042
RETURNS NOT ACCEPTED & WARRANTY VOID
if Sprayer is not properly cleaned immediately after every use.
Clean Sprayer immediately to prevent permanent damage.
S
AFETY
O
PERA
TION
M
AINTENANCE
S
ETUP
16.
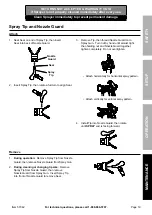
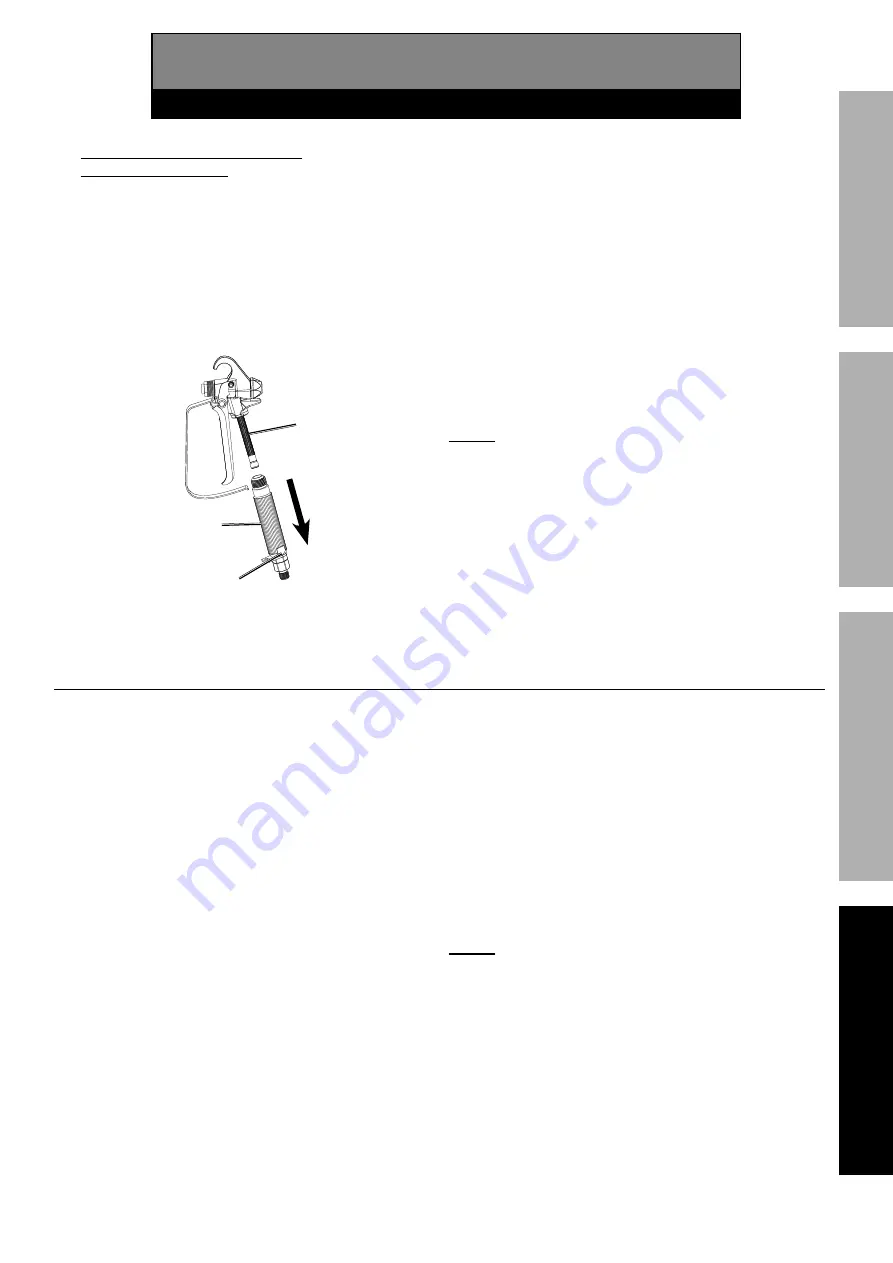
Clean Spray Gun Filter, Nozzle
Guard and Spray Tip
a. Depressurize Sprayer according to
Depressurize Sprayer on page 11.
b. Turn Power Switch off.
c. Unplug Sprayer.
d. Remove Spray Gun from Spray Hose.
e. Remove Handle from Spray Gun
with included wrench.
Secure
wrench on
flat spots
Handle
Filter
f. Remove Filter by turning it counterclockwise.
g. Place Filter in container of solvent with
Nozzle Guard, Spray Tip and and Seal.
h. Using included brush, scrub
accessories until clean.
i. Let accessories dry completely.
j. Reassemble Spray Gun and
attach to Spray Hose.
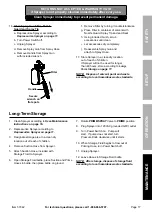
17. Store Sprayer in a clean dry location
out of reach of children.
If Sprayer will not be used for longer
than 48 hours, store according to
Long-
Term Storage on page 17.
NOTE: Dispose of solvent, paint and waste
according to local hazardous waste standards.
Long-Term Storage
1. Clean Sprayer according to
User-Maintenance
Instructions on page 16.
2. Depressurize Sprayer according to
Depressurize Sprayer on page 11.
3.
Designate storage area in a clean dry
location out of reach of children.
4. Remove Suction Hose from Sprayer.
5. Attach Suction Hose, included with
Storage Fluid, to Sprayer.
6. Open Storage Fluid bottle, place Suction and Prime
Hoses in bottle, then place bottle on ground.
7. Rotate
PRIME/SPRAY
Valve to
PRIME
position.
8. Plug Sprayer into 120VAC grounded GFCI outlet.
9. Turn Power Switch on. Pump will
start. If pump does not start, turn
Pressure Knob clockwise until it starts.
10. When Storage Fluid begins to flow out of
Priming Hose, turn Power Switch off.
11. Unplug Sprayer.
12. Leave Hoses in Storage Fluid bottle.
NOTE: After storage, dispose of storage fluid
according to local hazardous waste standards.


