If only the shelf is being replaced, simply slide the new shelf through one of the crib ends.
Line up the holes in the 4 corners of the shelf with the holes in the brackets on the bumper
plates as shown below, and reinstall the 4 screws #63392, the 4 locknuts #63413 and the
4 washers #63443 and re-assembly will be complete.
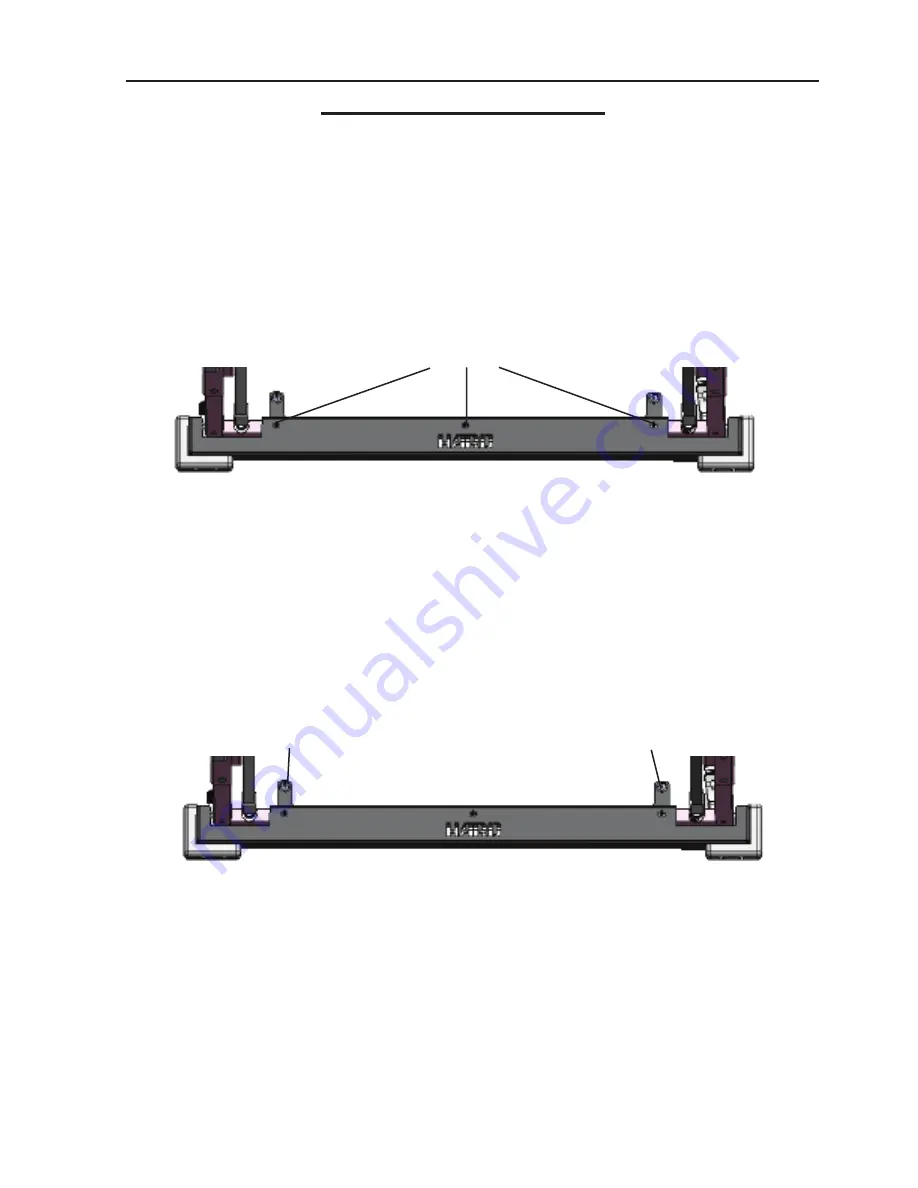
3. To remove a damaged bumper, remove the 3 cap screws 60242 and 3 connector nuts
60245 as shown, then remove the damaged bumper. Disassembly is complete.
Remove
Brackets which crib rests on and are bolted to
Assembly is complete.
REPLACING OR INSTALLING AN UNDER CRIB SHELF
OR BUMPER SYSTEM
4. Install the new bumper plate(s) by aligning the holes in the plate with the holes in the crib
cross bar, and install 3 cap screws 60242 and the 3 connector nuts 60245 in each bumper
plate.
5. If a new shelf is being installed as well, there will be brackets on which the shelf rests
on and is bolted to as shown below. Slide the shelf through one of the ends of the crib as
shown in Step #2. Align the holes in the shelf with the holes in the bumper plate bracets
and install the 4 screws #63392 from the top, and the 4 locknuts #63413 and 4 washers
#63443 from the bottom.
25


