4 - System setup
25
μ
ATTENTION! For best results, the hydraulic system should be under a normal load and at a normal working
temperature. An effective way to warm the oil is to cycle all boom sections up and down manually for 5 minutes.
Longer warm up times may be required in cold weather. Ensure any hydraulic flow controls are adjusted for normal
field operation.
÷
NOTE! Changing the flow controls during or after System Setup will affect AutoHeight operation.
STEP 4: Turn On the AutoHeight Panel
•
If this is the first setup for the panel, this process will begin automatically. If the panel was previously setup, you need
to select "
Install?
" from the SETUP menu to initiate Automatic System Setup.
÷
NOTE! If other messages appear on the LCD screen during the following steps, refer to “Retune” on page 27 for more
information.
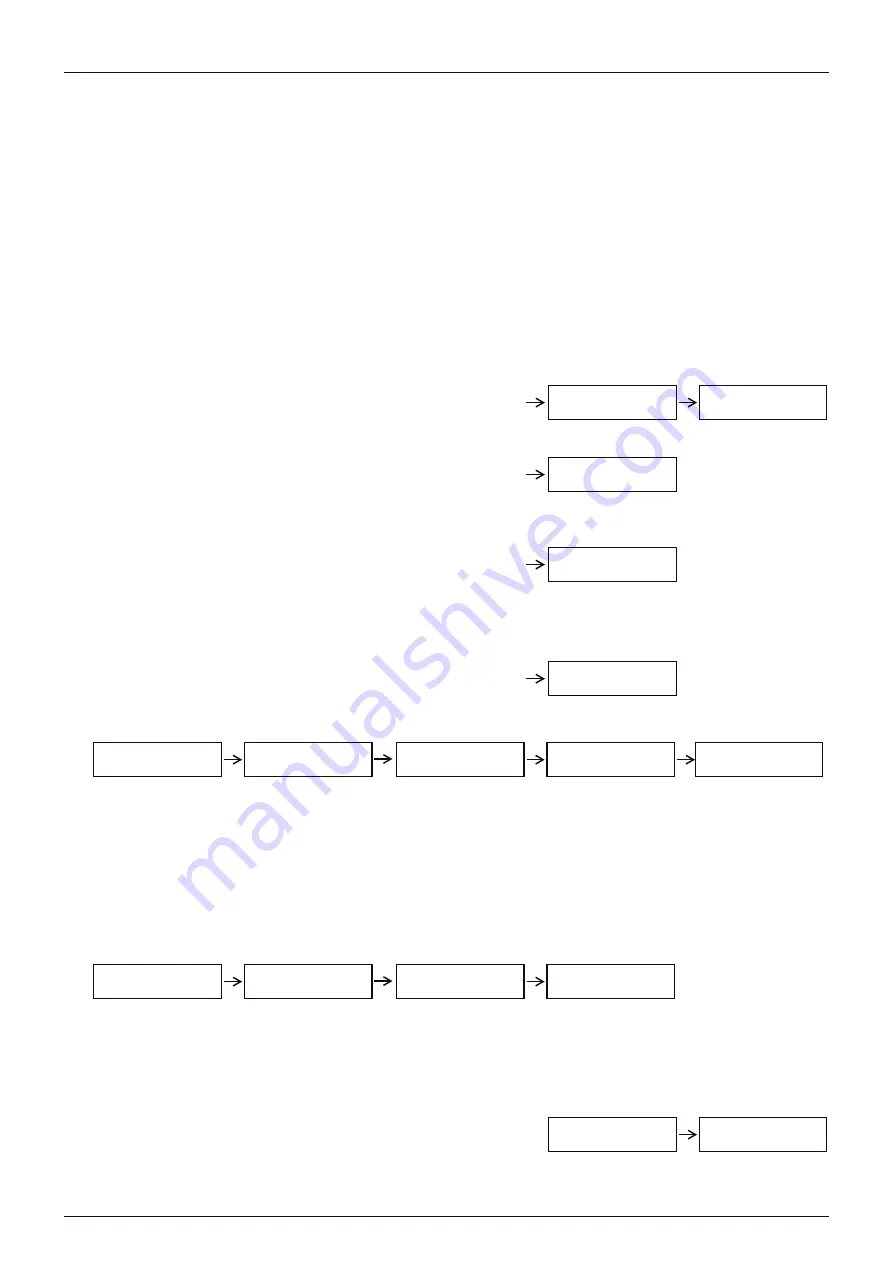
STEP 5: Select the Sprayer Type
•
Use the "+/-" switch to toggle through a list of available sprayer
types. The types are listed in “Specifications” on page 57.
•
When the desired type is shown, confirm the selection with the
"AUTO (YES)" switch.
•
If you wish to exit the install now before changing any settings,
toggle the "SETUP (NO)" switch.
•
The control panel is loading all the settings for your sprayer.
STEP 6: Sensor Detect
•
The control panel reads the serial numbers of all connected sensors.
•
Number of sensors found is displayed. This should match the
number of sensors on your system. If it does not, turn off the
control panel and ensure that all sensors are plugged in and
operating.
•
If you have boom slant control, manually level the boom.
•
Position all other boom sections such that the nozzles are 90 cm from the ground.
÷
NOTE! If you cannot get all the booms set to exactly 90 cm, you can adjust the sensor height after you have finished
the install. Refer to “Calibrating the Sensor's Height Reading (Zero Height)” on page 29 for more details.
•
Toggle "AUTO (YES)" to continue.
•
Hold the "AUTO (YES)" switch to begin the sensor detect sequence. During the procedure you must hold the "AUTO
(YES)" switch. If "AUTO (YES)" is released, simply toggle and hold again to continue the procedure.
•
The control panel will automatically slot in the sensors to the correct locations and indicate the progress.
•
Release the "AUTO (YES)" switch to continue.
Type +/-
Select
HD4?
Dfalting
3 Sensrs
booms at
Level
height
90 cm
Proceed?
AUTO
Hold
Done
until
Switch
Release
Summary of Contents for AutoHeight
Page 5: ...5 1 Declaration This page is intentionally left blank ...
Page 6: ...1 Declaration 6 ...
Page 22: ...3 Description 22 ...
Page 46: ...5 Operation 46 ...
Page 50: ...6 Maintenance 50 ...
Page 58: ...8 Technical specifications 58 ...
Page 60: ...9 Index 60 ...
Page 62: ...HARDI INTERNATIONAL A S Helgeshøj Allé 38 DK 2630 Taastrup DENMARK ...


