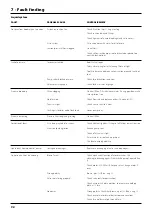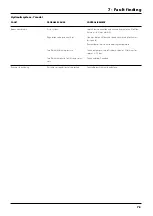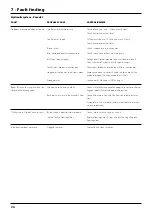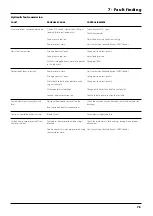
6 - Maintenance
6.19
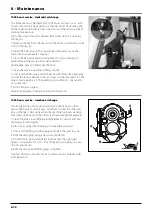
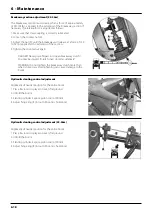
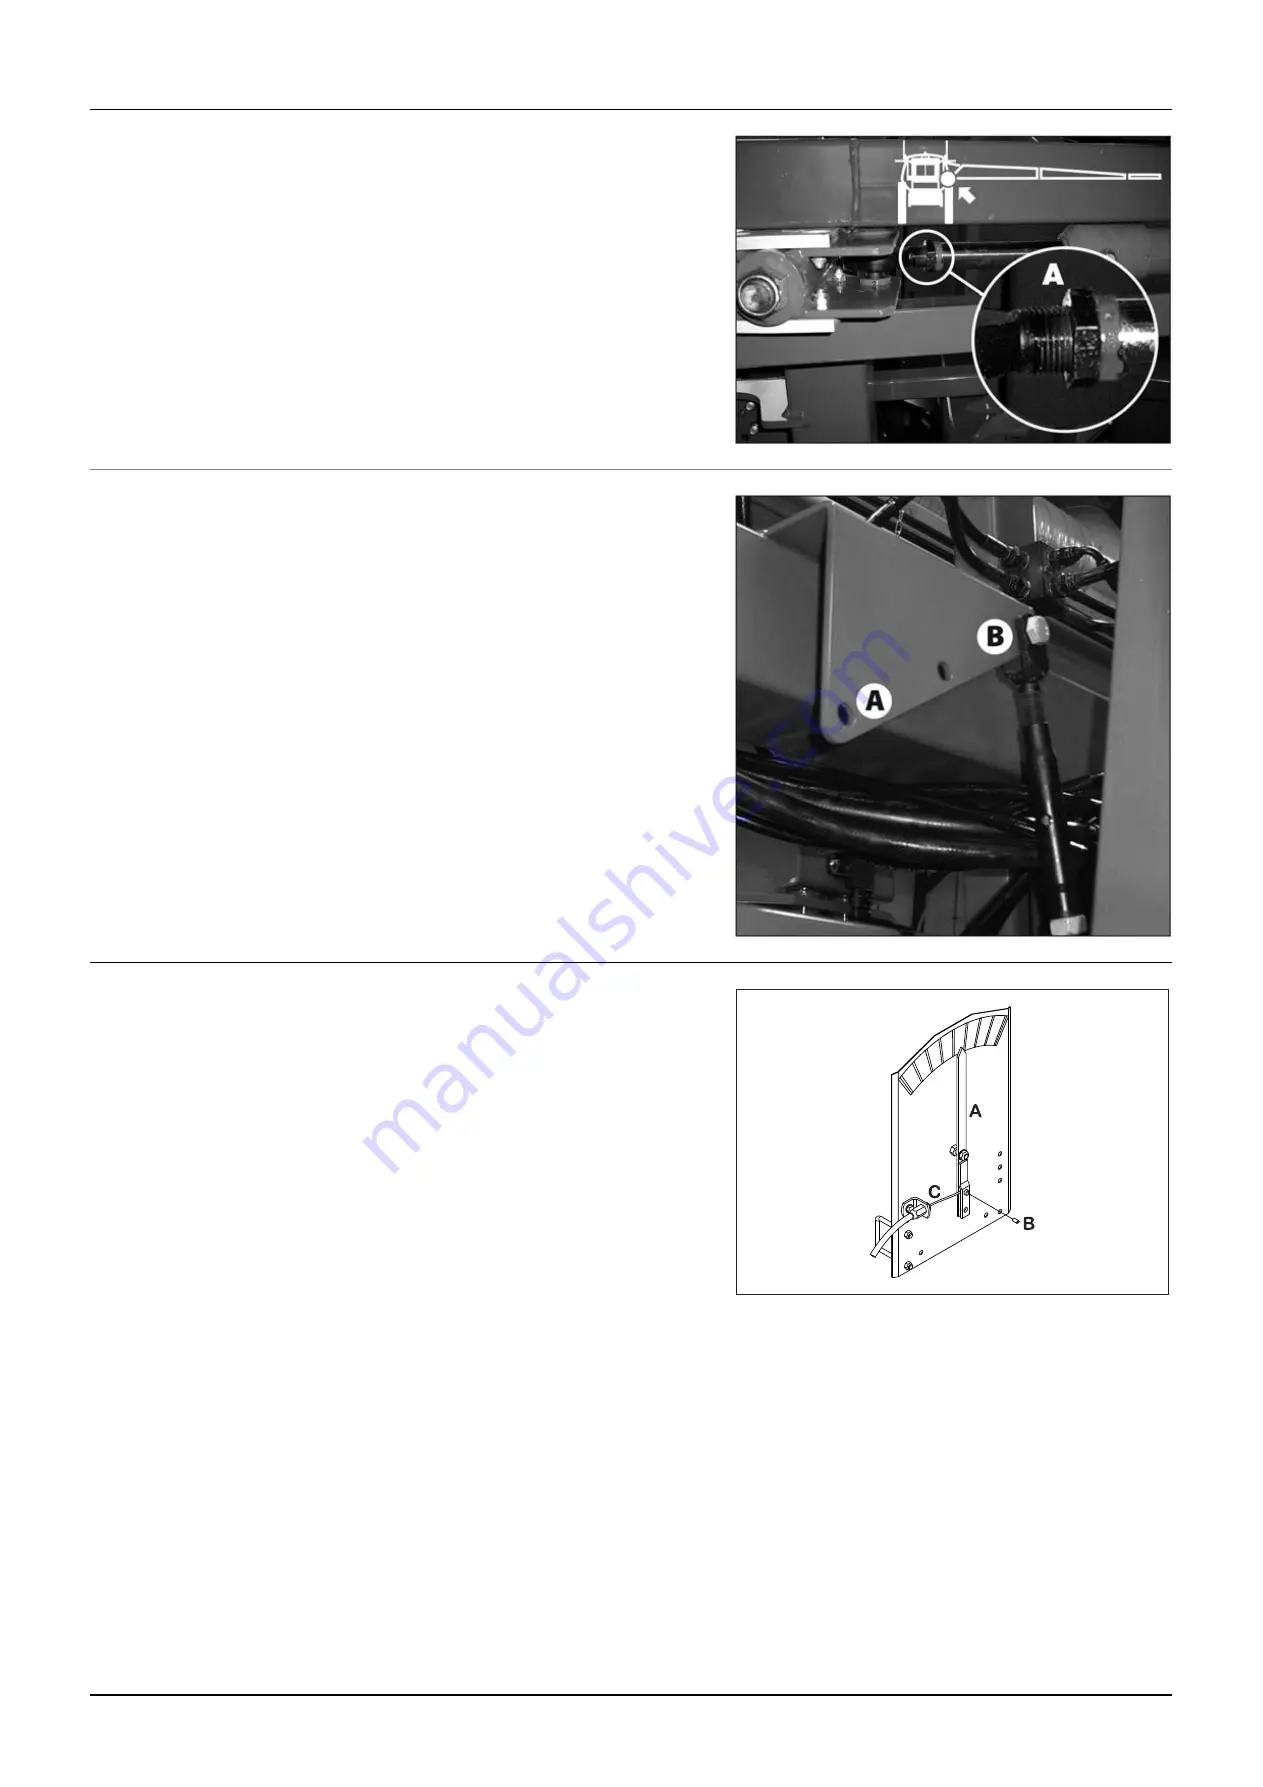
The horizontal adjustment of the wings is done by the retracted tilt
cylinder. The boom must be straight and horizontal. If necessary,
adjust the wing as follows:
1. Support the boom to relieve the load from the hydraulic cylinder.
2. Loosen counter nut (A), which is positioned by the hinge ring on
the cylinder’s piston rod.
3. With a wrench (two flattened spots on end of the ram) adjust the
cylinder ram inwards or outwards to get the desired wing level.
4. Repeat steps for other side.
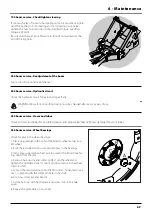
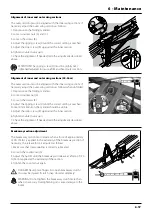
The adjustable spring arrangement on centre section straightens
abrubt boom movements. If different field conditions appers, the
arrangement may need adjustment. The force of the straightening
effect can be adjusted by tightness and position of springs.
On the upper berth plate there are 3 positions for the springs; Hole
closest to centre of sprayer gives less straightening of boom than
selecting the outer hole. The longer away from the centre of the
sprayer the more powerful straightening effect will be obtained.
To move position then loosen the rigging screws. Dismount upper
bolt and move arrangement to the selected eye. Refit bolt and
tighten rigging screw. The rigging screw should be tightened so
much that there is no slope in it, but the spring should not be stre-
ched out either. Tighten so both springs have same tightness when
boom is lever.
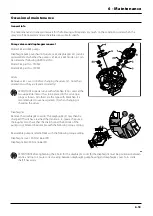
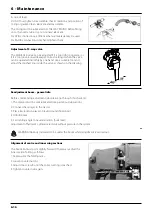
If the position of the pointer on the indicator does not correspond
to the actual boom position, the pointer (A) can be adjusted.
1. Loosen the small bolt (B) sufficiently to allow the wire (C) to be
adjusted.
2. Place the pointer (A) in correct position and fasten bolt (B) against
the wire (C) again.
Slanting indicator adjustment (optional equipment)
Spring arrangement (32-36 m only)
Wing tilt adjustment
Summary of Contents for COMMANDER TWIN FORCE 3200
Page 8: ...Table of contents TOC 6 ...
Page 10: ...1 CE Declaration 1 2 ...
Page 14: ...2 Safety notes 2 4 ...
Page 66: ...6 Maintenance 6 2 Boom lubrication oiling plan 32 36 m ...
Page 67: ...6 Maintenance 6 3 Trailer lubrication oiling plan ...
Page 107: ...8 Technical specifications 8 11 Charts Boom hydraulic Y Boom hydraulic Z ...
Page 108: ...8 Technical specifications 8 12 Sprayer hydraulic Fan transmission ...
Page 109: ...8 Technical specifications 8 13 Electrical specifications for boom and work light ...
Page 110: ...8 Technical specifications 8 14 ...

