13
EAGLE BOOM
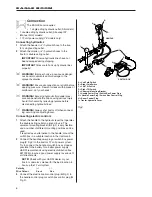
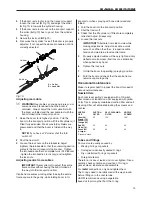
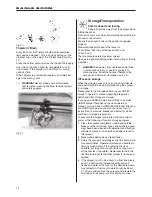
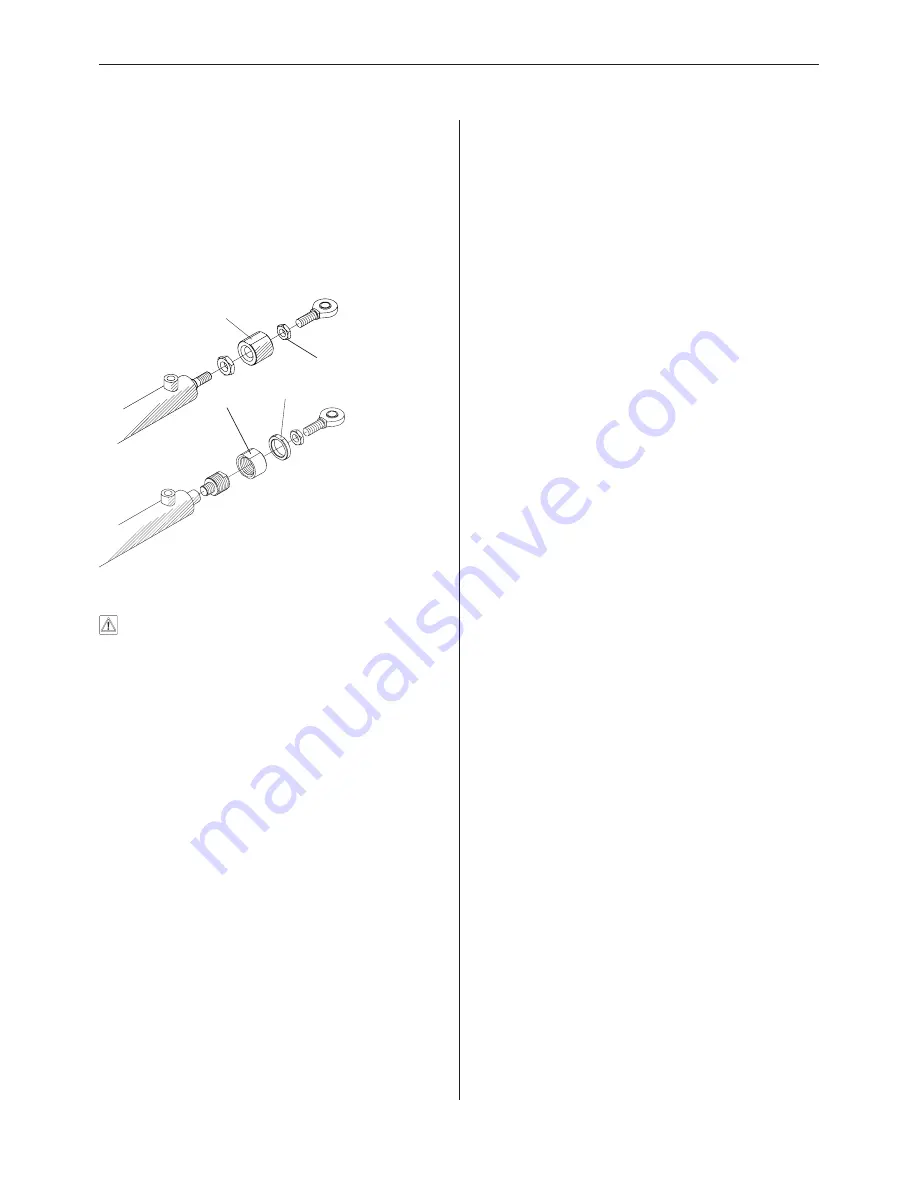
3 If the boom rests too far in on the transport support,
loosen the lock nut (B Fig 19) and adjust the collar
(A Fig 19) in towards the cylinder housing.
4 If the boom rests too far out on the transport support,
the collar (A Fig 19) has to go out from the cylinder
housing.
5 Secure the lock nut (B Fig 19).
6 Pressurise the cylinder to see if the boom is properly
adjusted. If not, repeat the above procedure until it is
correctly adjusted.
Fig 19
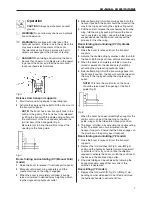
Adjusting rear cable
WARNING! Rear cable can snap and injure you or
someone else if tensioned when the boom is
unfolded. Always adjust the front cable first with
the boom unfolded and the rear cable last with the
boom folded in the transport position.
1 Raise the boom to its highest position. Fold the
boom to the transport position with the tilt cylinders (if
fitted) fully extended. Make sure fold cylinders are
pressurised and that the boom is folded all the way
in.
NOTE! If you have a YZ model, shut the fold
switch off.
2 Shut the tractor off.
3 Loosen the lock nuts on the turnbuckle. Adjust
(tighten) the turnbuckle so that the outer wing section
contacts the boom transport stop bracket. Tighten
the turnbuckle another 4 complete turns (24-28 boom
- tighten the turnbuckle 3 turns only) and re-tighten
the lock nuts.
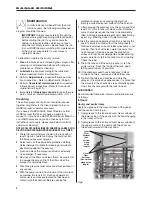
Adjusting centre frame cables
IMPORTANT! Never attempt to adjust the centre
frame cables without having the boom folded all
the way into the transport position!
Centre frame cables work together to keep the centre
frame square to the gantry, while folding boom in for
transport or when spraying with one side raised and
folded.
1 Fold the boom into the transport position.
2 Shut the tractor off.
3 Check that the tilt cylinders (if fitted) are completely
retracted. Adjust if necessary.
4 Loosen the lock nuts.
IMPORTANT! Alternate from side-to-side while
making adjustments. Adjust one cable a small
amount, and then the other - to equalize cable
tension and maintain a level centre frame.
5
Properly adjusted cables will be very tight and only
deflect a small amount (fractions of a centimetre)
when pulled on by hand.
6
Tighten the lock nuts.
7
Unfold the boom to operating (spraying) position.
8
Fold the boom and check that the centre frame
remains square to gantry.
Occasional maintenance
Make it a regular habit to inspect the boom for need of
occasional maintenance.
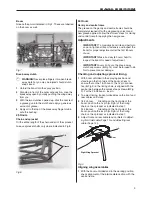
Nozzle filters
Each nozzle assembly is equipped with a 100 mesh
filter screen as standard on units equipped with yellow
Color Tips. A properly maintained suction filter and self
cleaning Filter will eliminate blocking the screens and
nozzles.
NOZZLE
SUCTION
SELF-CLEANING
NOZZLE
SIZE
FILTER
FILTER
SCREEN
Lilac (08)
50
100*
100*
Brown (10)
Yellow (12)
Orange (14)
Red (16)
50*
80
80
White (18)
Green (20)
30
50
50
& Larger
*Standard mesh
Tubes and fittings
Poor seals are usually caused by:
•
Missing O-rings or gaskets
•
Damaged or incorrectly seated O-rings
•
Dry or deformed O-rings or gaskets
•
Foreign materials
Therefore, in case of leaks, do not over-tighten. Disas-
semble, check condition and position of O-ring or
gasket, clean, lubricate and reassemble.
For radial connections, only hand tighten them.
The O-rings need to be lubricated all the way around
before fitting on to the nozzle tube.
HARDI recommends using a vegetable
based oil to prolong the life of the O-ring.
24-28 m
18-20 m
A
A
A = Collar
B = Lock Nut
B
B
Summary of Contents for Eagle Boom
Page 1: ...EAGLE BOOM Operator s Manual 67020304 AU 05 02 ...
Page 21: ...21 EAGLE BOOM ...
Page 23: ...23 EAGLE BOOM ...
Page 27: ...27 EAGLE BOOM ...
Page 28: ...28 EAGLE BOOM ...
Page 29: ...29 EAGLE BOOM ...
Page 30: ...30 EAGLE BOOM ...
Page 31: ...31 EAGLE BOOM ...


