9
EAGLE BOOM
Boom
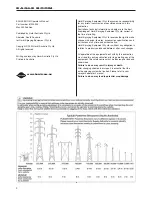
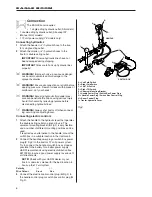
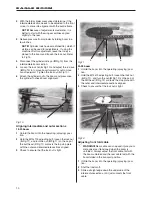
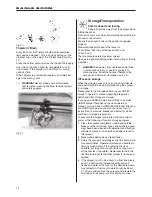
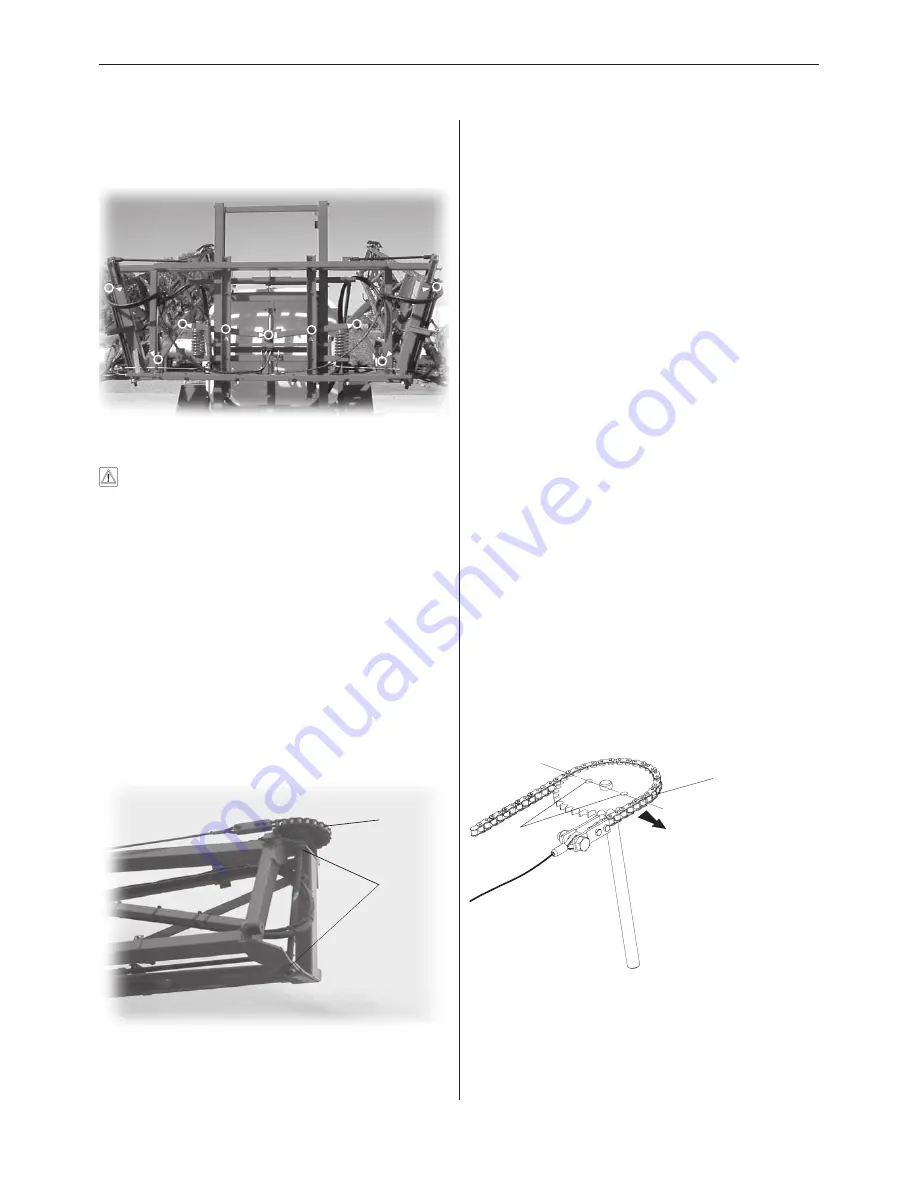
Grease the points indicated in Fig 7. These are labelled
on the boom as well.
Fig 7
Break-away clutch
WARNING! Never place fingers into open break-
away clutch or you may be injured should clutch
snap closed.
1 Unfold the boom into the spray position.
2 Standing in front of the outer wing section, snap the
breakaway open by quickly pushing the wing away
from you.
3 With the two clutches opened up, stick the nozzle of
a grease gun into the clutch and apply a generous
amount of grease.
4 Apply oil to the top of the breakaway hinge to lubri-
cate the bushing.
25 Hours
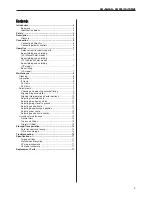
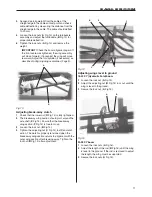
Chain and sprocket
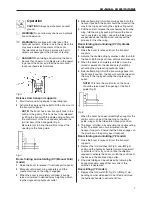
Oil the entire length of the chain and all of the sprocket.
Grease sprocket shafts only where indicated in Fig 8.
Fig 8
50 Hours
Gantry and centre frame
The grease on the gantry and centre frame should be
completely cleaned off with a degreasing solvent and
new grease applied. Follow the
8 Hours steps for Gantry
and centre frame for applying the new grease.
Adjustments
IMPORTANT! To maximise boom life and perform-
ance, re-tighten all boom fasteners and inspect the
boom for proper adjustment after the first 8 hours
of use.
IMPORTANT! Make it a daily (8 hours) habit to
inspect the boom for need of adjustment.
IMPORTANT! Every 40 hours, the break-away
clutch cap screws (A Fig 14) must be torqued to 55
Nm to prevent boom damage.
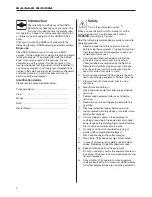
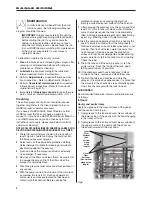
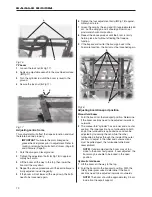
Checking and adjusting sprocket timing
1 With boom unfolded in the spraying position and
standing on the front side of the boom, check to
ensure that on the 18-20 boom, the 7
th
pin connec-
tion (A Fig 9) in the timing chain, is aligned with the
centre line between the sprocket cap screws (B Fig
9). For the 24-28 boom - 6
th
pin.
2 To adjust timing, loosen turnbuckles on the front and
rear cables until slack.
3 18-20 boom:
Standing on the front side of the
boom, position the 7
th
pin (A Fig 9) of the timing
chain on the sprocket as indicated in step 1.
24-28 boom:
Standing on the front side of the
boom, position the 6
th
pin (A Fig 9) of the timing
chain on the sprocket as indicated in step 1.
4 Adjust front and rear cable tension (Refer to
Adjust-
ing front fold cable (Page 10) and Adjusting rear
cable (Page 13)).
Fig 9
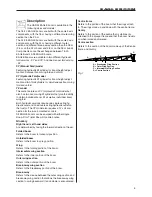
Aligning wing assemblies
1 With the boom unfolded and in the working position,
check alignment of the intermediate section with the
centre frame.
Right Wing Sprocket
Rear
B
A
Oil
Grease
Summary of Contents for Eagle Boom
Page 1: ...EAGLE BOOM Operator s Manual 67020304 AU 05 02 ...
Page 21: ...21 EAGLE BOOM ...
Page 23: ...23 EAGLE BOOM ...
Page 27: ...27 EAGLE BOOM ...
Page 28: ...28 EAGLE BOOM ...
Page 29: ...29 EAGLE BOOM ...
Page 30: ...30 EAGLE BOOM ...
Page 31: ...31 EAGLE BOOM ...


