22
SYSTEM SETUP
System Setup
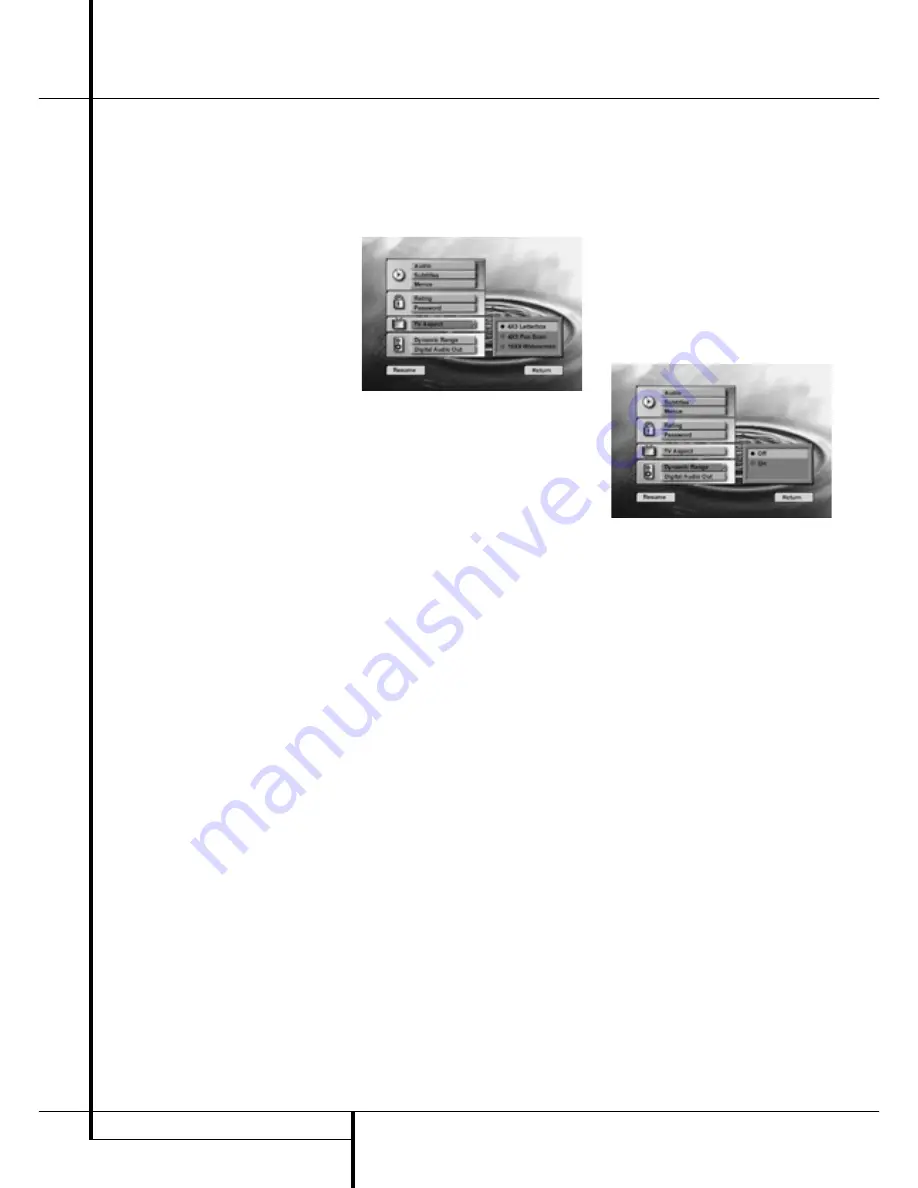
TV Aspect
This step selects the TV aspect, conventional
screen shape (4:3) or widescreen (16:9), accord-
ing to your TV set:
■
4 x 3 letterbox: Choose this setting if the
DVD5 is connected to a conventional (4:3) TV
set and you would prefer to see movies in
their original aspect ratio. You will see the
entire frame of the movie and DVDs recorded
with normal 4:3 format will fill the entire
screen. But movies in widescreen will occupy
a smaller portion of the screen, with black
bars at the top and bottom of the screen.
■
4 x 3 Pan Scan: Choose this setting if the
DVD5 is connected to a conventional (4:3) TV
set and you want widescreen movies to fill
the entire screen. Note that this setting is
effective only with some (less) specific
widescreen DVDs recorded with the Pan and
Scan mode. With those movies you won’t see
parts of the picture (particularly the right and
left edges).
Most discs produced in a wide screen format
can’t be cropped in this fashion, which means
the black bars will further appear at the top
and bottom of the screen (letterbox format).
Some widescreen DVDs, particulary anamorph
types (with full vertical line resolution), may
be shown with original width but spread ver-
tically. With those disc the letter box format
must be selected.
Thus this selection is usefull only with some
less specific DVDs, with all others the selec-
tion of the letterbox format fits best.
■
16 x 9 Widescreen: Choose this setting if your
DVD player is connected to a widescreen TV
or to a conventional (4:3) TV, set to wide-
screen (16:9) mode.
With this set up, discs recorded in 4:3 aspect
ratio will appear as a boxed image in the cen-
ter, with black columns on the left and right
side of the screen. But true widescreen discs
(anamorph recordings, i.e. those shown
spread vertically when DVD5 is set to "4:3
Pan Scan" mode, see above) will be shown
optimally, i.e. with full vertical resolution. With
some 4:3 TVs, set to 16:9 format, discs with
4:3 format may be played compressed verti-
cally. With those discs the TV must be set to
4:3 format.
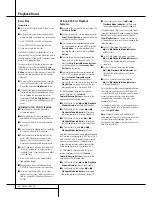
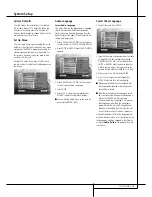
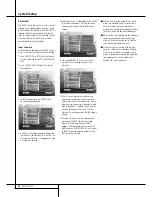
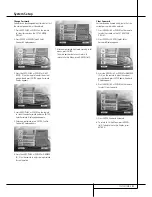
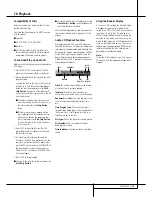
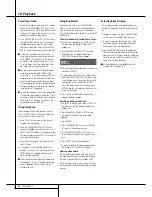
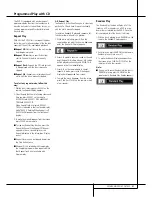
To select TV Aspect follow these steps:
1. Press ARROW (UP or DOWN) on the remote
to select TV Aspect on the SET UP MENU
DISPLAY.
2. Press ENTER or ARROW (right), TV Aspect
Menu appears.
3. Press ARROW (UP or DOWN) on the remote
to select specific TV Aspect Menu.
4. Press ENTER.
5. Press PLAY to resume normal playback or
RETURN to delete Set Up Display from screen.
Dynamic Range
This setting enables Dolby Digital recordings to
be played back with full dialogue intelligibility
while reducing peak levels and increasing low
levels by 1/4 to 1/3. This smooth level compres-
sion prevents abrupt loud transitions from dis-
turbing others without reducing the impact of
the digital source perceptibly.
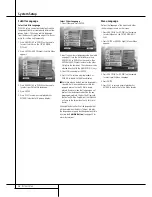
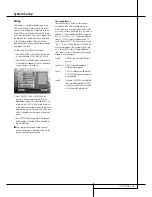
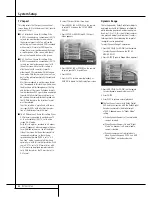
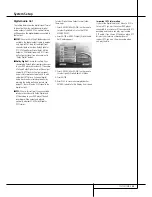
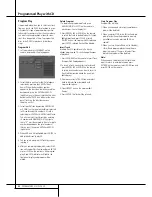
To select Dynamic Range Compression:
1. Press ARROW (UP or DOWN) on the remote
to select Dynamic Range on the SET UP
MENU DISPLAY.
2. Press ENTER (Dynamic Range Menu appears).
3. Press ARROW (UP or DOWN) on the remote
to select dynamic range mode (on or off).
4. Press ENTER.
5. Press PLAY to resume normal playback.
■
This function only works with Dolby Digital
DVD and in conjunction with the Dolby Digital
Decoder connected to the digital output
of DVD5, depending on its ”Night Mode”
setting:
a) When Dynamic Range is off, normal audio
range is selected.
b) When Dynamic Range is On and ”Night
Mode” on decoder is off, normal audio
range is selected.
c) Dynamic compression is activated only
when Dynamic Range on DVD5 is on AND
“Night Mode” on the decoder is on.

